How to Attach Pockets to a Scarf
Mary Beth TempleDescription
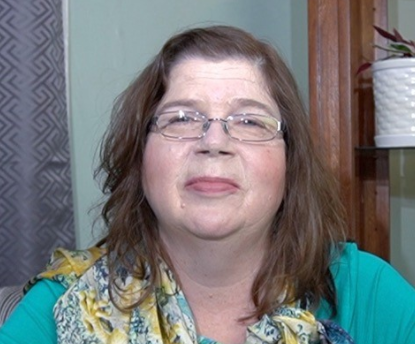
Pocket scarves a popular crochet project for winter. It’s fun to make an easy crocheted scarf and use fancy stitches on the pockets. It’s the perfect project for trying new or unusual stitch patterns without committing to a large piece. In this video, Mary Beth Temple demonstrates how to attach a pocket to a scarf.
To begin, Mary Beth will single crochet all the way around the pocket fabric. It’s important to add three single crochet stitches into each corner of the pocket so that the corner keeps its shape and stays flat. When adding this single crochet round to the pocket, Mary Beth prefers to use the same color of yarn as the scarf, so that it blends in nicely with the scarf fabric.
Once the single crochet edging is added to the pocket, Mary Beth places the pocket onto the scarf. Many scarves will have the pockets at the very bottom edges of each end of the scarf; however, Mary Beth notes that you should think about how tall the recipient of the scarf is to make sure that the pocket is attached in the correct place. She pins all four sides of the pocket to the scarf. While she will only be attaching three sides of the scarf, pinning all four sides allow the pocket to stay in place while seaming. Mary Beth lines the pocket up with the top or bottom or a row, which helps ensure that the pocket will be straight.
Mary Beth uses a surface crochet chain to attach the pocket to the scarf. She likes this method as it is fast, sturdy, and looks nice on both sides of the fabric. Starting in the top-left corner of the scarf, she works the surface crochet chain the side of the pocket, being careful not to split the yarn plies.
Premium Membership
Unlock exclusive member content from our industry experts.
- 24/7 Access to Premium Crochet Videos, Projects, and Tips
- Step-by-Step Instructional Demos, Patterns, and Tutorials
- Access to Ask the Expert Program
Unlock exclusive member content from our industry experts.
- 24/7 Access to Premium Crochet Videos, Projects, and Tips
- Step-by-Step Instructional Demos, Patterns, and Tutorials
- 2 Full-Length Classes to Keep in Your Account for Life
- Access to Ask the Expert Program
Gold Membership
$333 Value
Get everything included in Premium plus exclusive Gold Membership benefits.
- 24/7 Access to Premium Crochet Videos, Projects, and Tips
- Step-by-Step Instructional Demos, Patterns, and Tutorials
- 5 Full-Length Classes to Keep in Your Account for Life
- 10 Downloadable Crochet Patterns
- Discounts on Purchase-to-Own Content in the Creative Crochet Corner Shop
- Access to Ask the Expert Program
- Access to GOLD LIVE Streaming Events