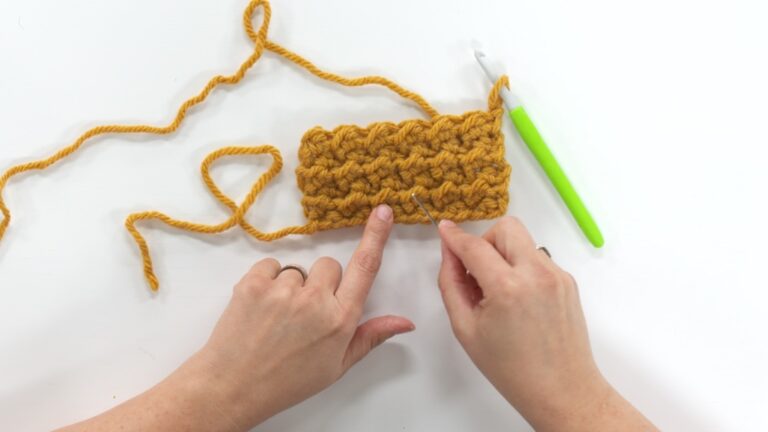
Tips for Adding a Button to Your Crochet Project
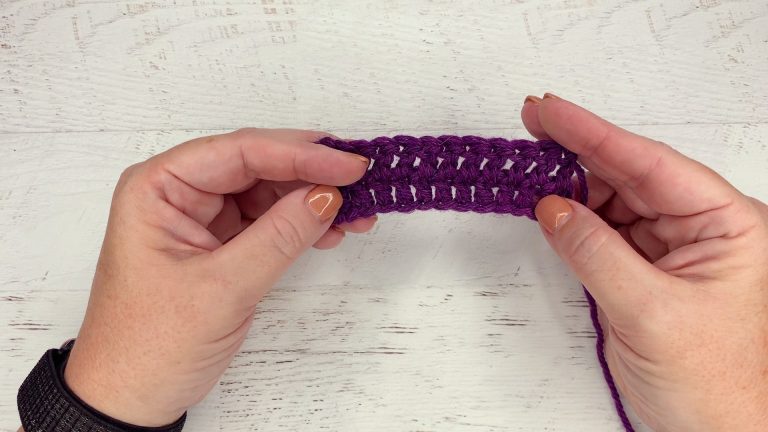
Brenda K.B. AndersonSometimes we sew a button to our project and it looks good at first, but as the project gets some use, the button starts to pull on the yarn where it is attached, causing the crocheted fabric to distort and stretch out. In this video, Brenda K. B. Anderson shows us how we can avoid this problem as well as some other helpful tips when adding buttons to your work.
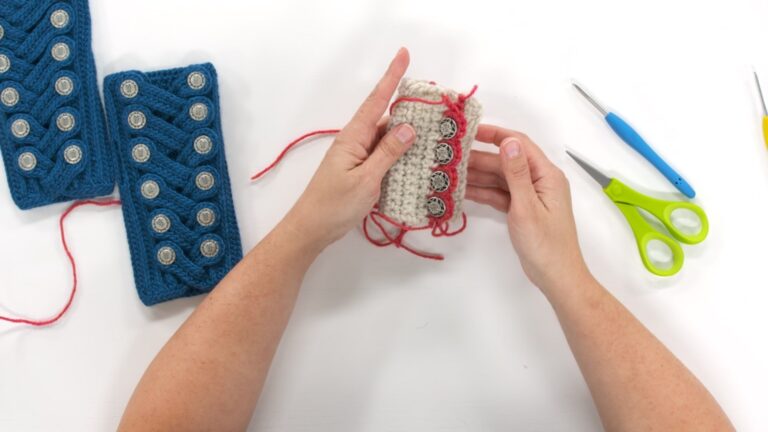
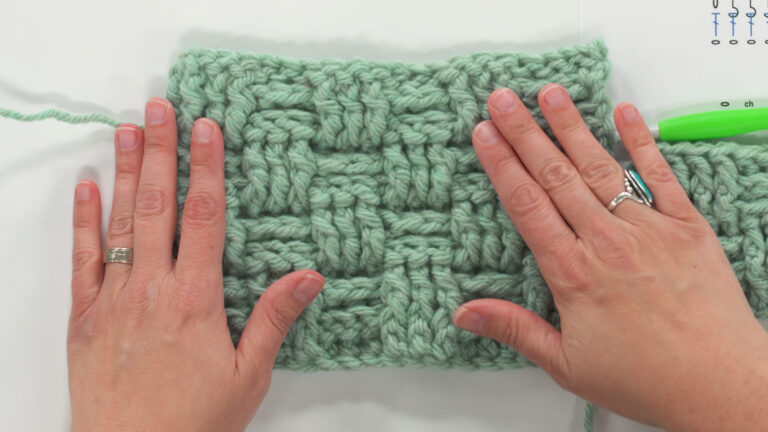
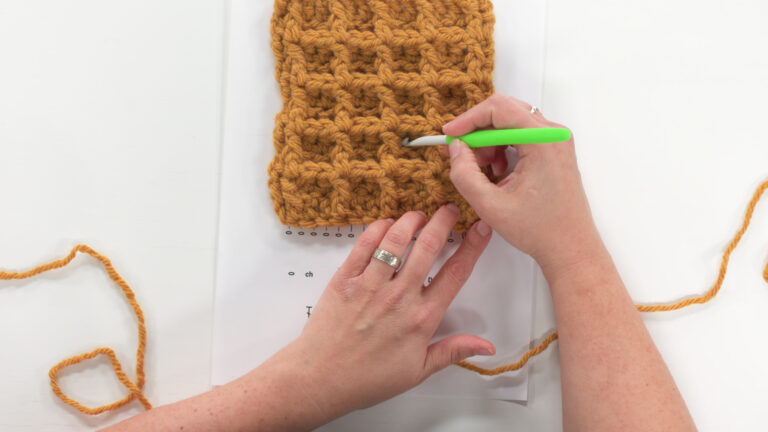
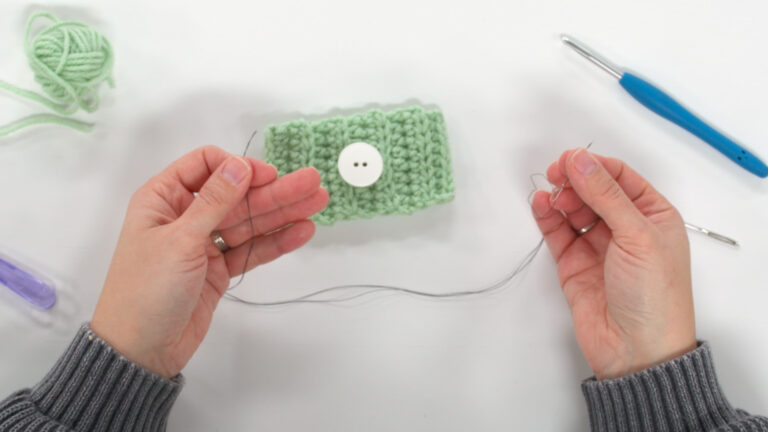
First Brenda shows us how to make and add a “button anchor” to the wrong side of the button band. This simple technique uses just a small amount of yarn, but makes a huge difference in keeping the button band looking good. Next, Brenda shows us how to begin stitching a button to our project when using thread. She shares a great trick for keeping the anchoring knot in the thread from slipping through the yarn. Brenda explains that if your button does not have a shank on it, that you will need to make a shank out of thread so that there is enough room behind your button for the button-hole side of your fabric to sit.
She also shows us how to use a crochet hook as a place holder while stitching the button to your fabric, and then after removing the hook, winding the thread around the button’s stitches to create a shank. Brenda also shares some options for knotting off the thread and burying the tails inside your crochet for a very secure polished finish.
Explore videos by Brenda K.B. Anderson


You may be interested in

Premium Membership
Unlock exclusive member content from our industry experts.
- 24/7 Access to Premium Crochet Videos, Projects, and Tips
- Step-by-Step Instructional Demos, Patterns, and Tutorials
- Access to Ask the Expert Program
Unlock exclusive member content from our industry experts.
- 24/7 Access to Premium Crochet Videos, Projects, and Tips
- Step-by-Step Instructional Demos, Patterns, and Tutorials
- 2 Full-Length Classes to Keep in Your Account for Life
- Access to Ask the Expert Program
Gold Membership
$333 Value
Get everything included in Premium plus exclusive Gold Membership benefits.
- 24/7 Access to Premium Crochet Videos, Projects, and Tips
- Step-by-Step Instructional Demos, Patterns, and Tutorials
- 5 Full-Length Classes to Keep in Your Account for Life
- 10 Downloadable Crochet Patterns
- Discounts on Purchase-to-Own Content in the Creative Crochet Corner Shop
- Access to Ask the Expert Program
- Access to GOLD LIVE Streaming Events
Share tips, start a discussion or ask one of our experts or other students a question.
Already a member? Sign in
No Responses to “Tips for Adding a Button to Your Crochet Project”