Headband With a Twist
Mary Beth TempleHeadbands with a twist have been wildly popular in the last few years, and good news for crocheters: they are easy to make! Sewing up the twist is not difficult, but it is very difficult to explain on paper- thank goodness for video instruction! Join Mary Beth Temple as she demonstrates all you need to know to create the beautiful twist in your crocheted headband.
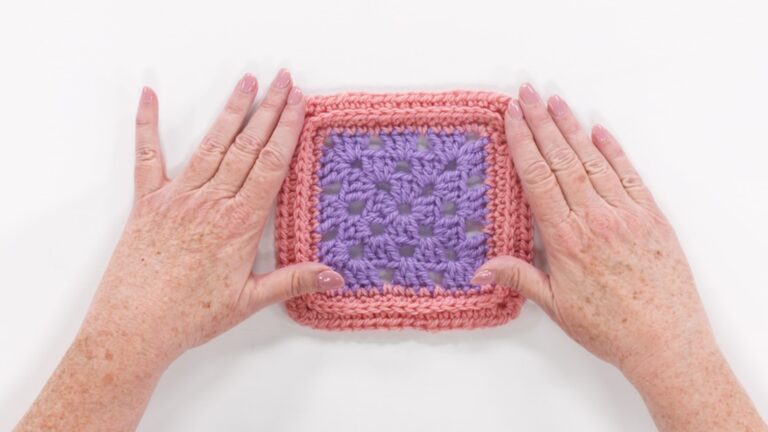
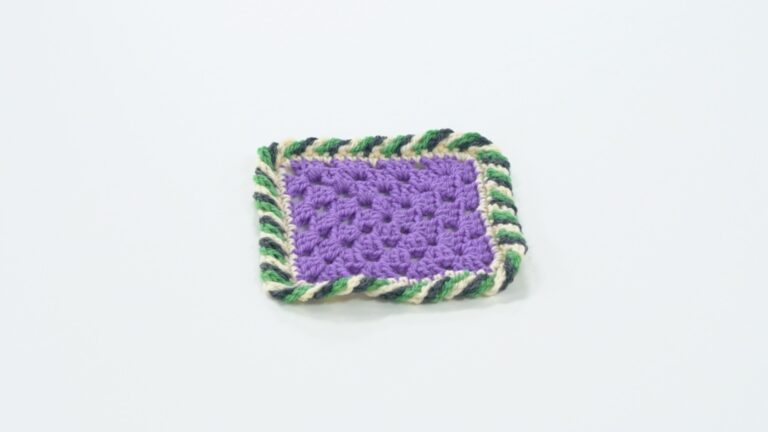
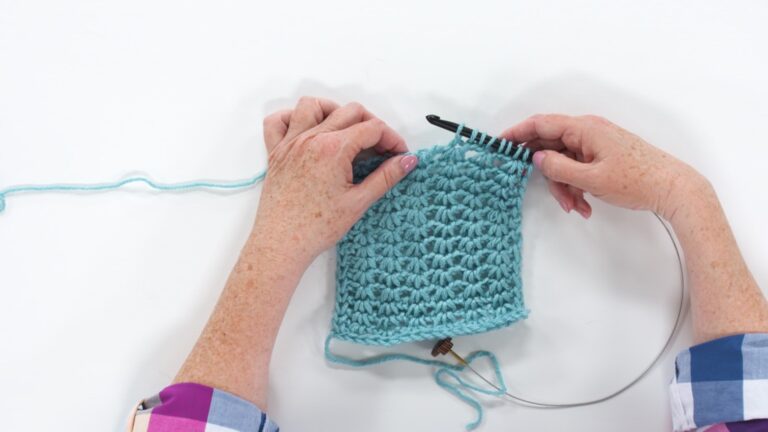
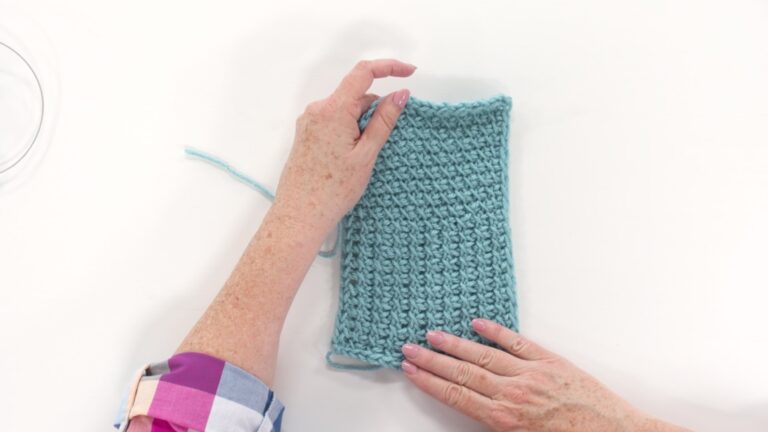
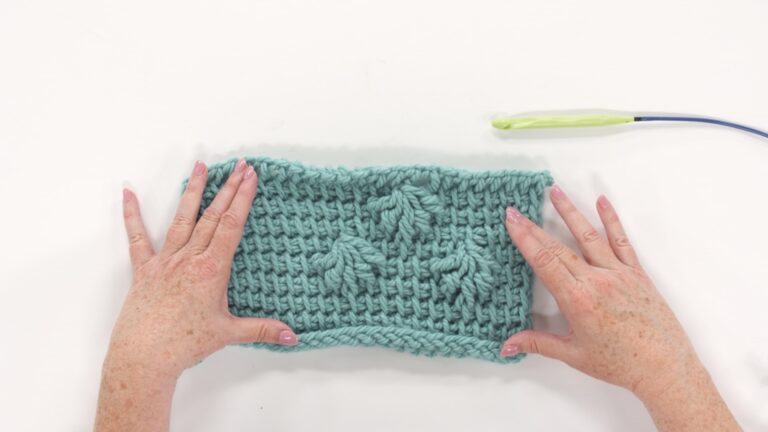
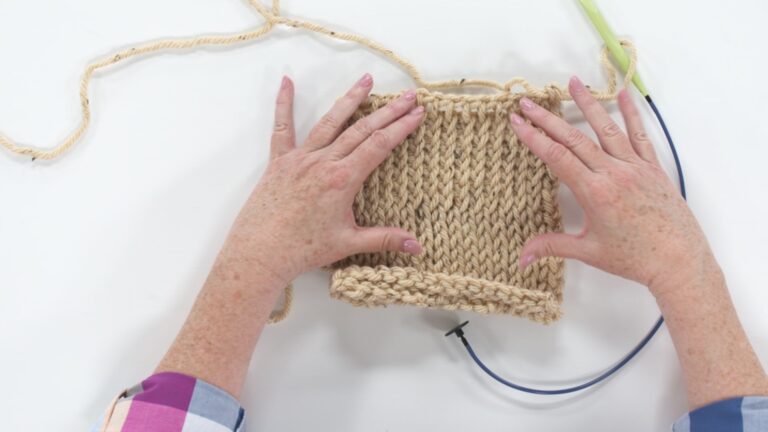
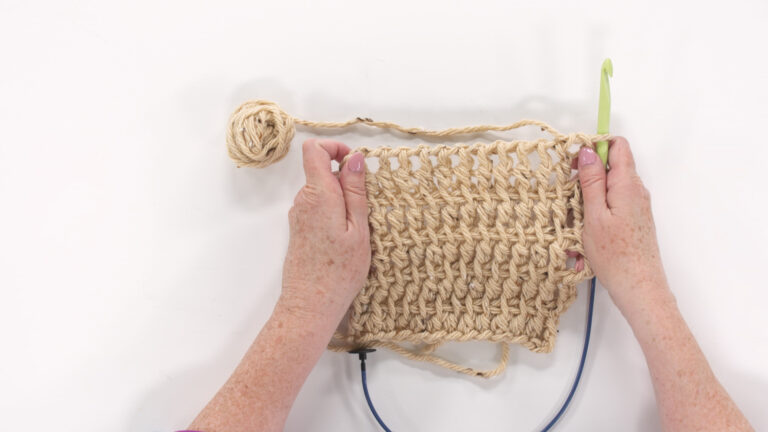
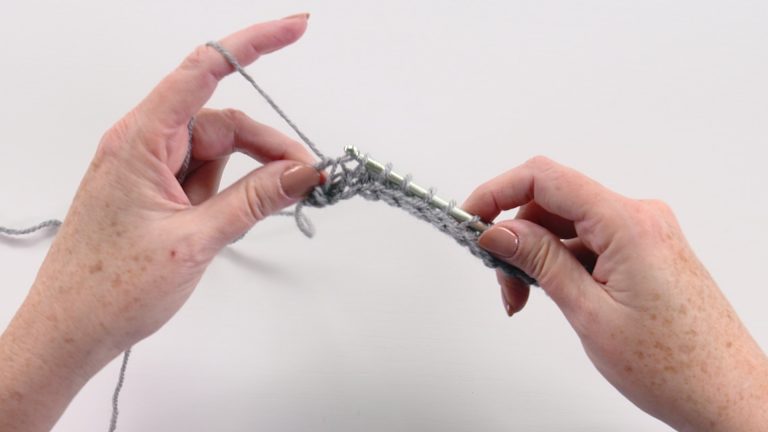
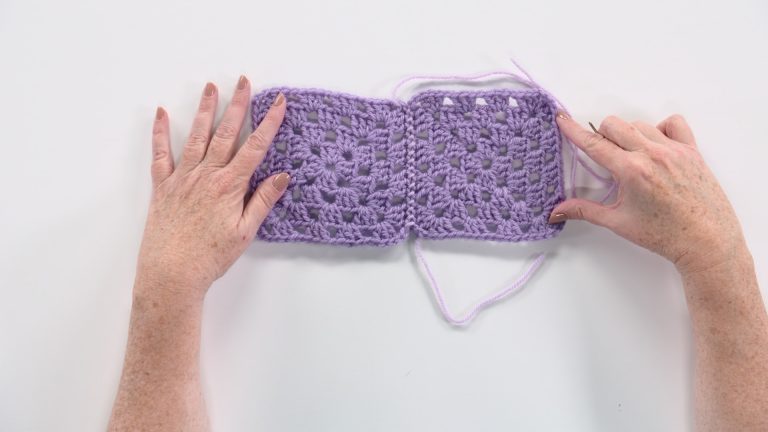
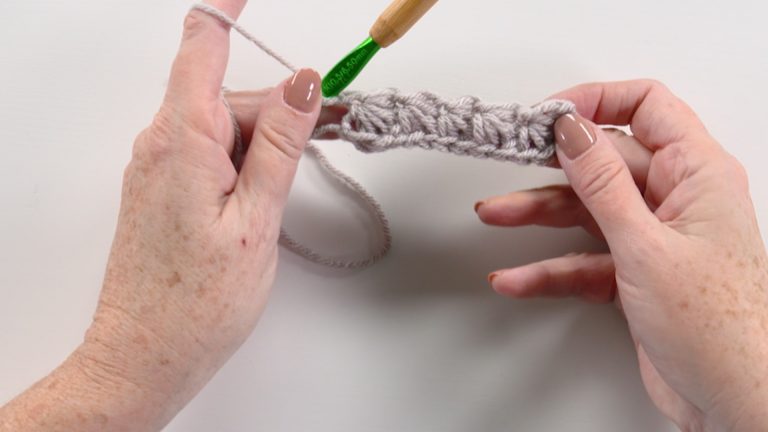
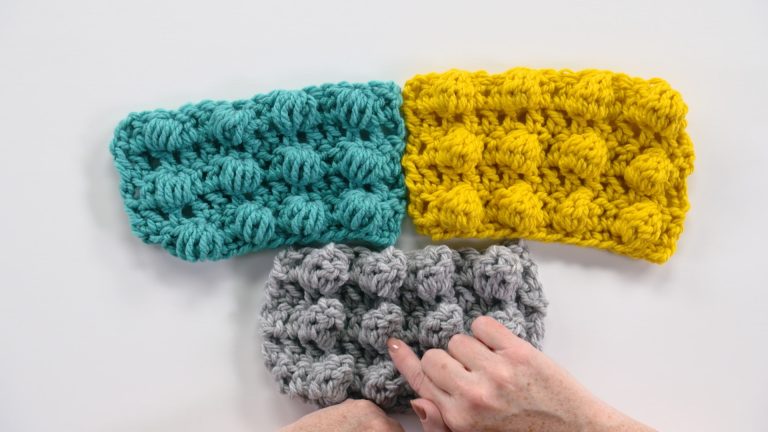
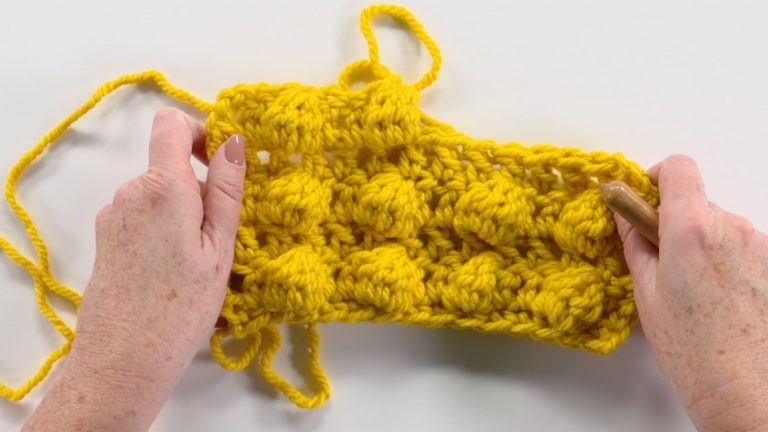
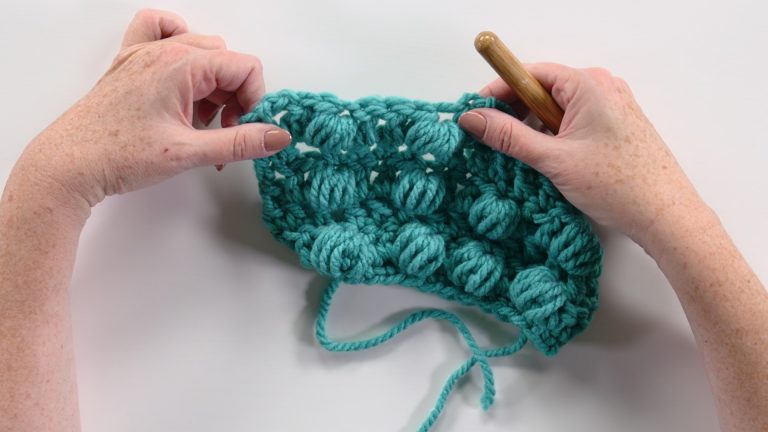
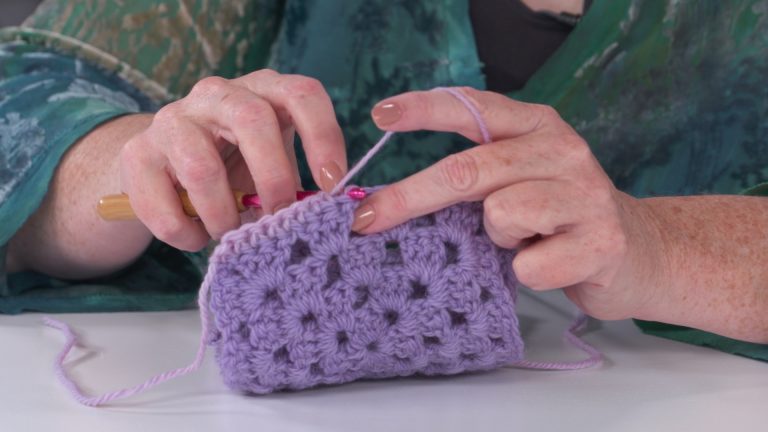
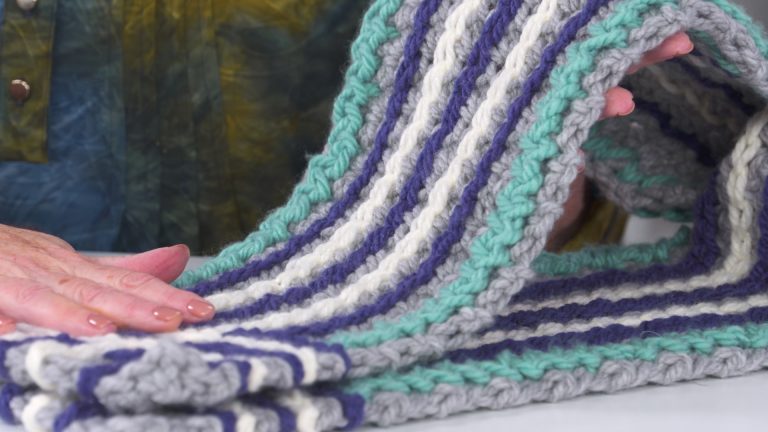
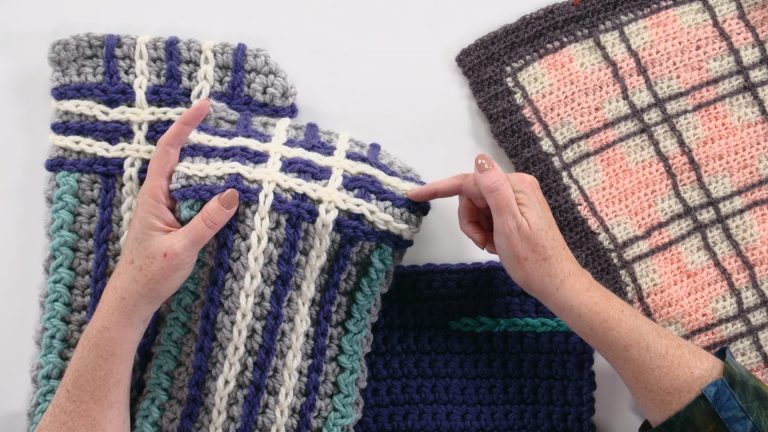
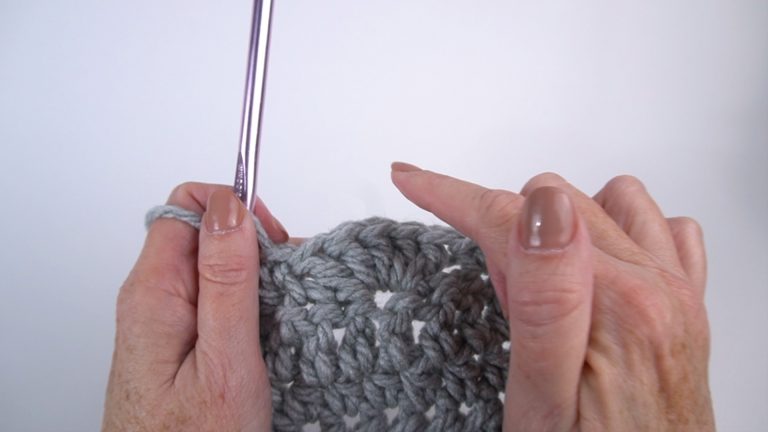
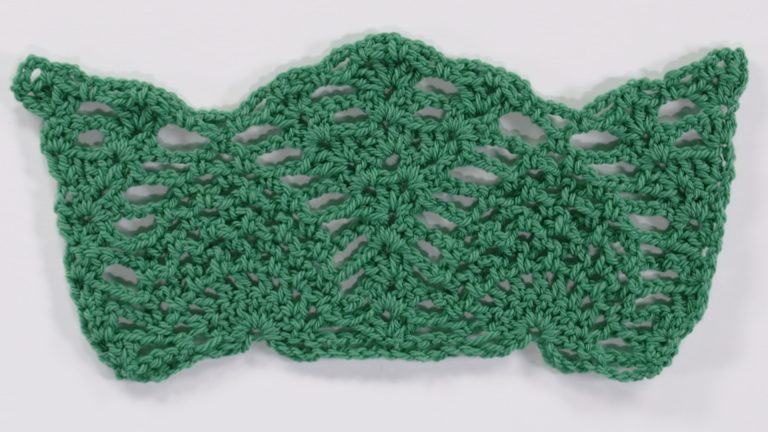
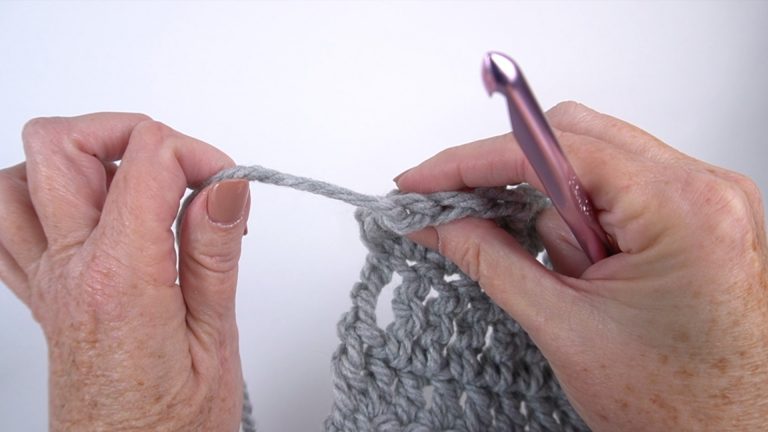
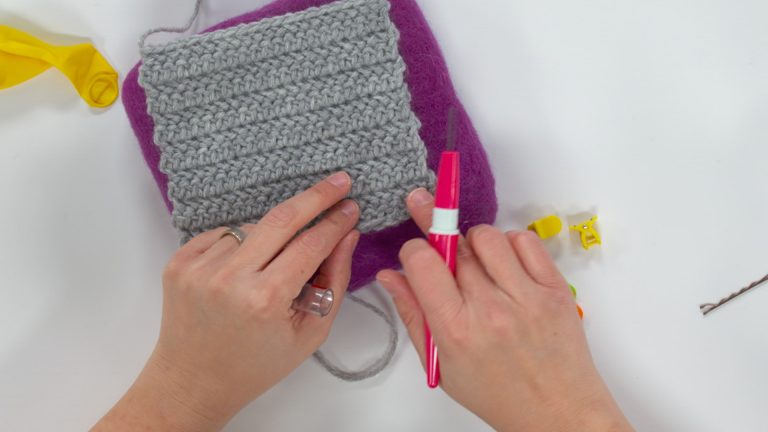
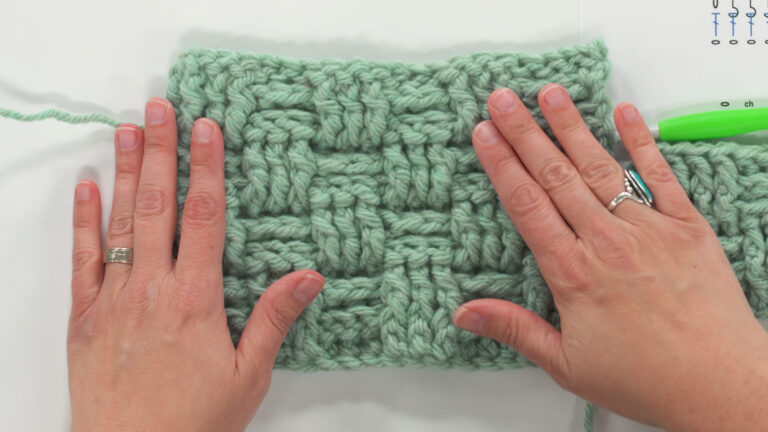
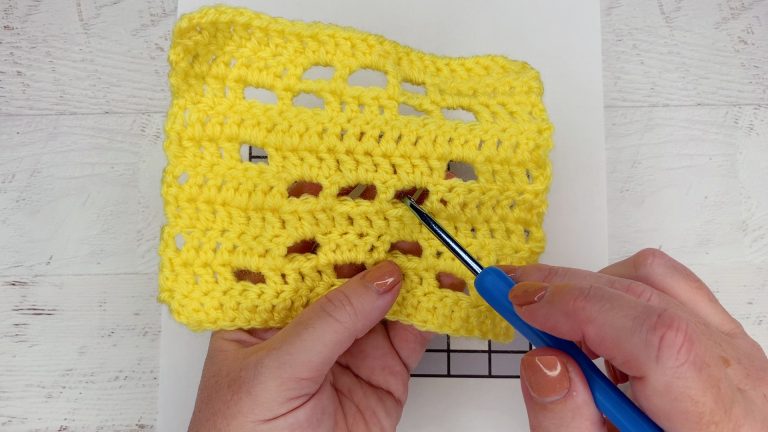
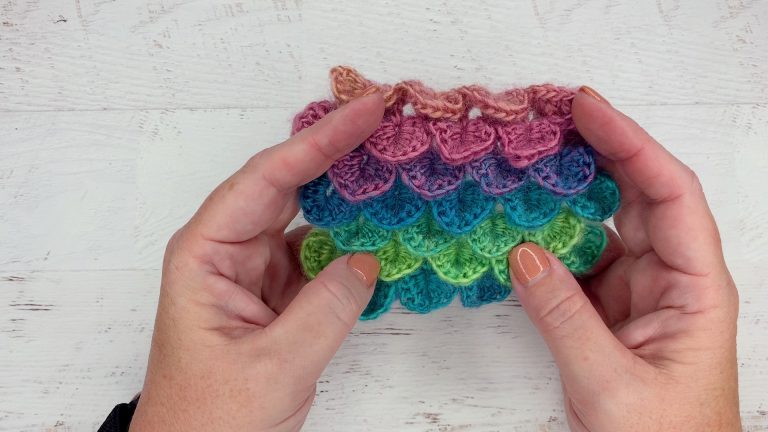
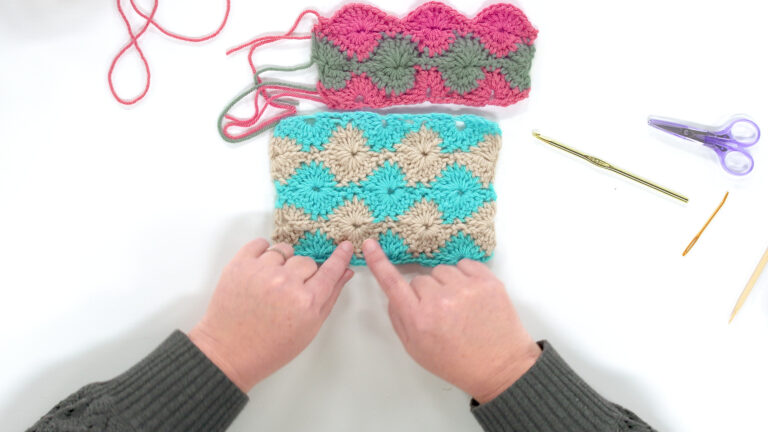
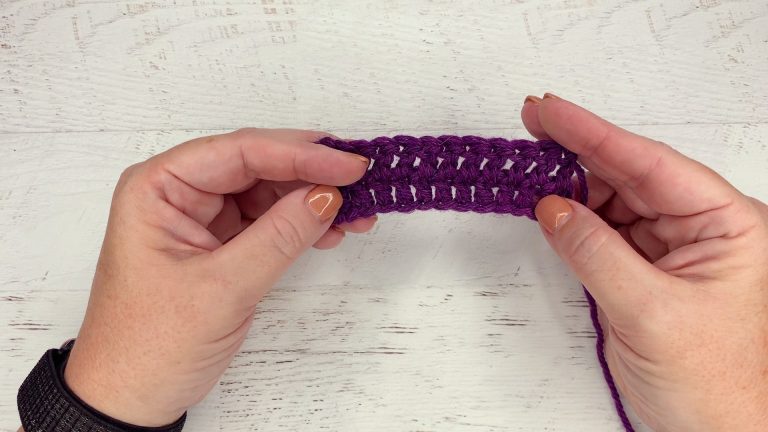
As Mary Beth mentions, you can use any stitch pattern you like to create your headband. She is demonstrating with a headband that she made in the double crochet stitch pattern, but there are an infinite number of other beautiful stitch patterns to choose from! As long as you can crochet a rectangle with a chosen stitch pattern, you can use it!
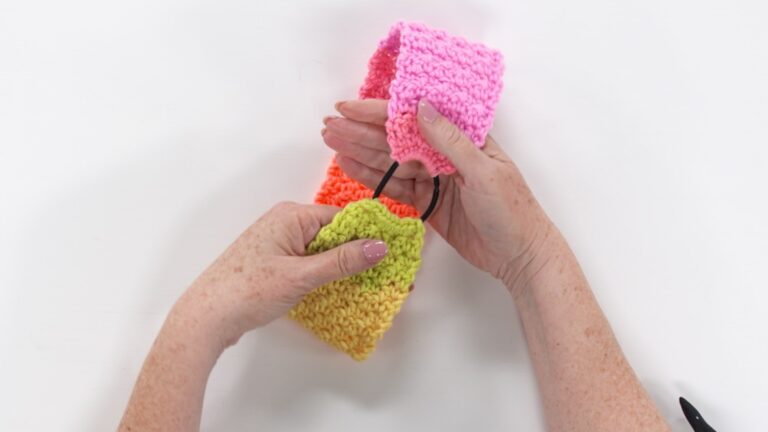
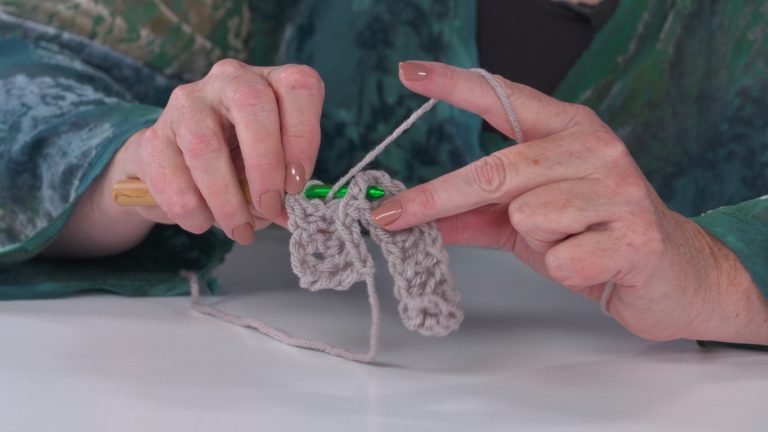
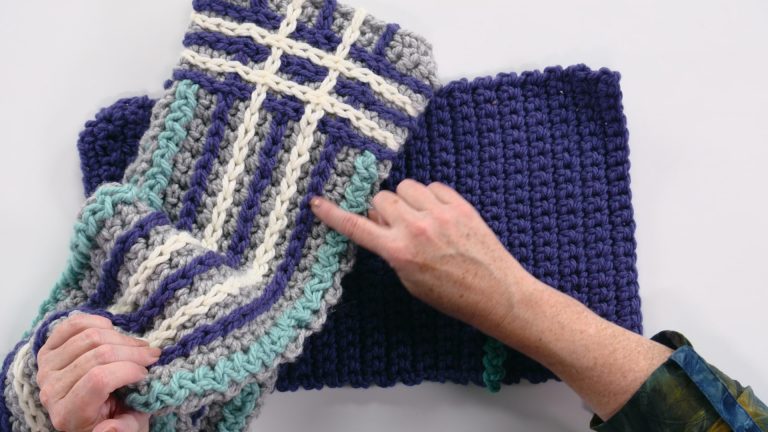
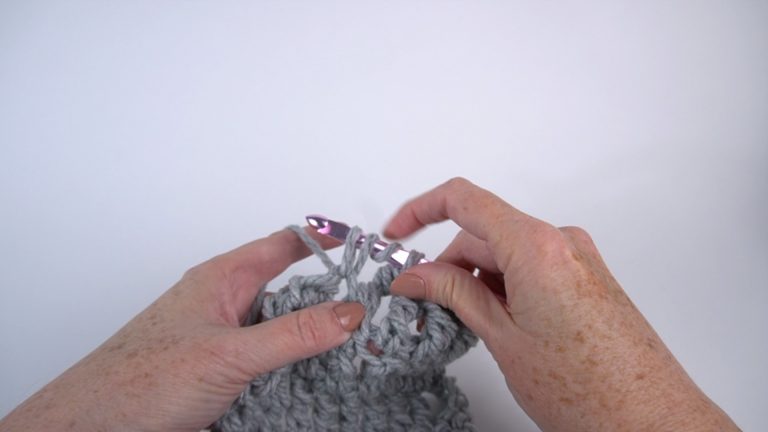
After you work up your rectangle to the desired length, fasten off leaving a long yarn tail for sewing. With one end of the head band held in each hand, fold the headband in half, placing Right Sides of the fabric together. Next, curve the short end that is in your left hand so that the edge of it makes a “C” shape. Curve the short end of the headband that is in your right hand so that the edge of it makes a backwards “C” shape. Bring these ends together so that they interlock and match up the edges.
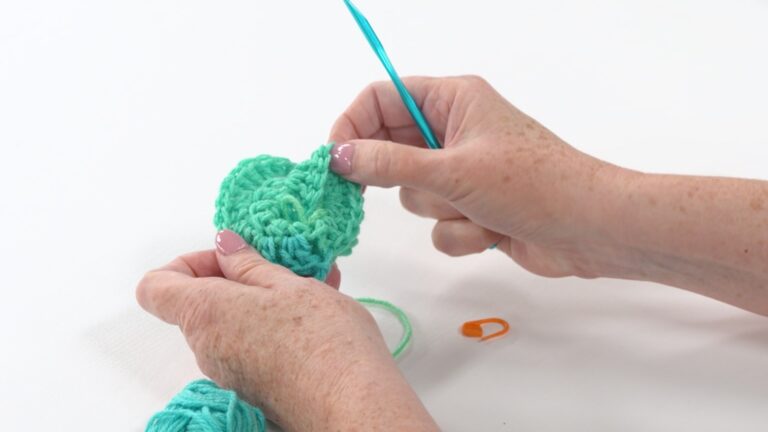
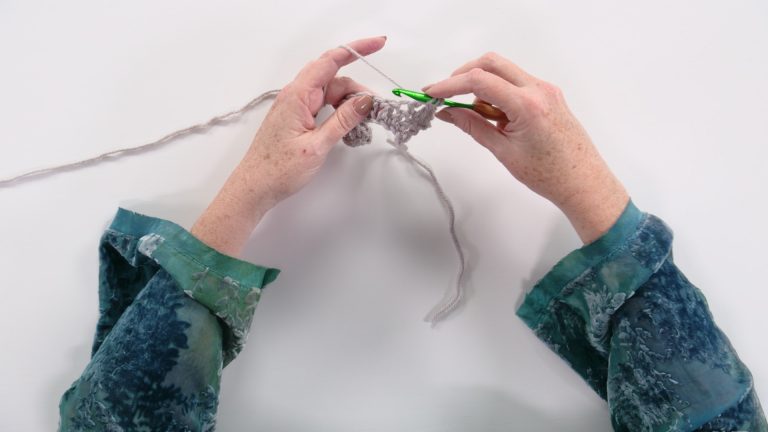
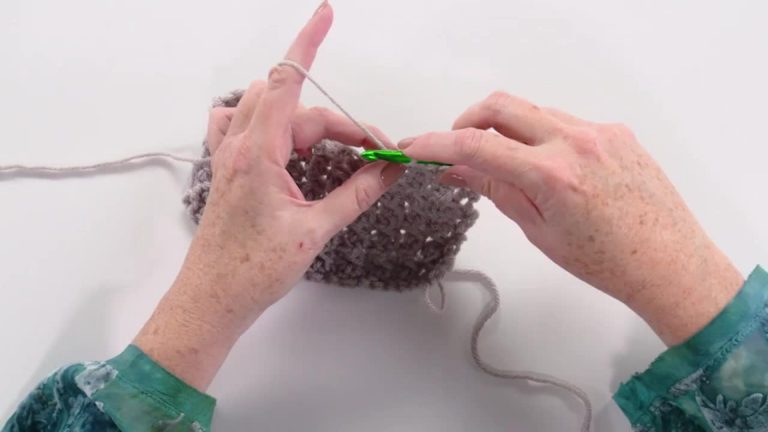
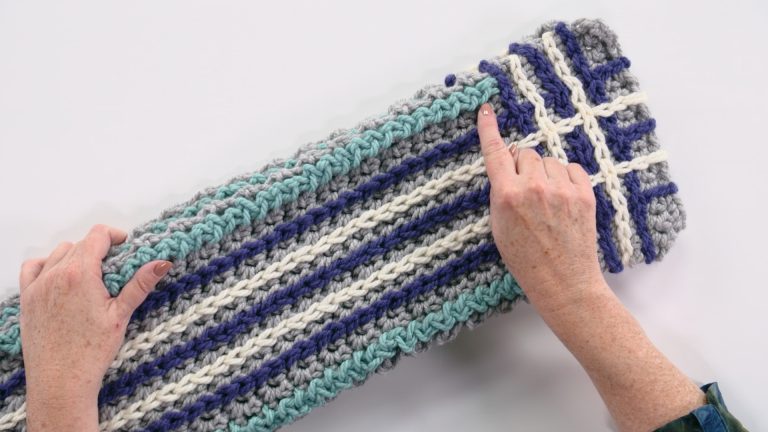
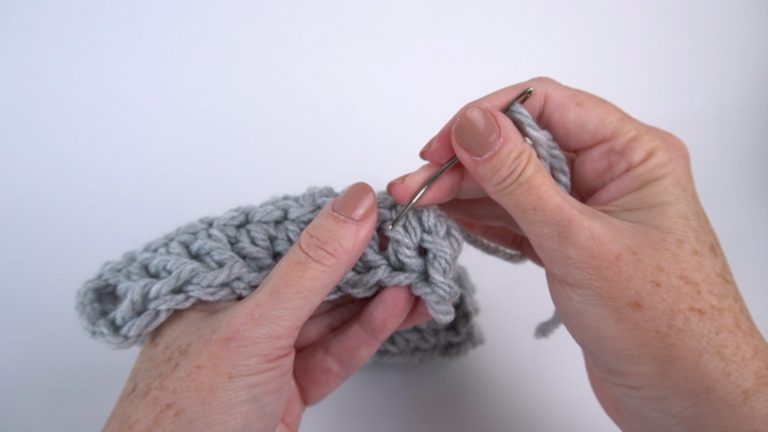
Use a yarn needle and the yarn tail, to sew through all four of the layers of fabric that have been interlocked. Mary Beth suggests doing a fairly tight whip-stitch over the edge, and making two passes to make the seam extra strong.
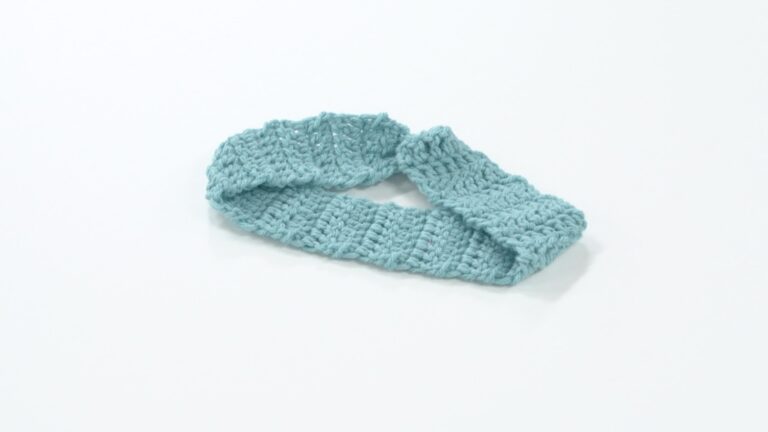
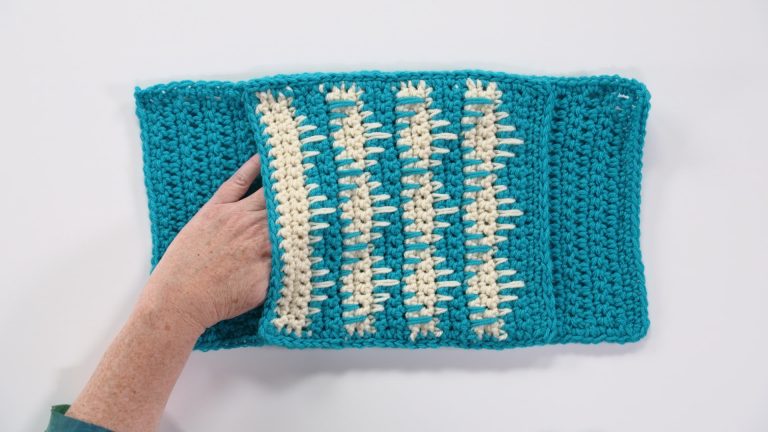
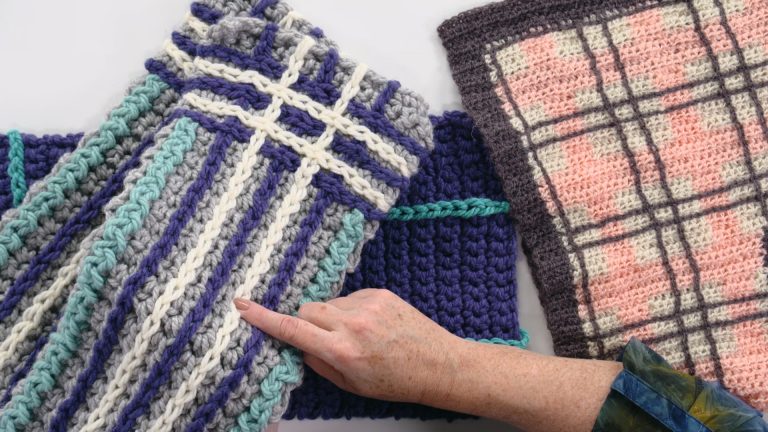
Now you know how to create that gorgeous “1920’s spa look” and you can make a variety of headbands in different stitch patterns!
What stitch pattern will you use? Let us know in the comments below!
Explore videos by Mary Beth Temple


You may be interested in

Premium Membership
Unlock exclusive member content from our industry experts.
- 24/7 Access to Premium Crochet Videos, Projects, and Tips
- Step-by-Step Instructional Demos, Patterns, and Tutorials
- Access to Ask the Expert Program
Unlock exclusive member content from our industry experts.
- 24/7 Access to Premium Crochet Videos, Projects, and Tips
- Step-by-Step Instructional Demos, Patterns, and Tutorials
- 2 Full-Length Classes to Keep in Your Account for Life
- Access to Ask the Expert Program
Gold Membership
$333 Value
Get everything included in Premium plus exclusive Gold Membership benefits.
- 24/7 Access to Premium Crochet Videos, Projects, and Tips
- Step-by-Step Instructional Demos, Patterns, and Tutorials
- 5 Full-Length Classes to Keep in Your Account for Life
- 10 Downloadable Crochet Patterns
- Discounts on Purchase-to-Own Content in the Creative Crochet Corner Shop
- Access to Ask the Expert Program
- Access to GOLD LIVE Streaming Events