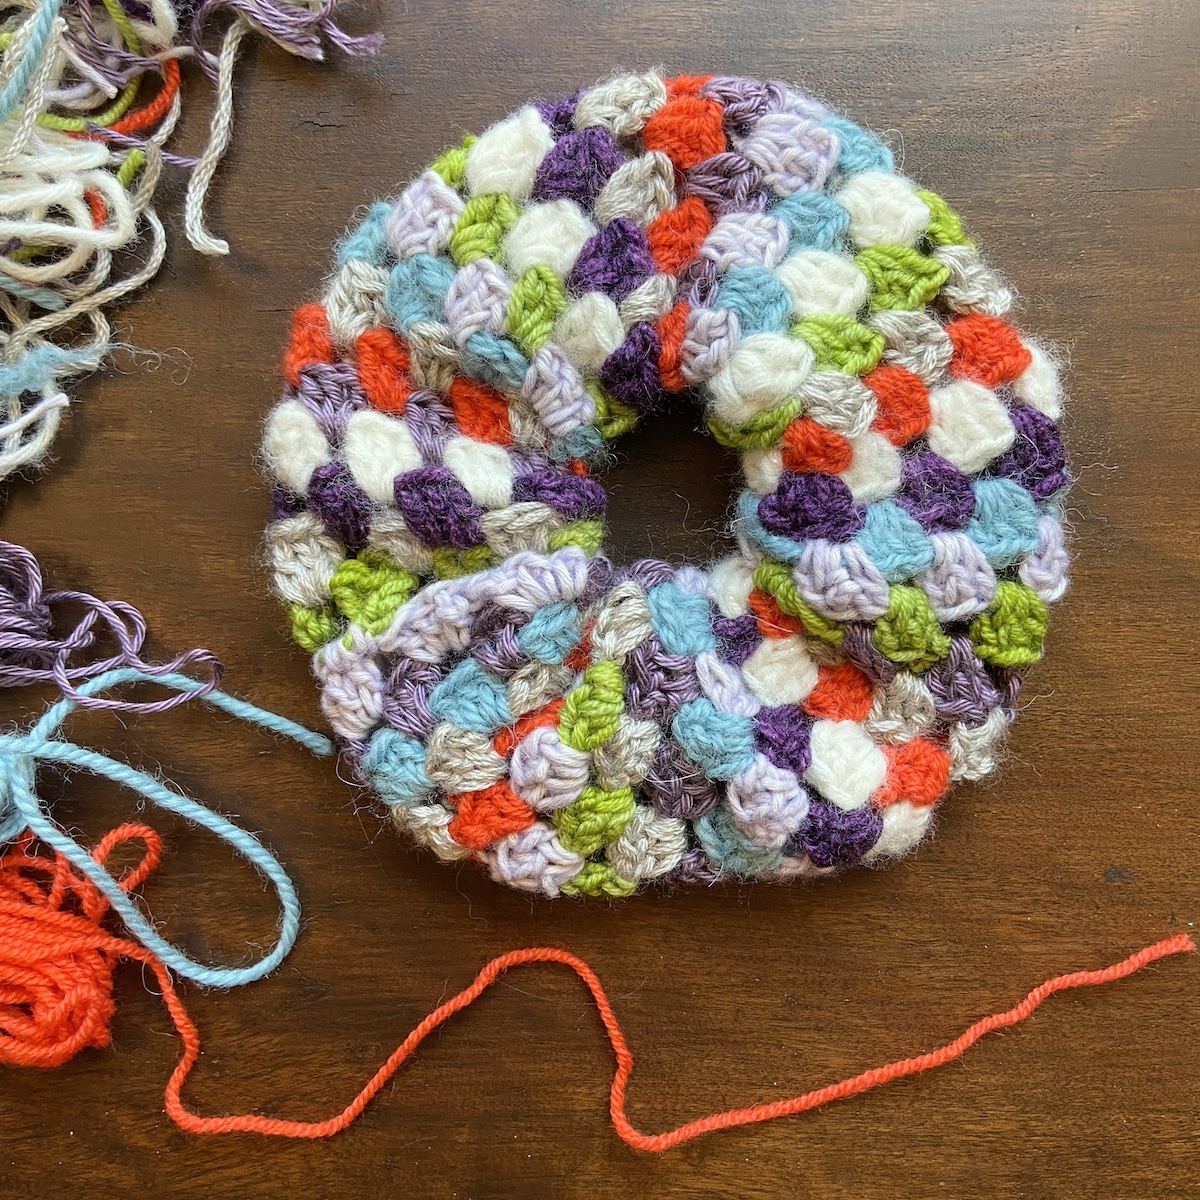
This adorable scrunchie is the perfect way to use up small scraps of yarn! Crochet your own scrunchie in the classic granny stripes stitch pattern to mix a bit of retro with some throwback 90s fashion—so cute! In recent years, this 90s accessory has made a huge comeback and seems to have some serious staying power this time around. Scrunchies are not only still trending but they are gentle on your hair—just another reason to love them!
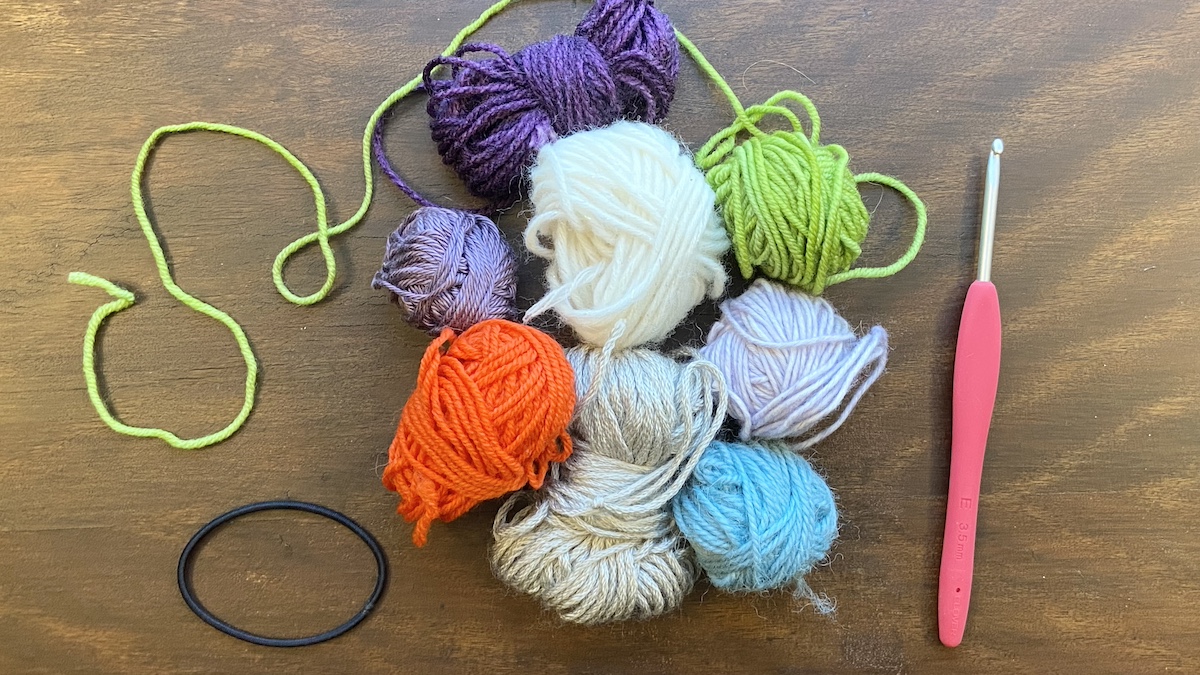
This project is made in joined rounds using the granny stripe stitch pattern. You will need a couple handfuls of sock weight, sport, or DK weight scraps, a large, sturdy elastic hair band, and a size E/4 (3.5mm) hook. Note: This project works best with lighter weight yarns; you will end up with a more flexible, lighter scrunchie if you stick to yarns with a #1, 2, or 3 on the label.
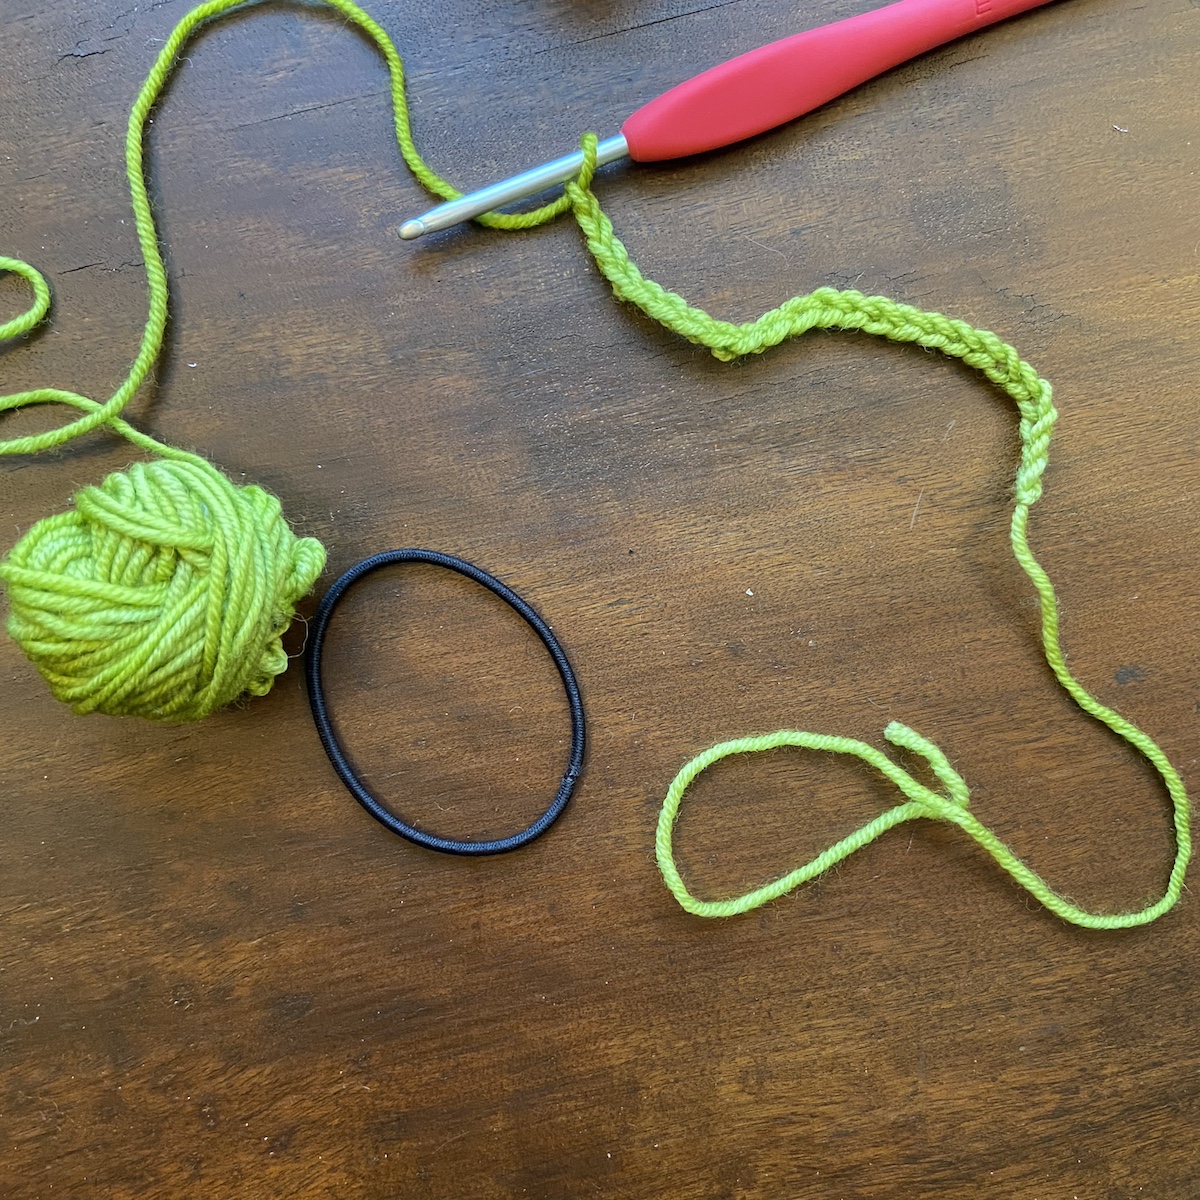
Begin with a foundation chain of 24 stitches.

Make 2 DC into the 4th chain from the hook (the first 3 chains count as the 1st DC of the row), [skip the next 3 chs, 3 DC into the following chain] 5 times. There are now 6 sets of 3 DC.
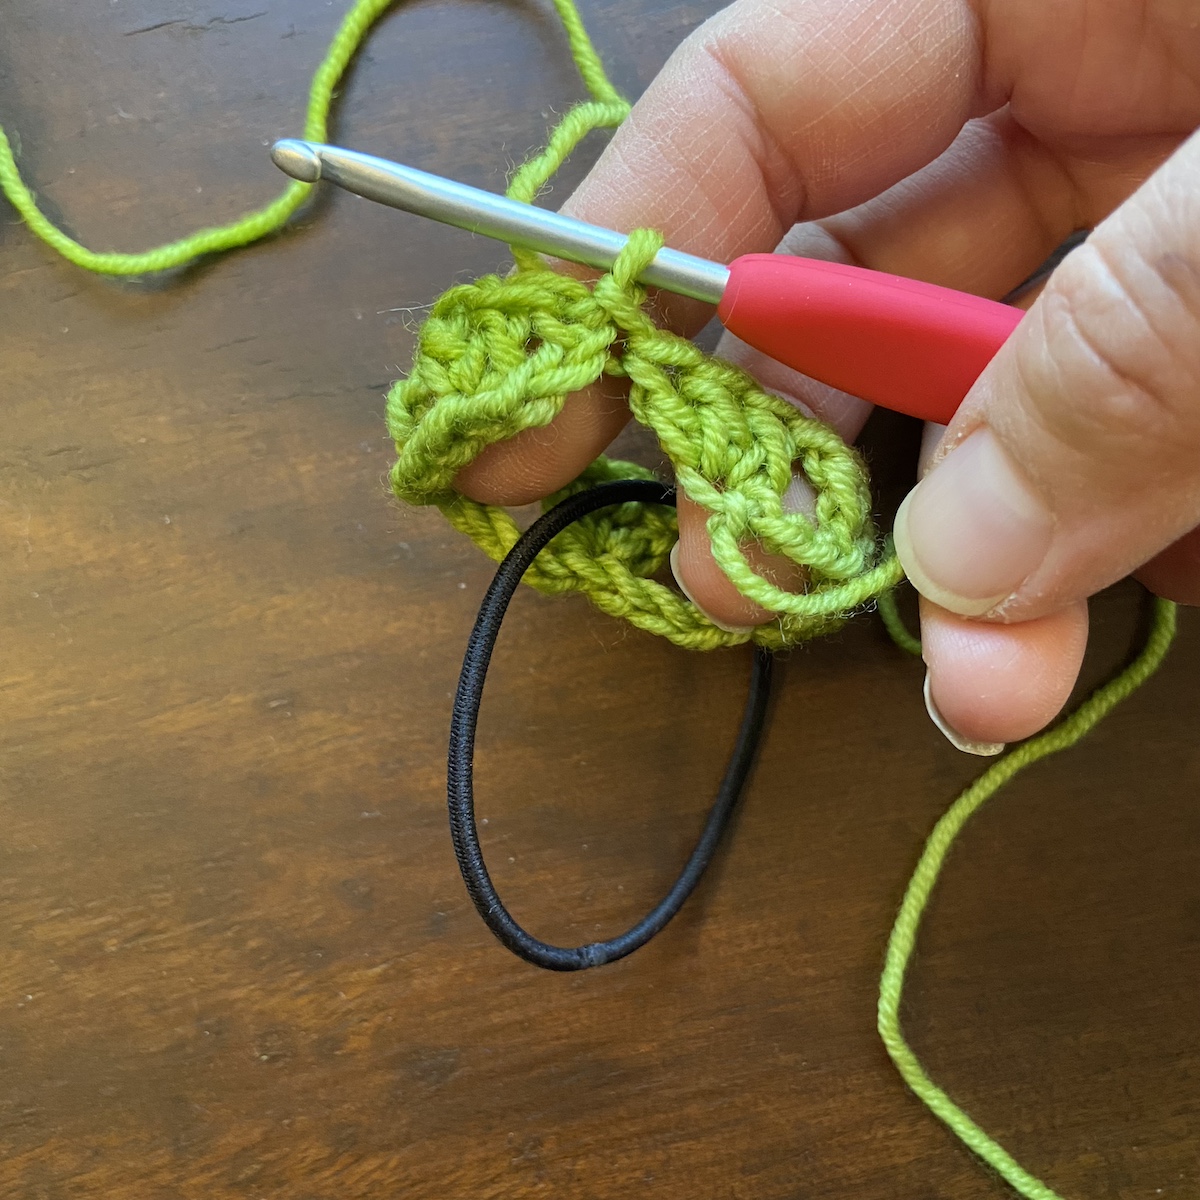
Place the elastic hair band onto the strip of fabric that you made. Bring the first stitch next to the last stitch made, slip stitch into first stitch (into the top of the chain 3) to join. The elastic hair tie should still be looped onto the ring of fabric. Fasten off.
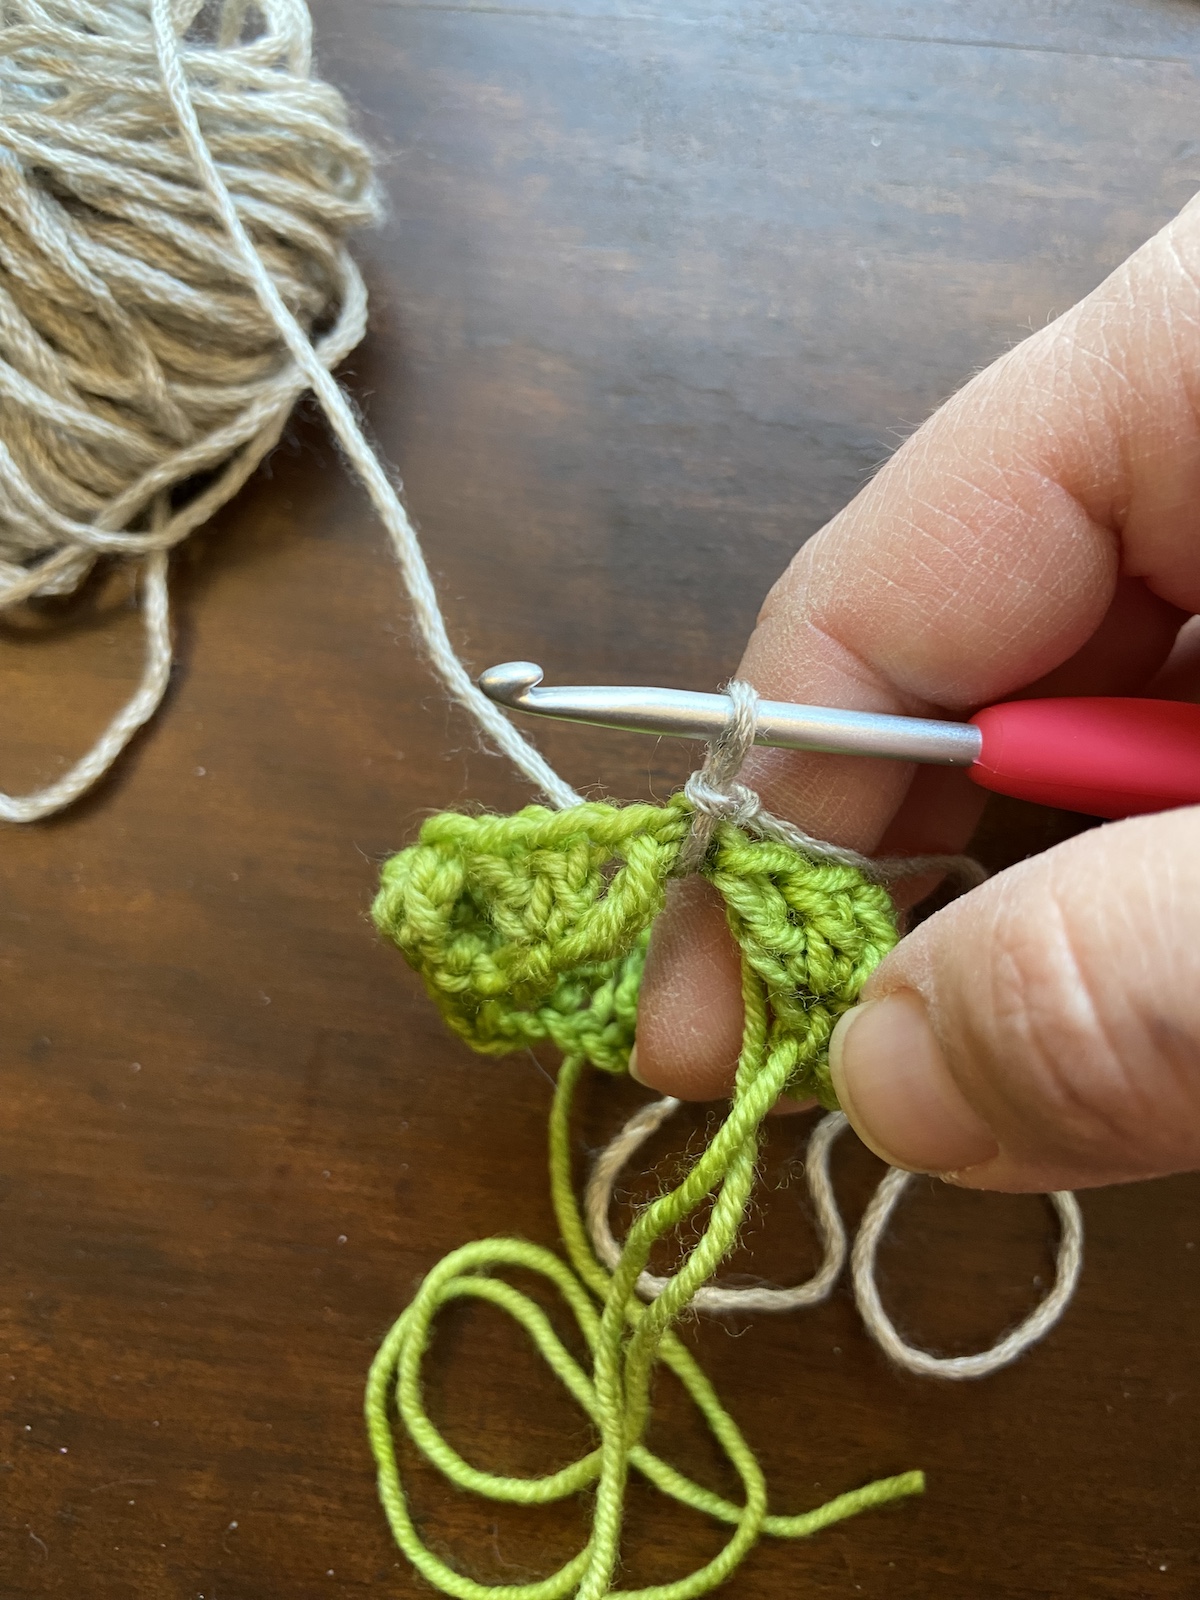
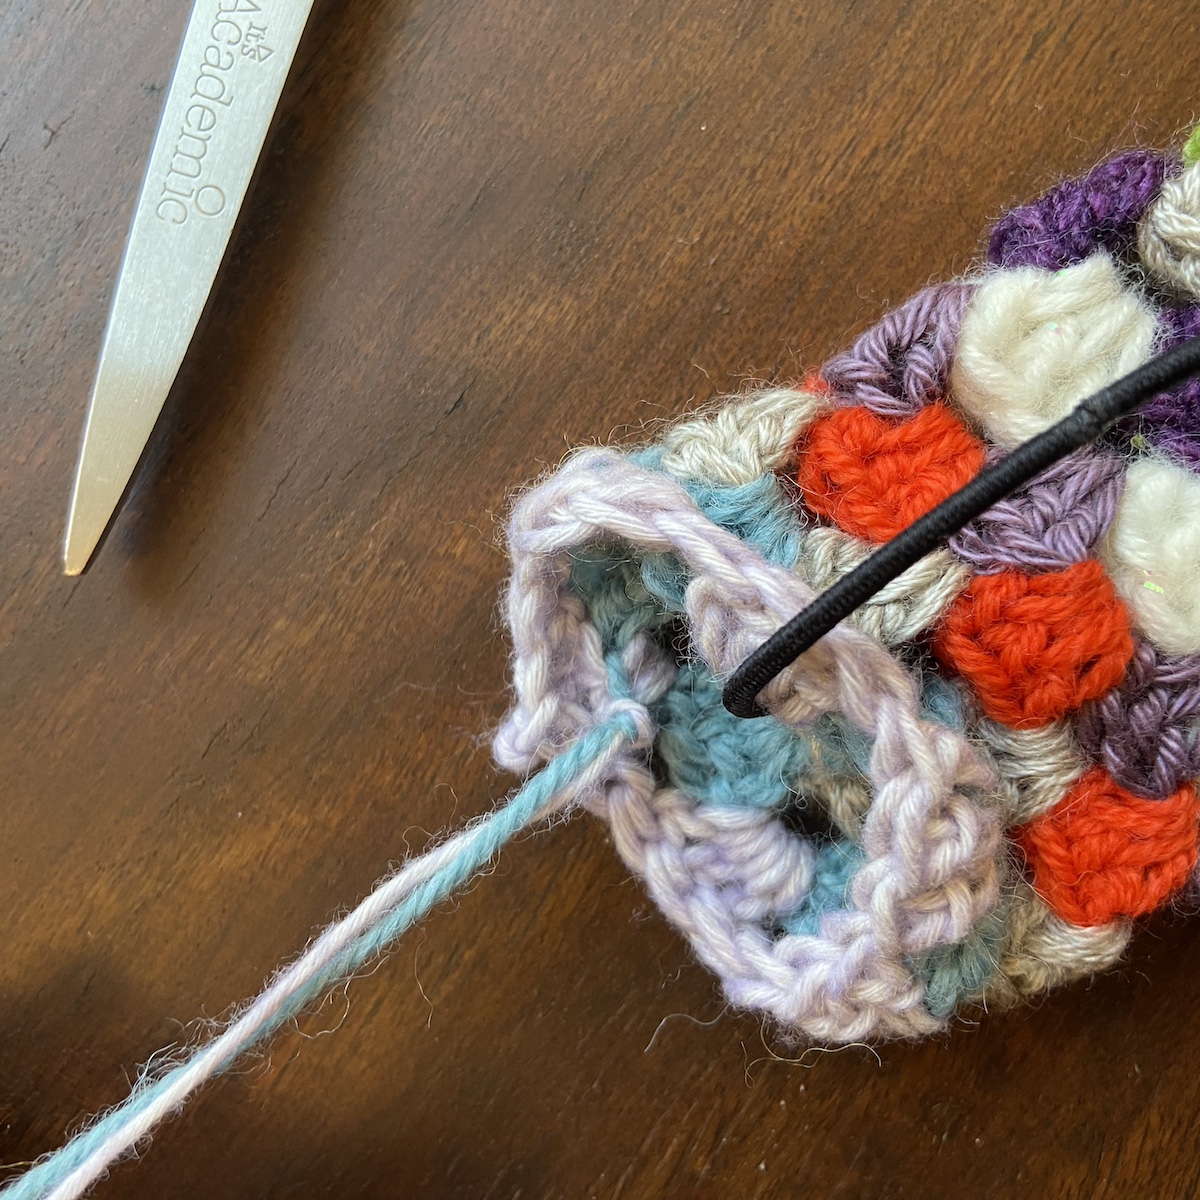
*Place a slip knot of the next color on your hook. Join yarn with a slip stitch between the first and last stitch of the previous round.
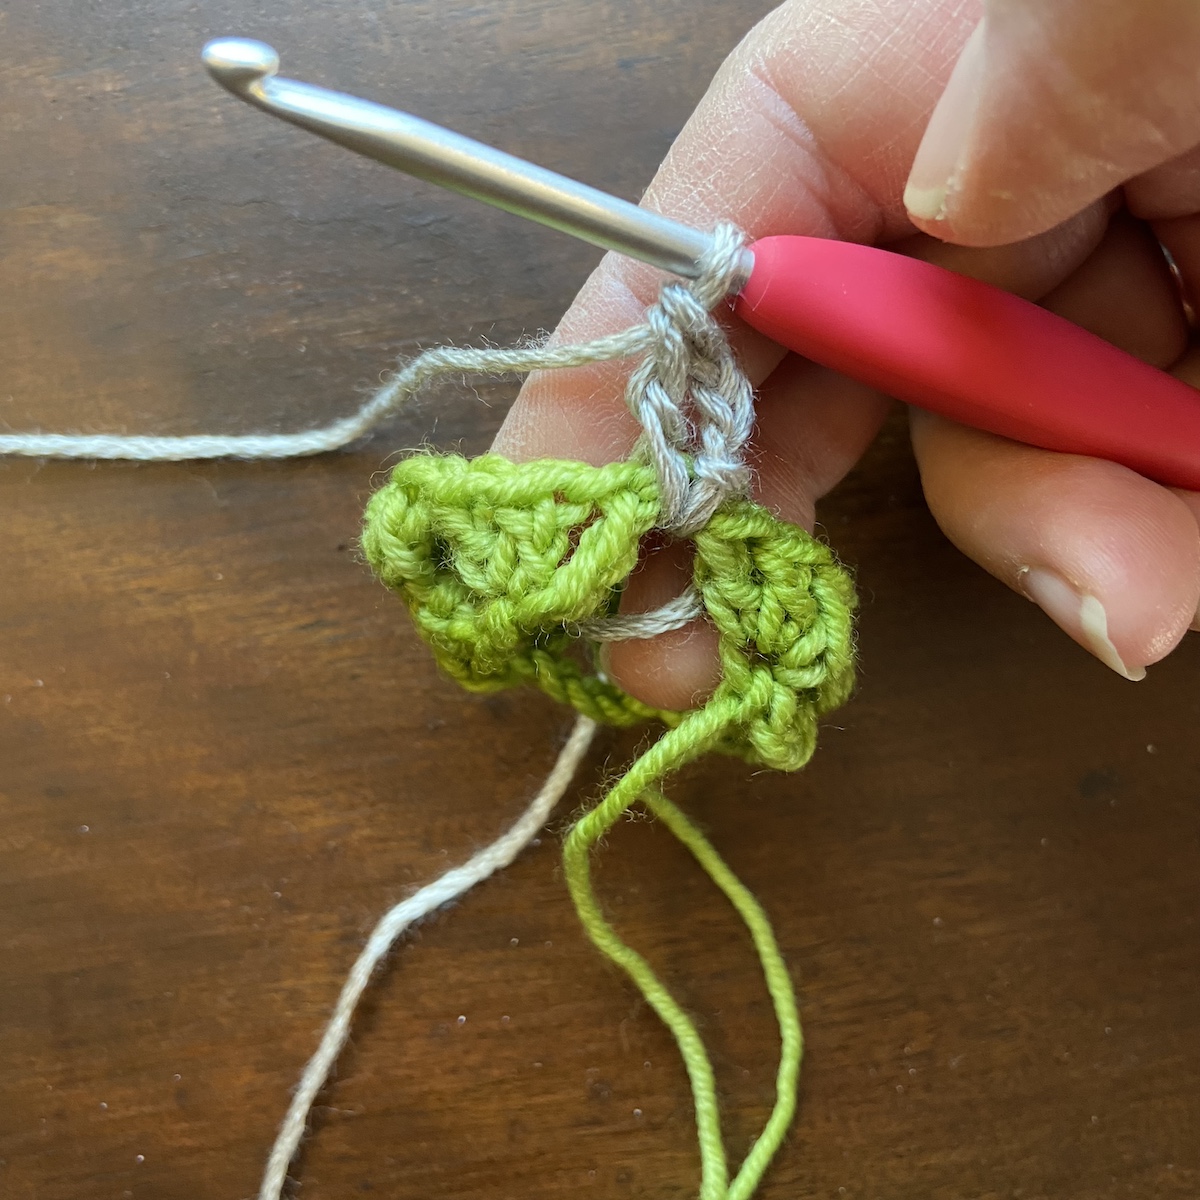
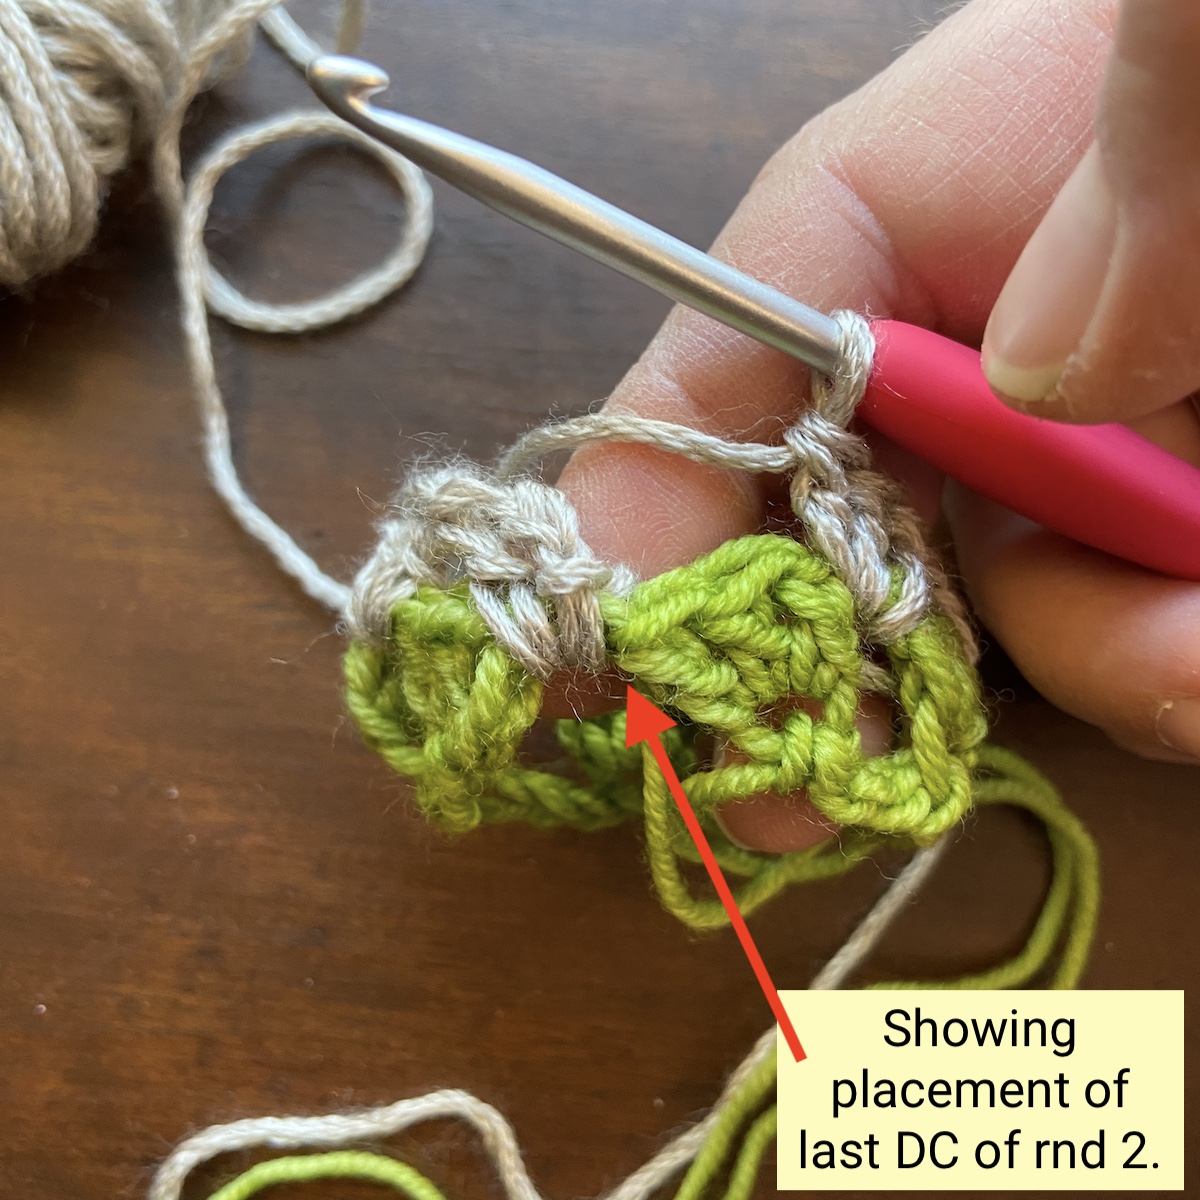
Chain 3 (counts as the 1st DC of the round), DC into the same space between stitches (see photo above), [skip the next 3 DC, 3 DC in space before next set of 3 DC from previous round] 5 times, 1 DC into the same location where the first stitch of this round was made (see photos below), slip stitch to the top of the ch-3 to join. Fasten off.
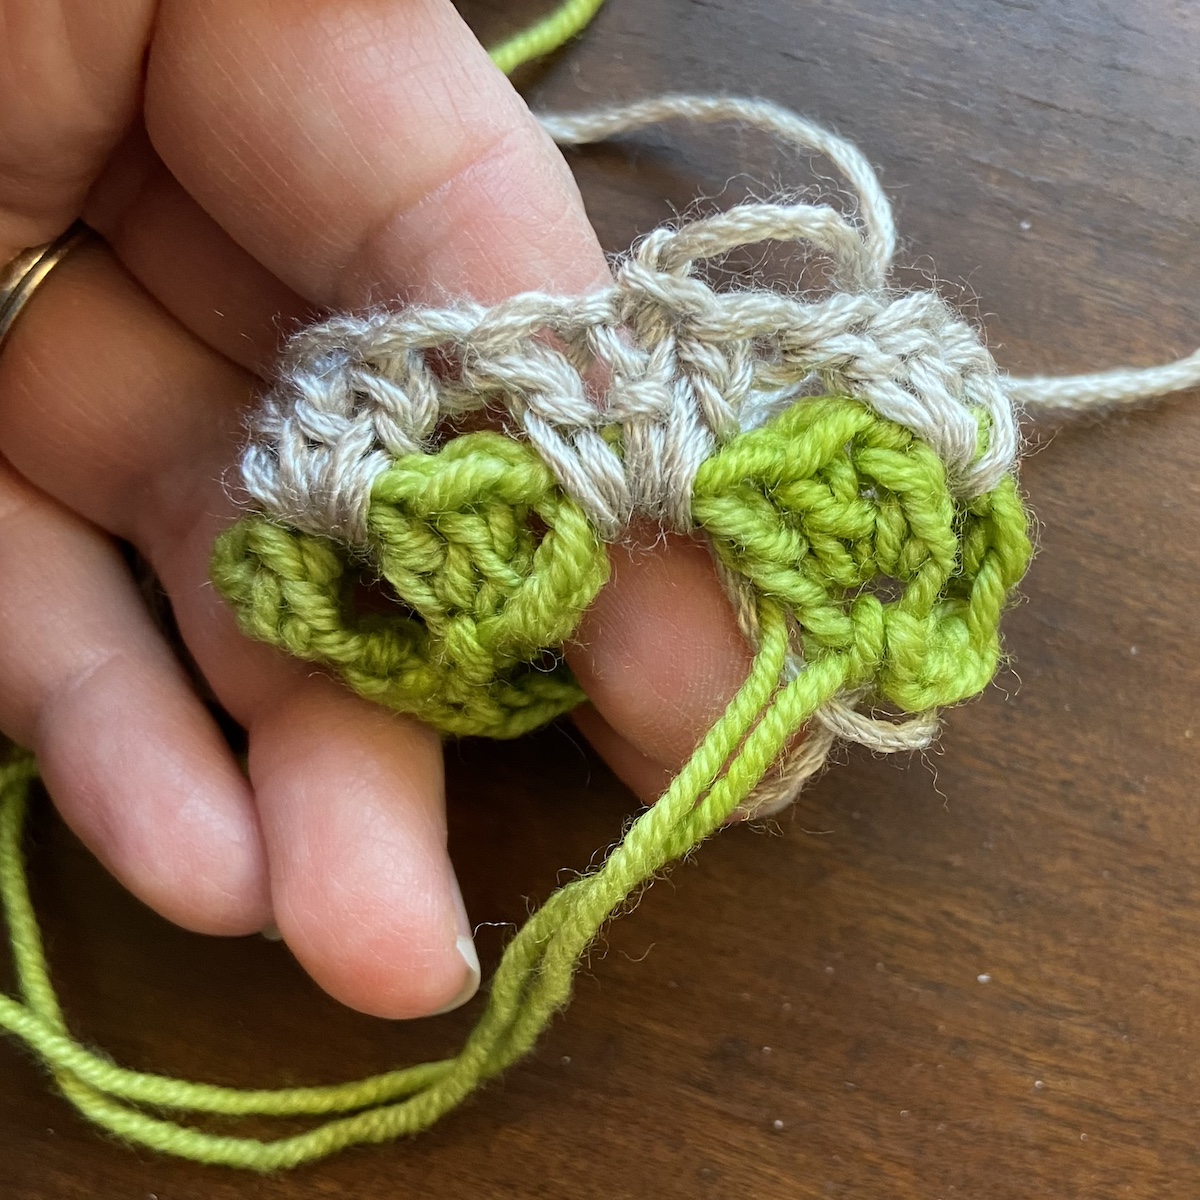
Note: Make sure you are continuing to crochet all the way around the circle, and through the elastic hair band. You can twist the fabric through the elastic hair band towards the working loop as you stitch, so that your hook never needs to travel through the hair band. In the photos, the hair band is hidden behind my hand, but it is still trapped in the crocheted loop of fabric.
As work progresses, either weave in the yarn tails, or tie 2 or more tails together on the wrong side of the scrunchie and trim the ends. Normally I would not opt to tie and cut my yarn tails, but this would be a very large number of ends to weave in and I knew that the knots would be enclosed on the inside of the scrunchie. I decided to tie my yarn tails together making two tight overhand knots. I was careful not to pull on my stitches or distort the fabric, and I made sure the knot didn’t sit directly behind a hole in the fabric. Then I cut off the excess about ¼” from the knots. This looked great on the outside, and seems to be holding up very well (I’ve been wearing my scrunchie and it hasn’t shown any signs of coming apart.
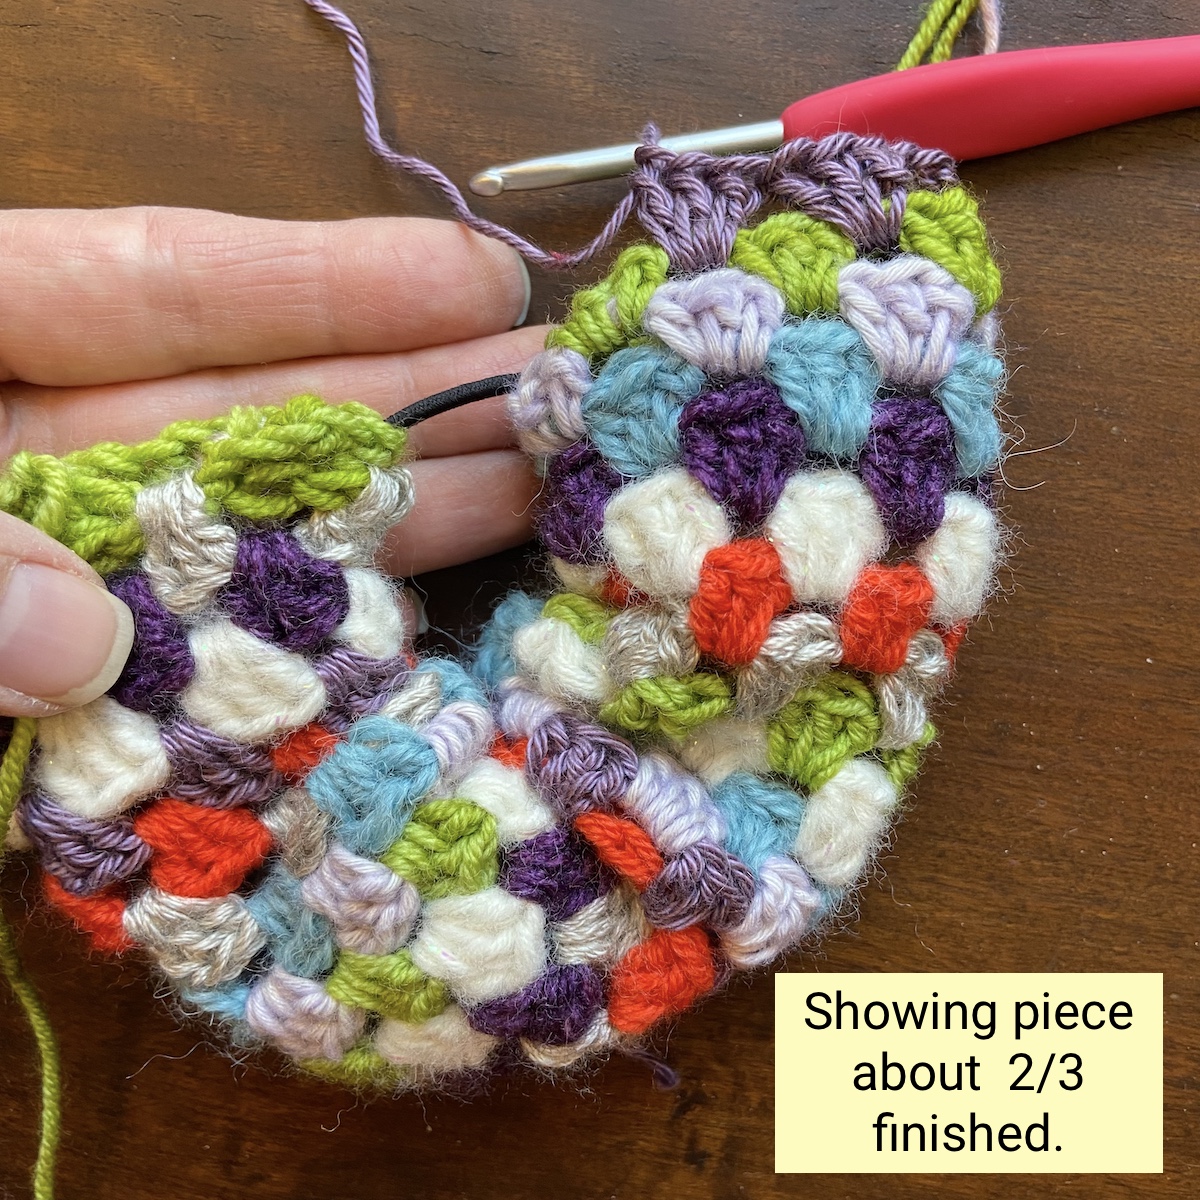
Repeat from * until fabric is long enough to sit flat when the bottom and top of the tube are connected.
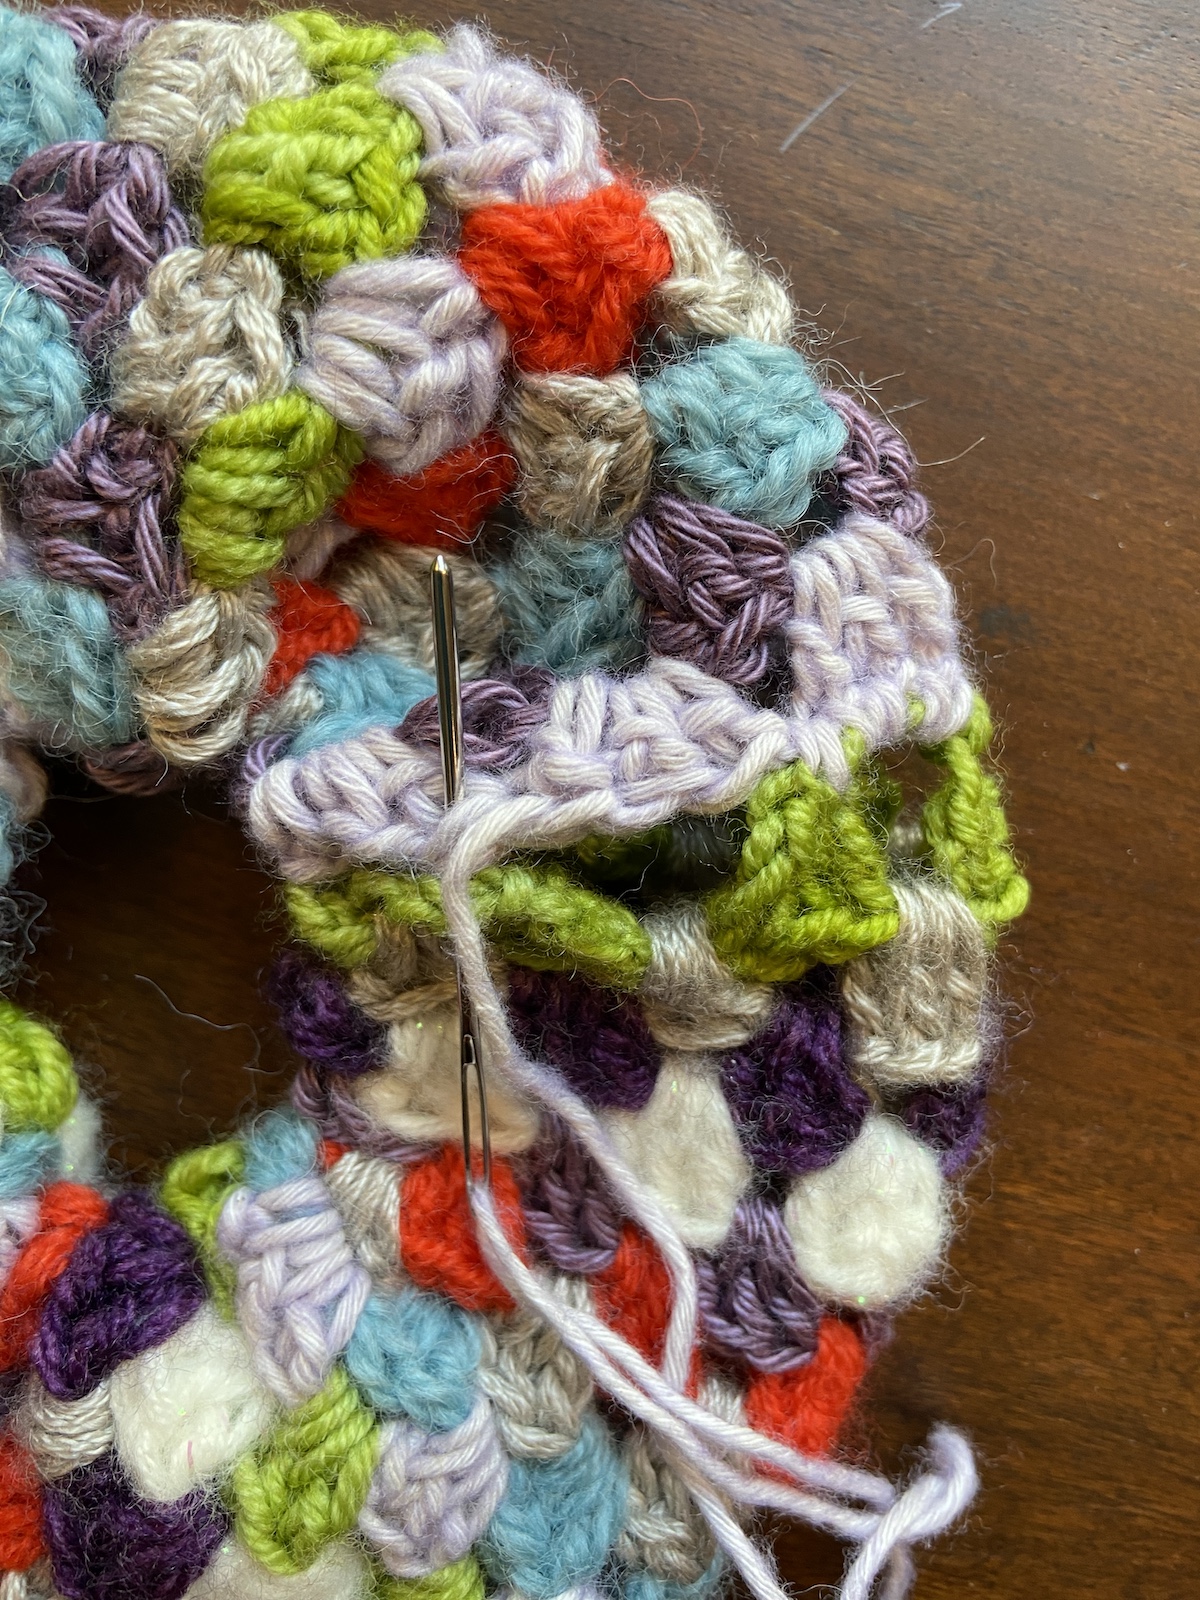
Use yarn tails to sew the foundation chain to the last round worked. Match up the stitch pattern so that you are stitching the tops of 3 DC to the 3 chains between the DC stitches in the foundation chain. Note: There will be a section of 3 DC that do not need to be stitched to anything, as there is a gap (without chains) between the first and last group of 3 DC from the foundation edge. This is pictured above.

And that’s it! Throw your hair into a messy bun with your new scrunchie and get ready for lots of compliments!

Love it!!! Would you send me the pattern...
Love this! would love to make them with and for my granddaughters. Are you able to email the pattern?
Very interesting-I have to make one, NOW!
What a great idea and quite simple to make. Thank you.
Hi please email pattern. Thanks
Love it. I am new to crochet but I am definitely going to give this a try!
Very cute, I’m new to crochet and wanting to make for each granddaughter Thanks so ver much for tutorial. Wish me luck
When I chained 24 I ended up with 8 sets of three triplets. Then I couldn't figure out how to anchor the elastic inner foundation, and enclose it. Thanks, Frances
the scrunchie looks adorable. Please Email the pattern to me.