There’s just a hint of chill in the air and pumpkin spice lattés are everywhere—it’s finally beanie season! Every year at the very first hint of fall weather, I feel the insatiable need to make beanies. It doesn’t matter that I made no less than 10 beanies last year; my hook cannot rest until I complete at least a couple of cute hats!
Beanies are a great way to practice a new technique or try out a new yarn. They’re also inexpensive to make and useful too, making them my go-to gift for handmade holiday gifts. Although I love developing new beanie patterns and trying out different stitches, sometimes I just need to make something without thinking too hard about it. In these moments, I gravitate back to a simple ribbed beanie with sideways construction. Let me walk you through my process so that you can make your own version.
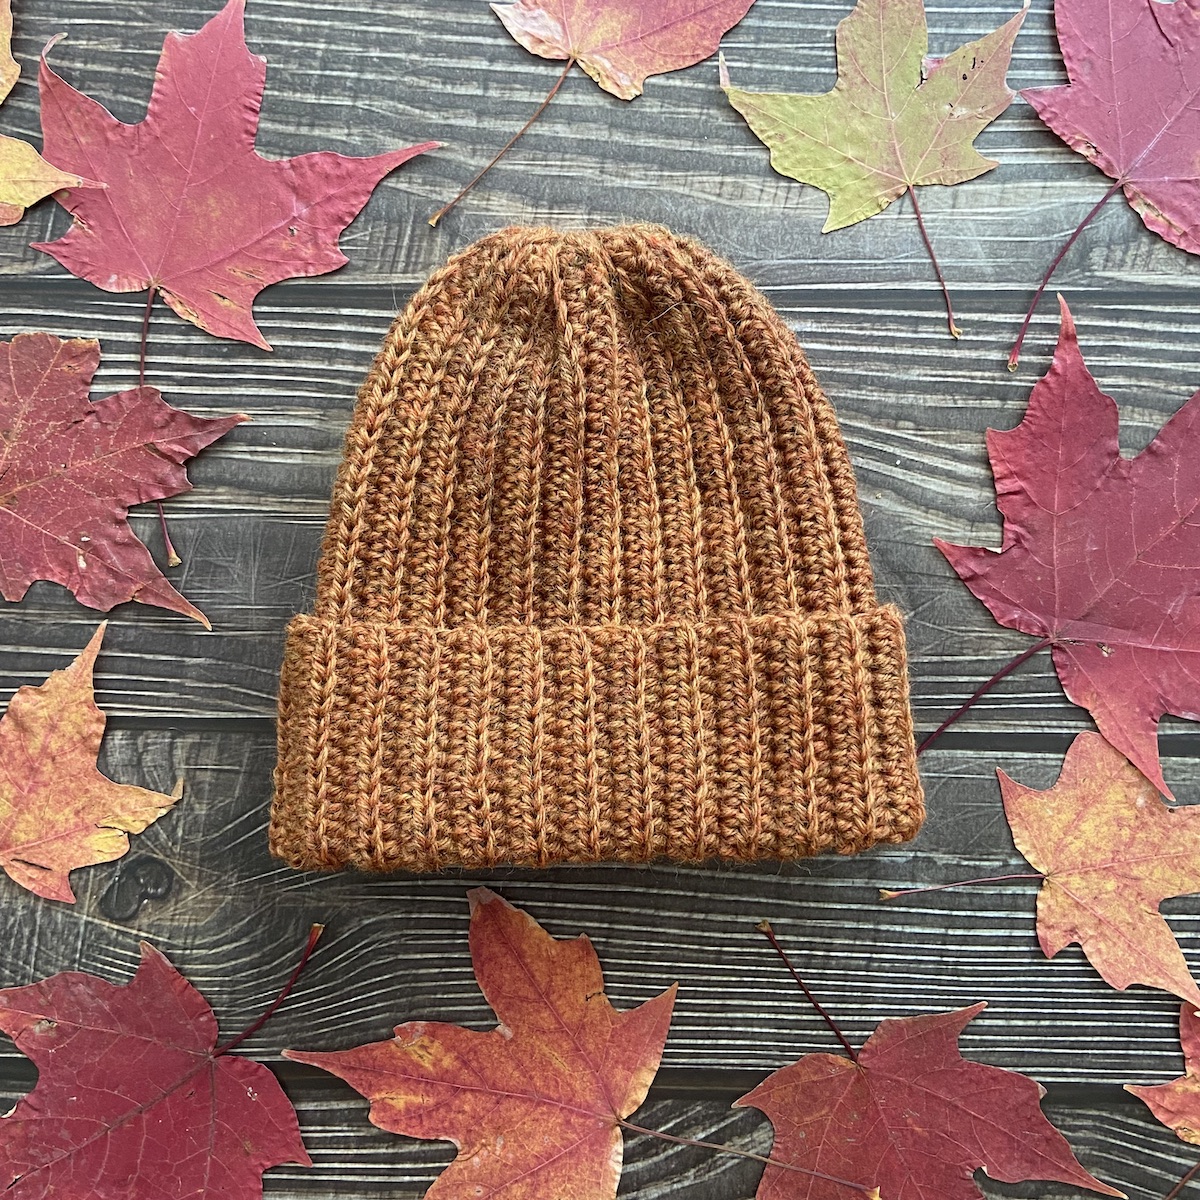
You can make a beanie in whichever yarn weight you like. Choose a hook that will give you a fairly firm gauge so that you do not have large holes between your stitches. In the sample pictured, I used a worsted superwash wool yarn (this is a #4) and a G/6 (4.0mm) hook.
Next, determine how tall you would like your hat to be. You can use a beanie that you already own and measure it from the top to bottom, or you can use your head to determine this measurement. To use your head, use a measuring tape to measure where the bottom edge of the hat should be and measure up to where you imagine the center top of the hat should be.
If you plan the hat to have a folded brim like the sample shown, you will need to add the height of the brim to the projected height of the hat. For instance, I wanted my hat to measure about 8” tall and I wanted the brim to measure about 3” up from the folded edge. So the total height of my hat should be 11”. (This sample was made to fit a child, with a bit of extra height to the hat).
Make a beginning chain that is just slightly longer than the desired beanie height by about 1”, then add one more stitch (this will count as a turning chain). In my sample I started with 49 chains.
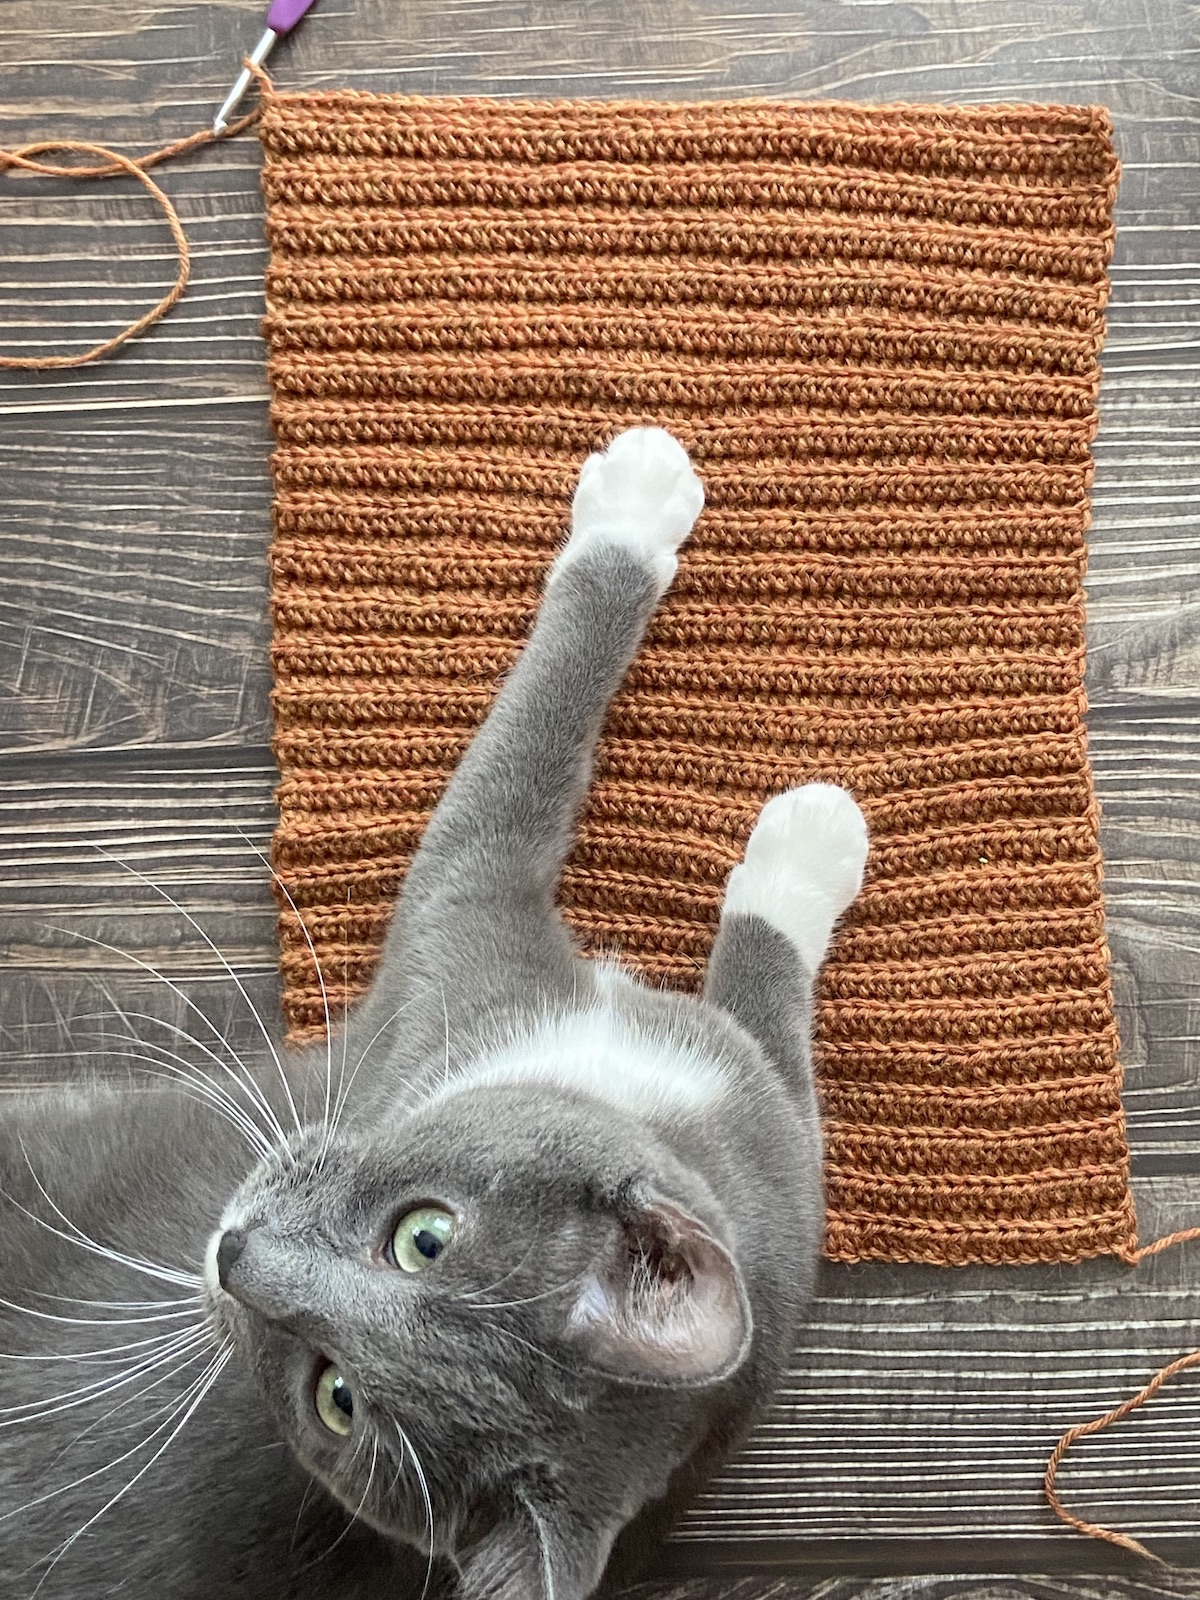
Beginning with the second chain from hook and working into the bottom of the chain, make a HDC in each st across, until the piece is as long as your targeted height measurement. If there are extra chains leftover, these can be unraveled. As you continue making rows, continue to monitor the width of your rows (this is the height of the finished hat). Sometimes our gauge fluctuates a bit at the start of our project, so it’s important to double check after a few rows to make sure it’s on target.
Next, *make a ch-2 for a turning chain (this will not count as a stitch—you will never work into these turning chs), turn your work and make 1 HDC in the back loop of each stitch across. Repeat from * until your hat is the desired circumference (you will need to measure across the long sides of the rectangle, or you can pin the shorter ends to each other and try it on). The long side of the rectangle should measure 1–3” smaller than the head circumference so that it has to stretch a bit to fit. Make sure you work an even amount of rows; the working loop should be opposite where the beginning yarn tail is. In my sample I worked 50 rows.
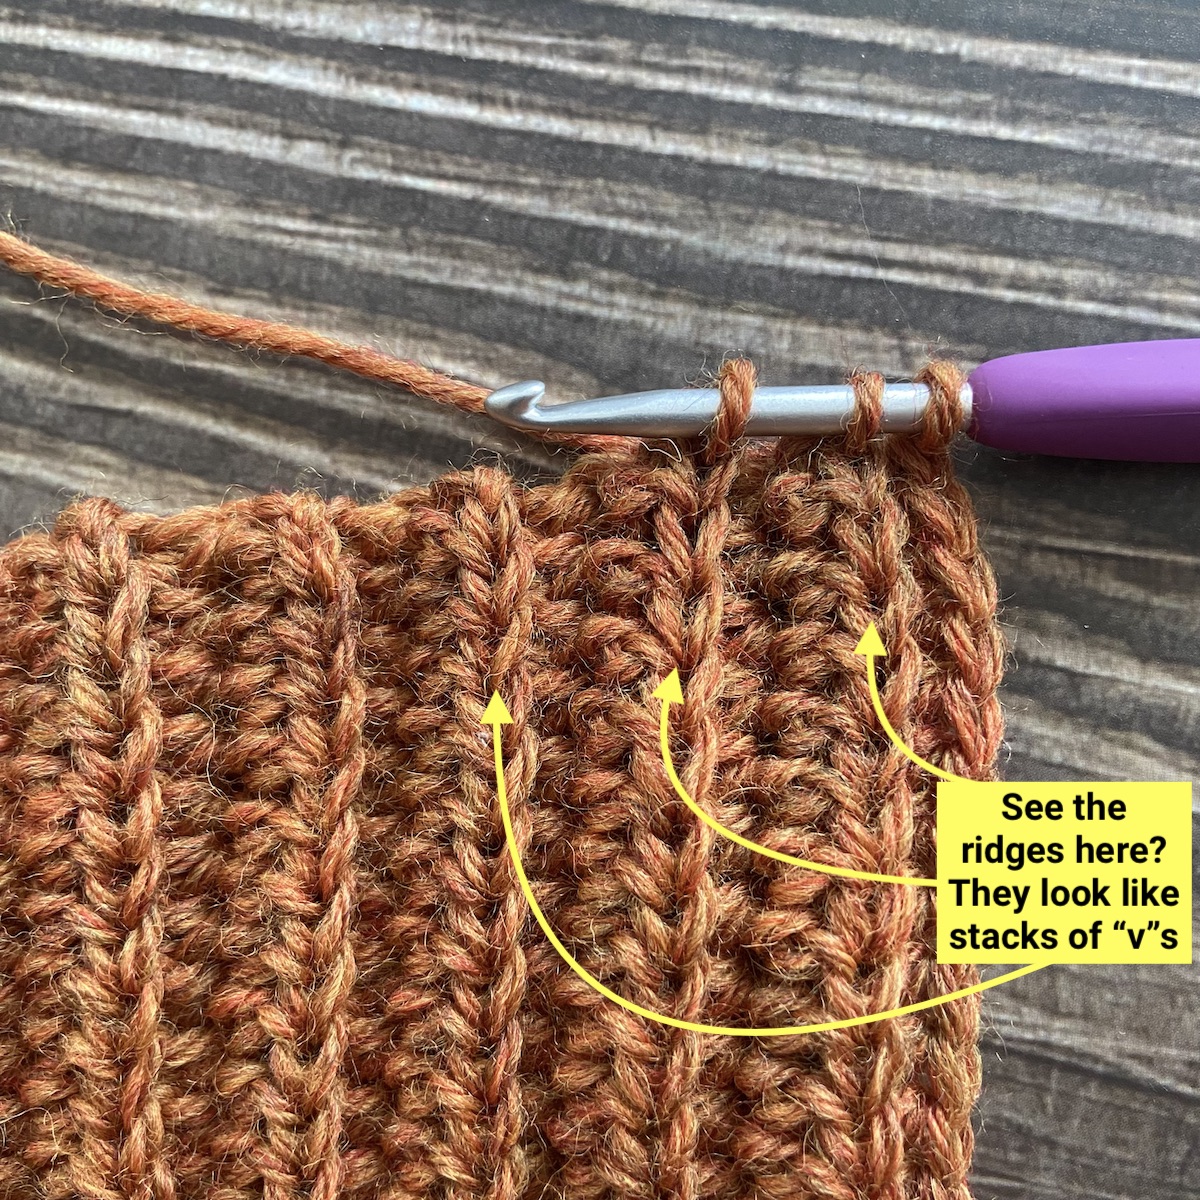
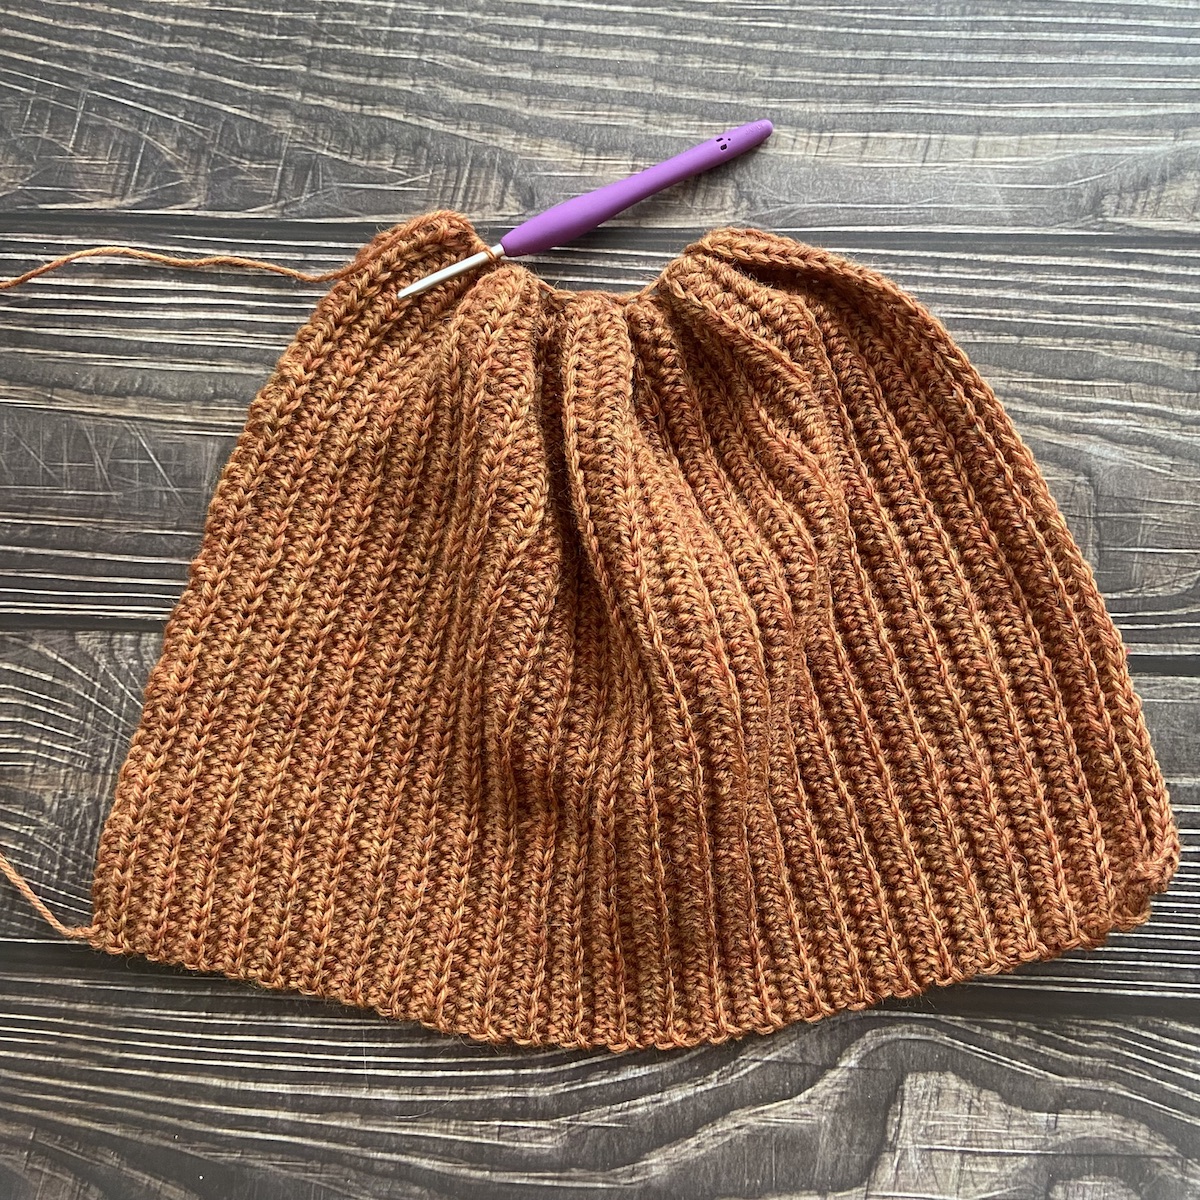
Rotate the piece in order to work along the top edge of hat, into the row-ends. Make SC decreases (SC2tog) as shown, across the top edge to help shape the top edge. To make the decreases across the top edge, **insert hook into the next ridge (see photo below) YO, and pull up loop, insert hook into following ridge, YO and pull up loop…
YO and pull through all 3 loops on hook.
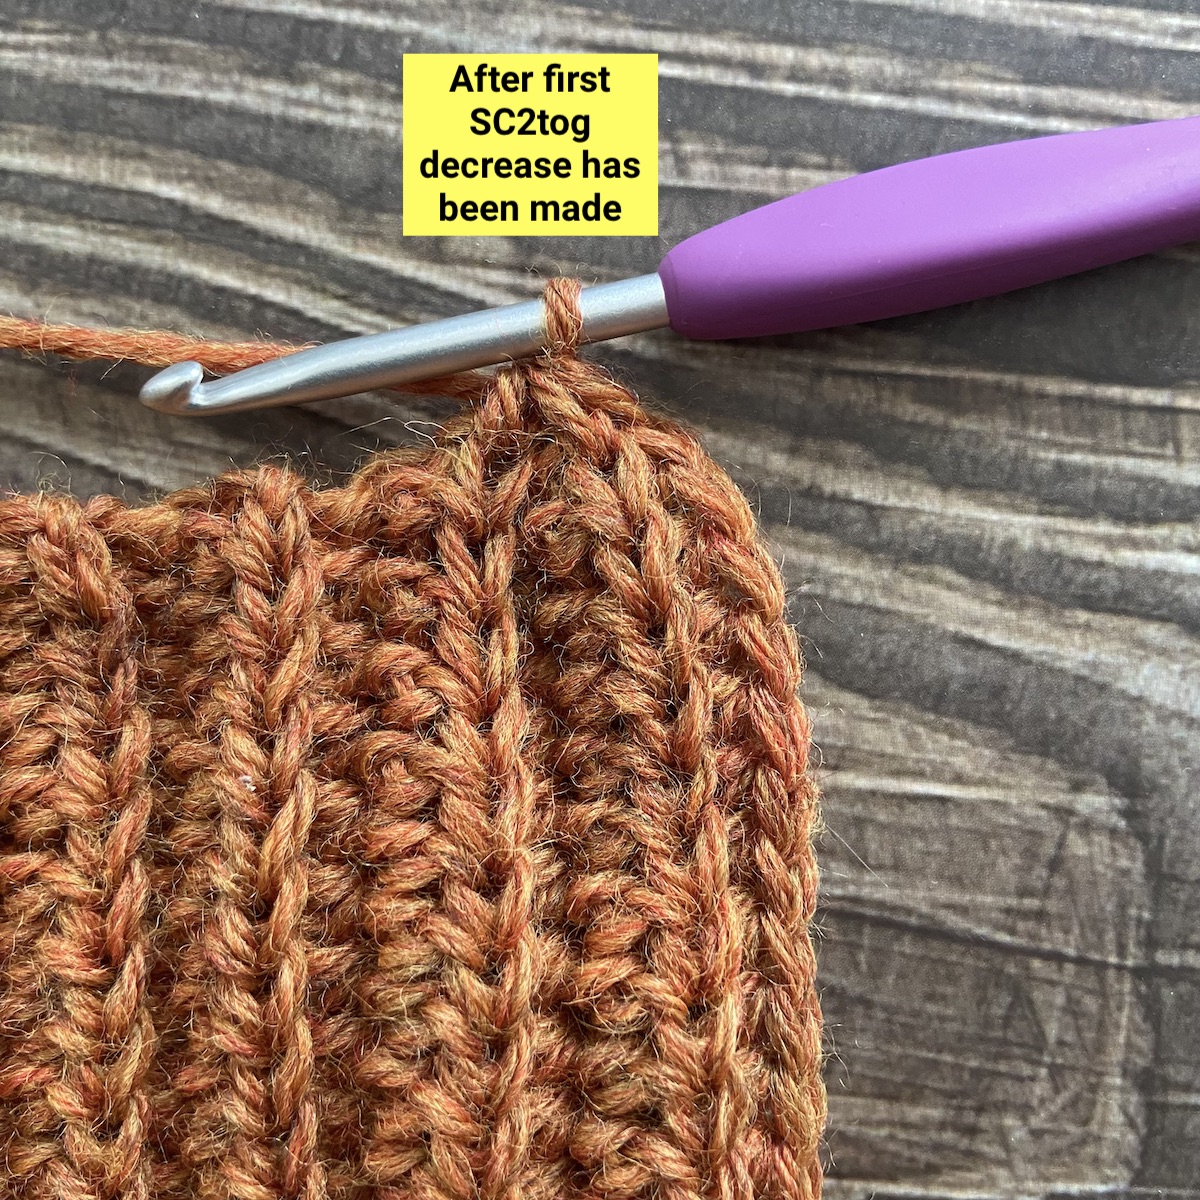
Repeat from ** across until all ridges have been worked. If one ridge remains at the end, work one SC into the last ridge.
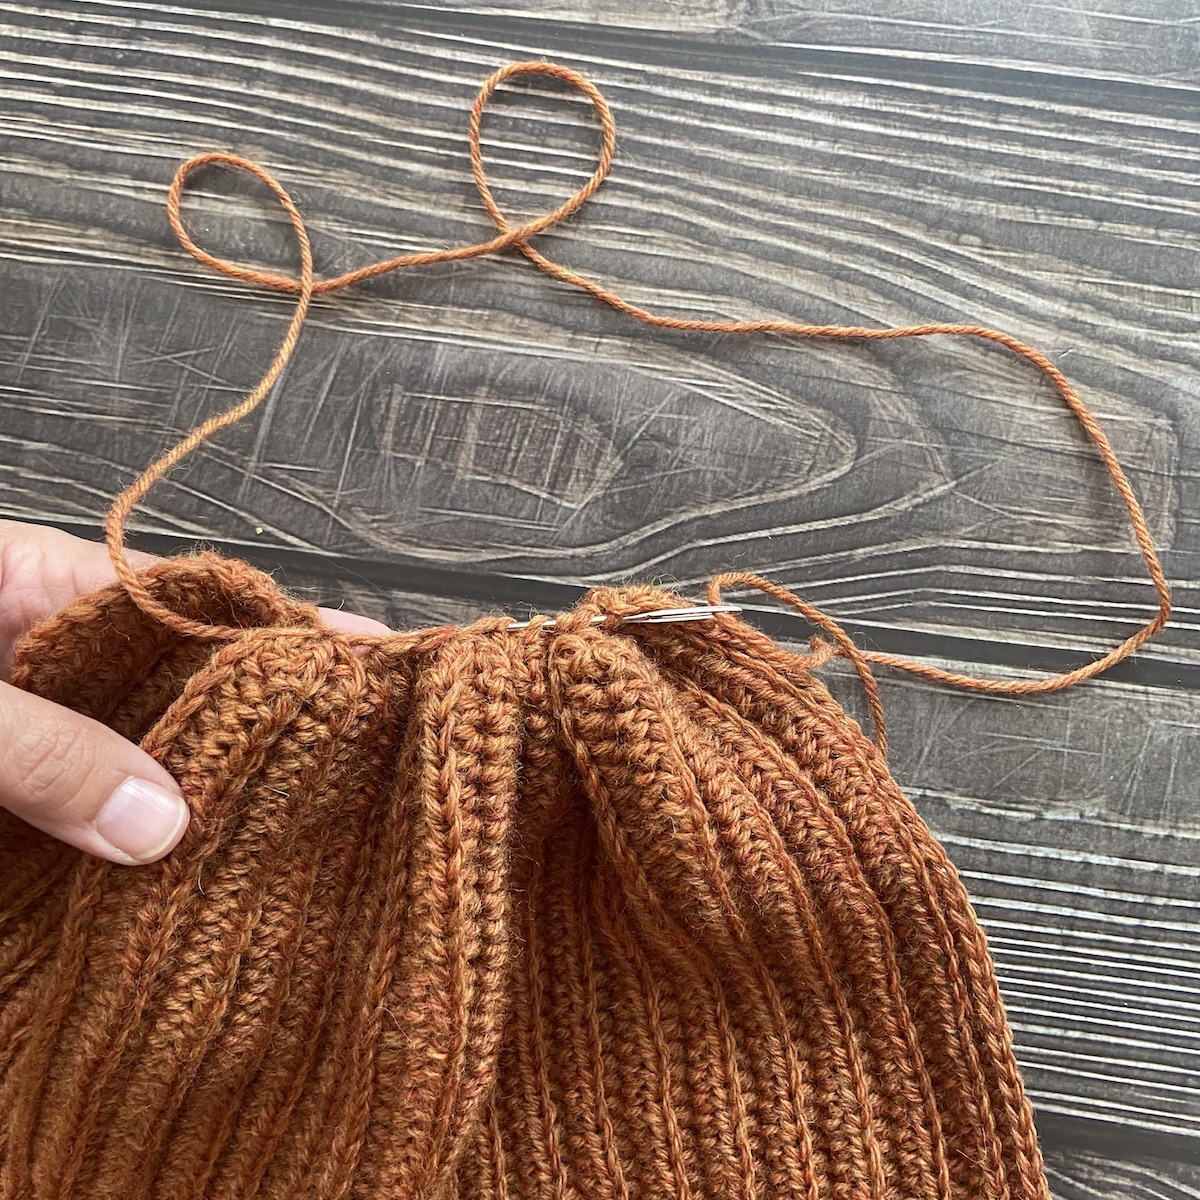
Fasten off leaving a long tail for sewing. Using yarn needle, weave yarn tail through each of the SC that were worked along top edge of hat and pull tight to close the top of the hat.
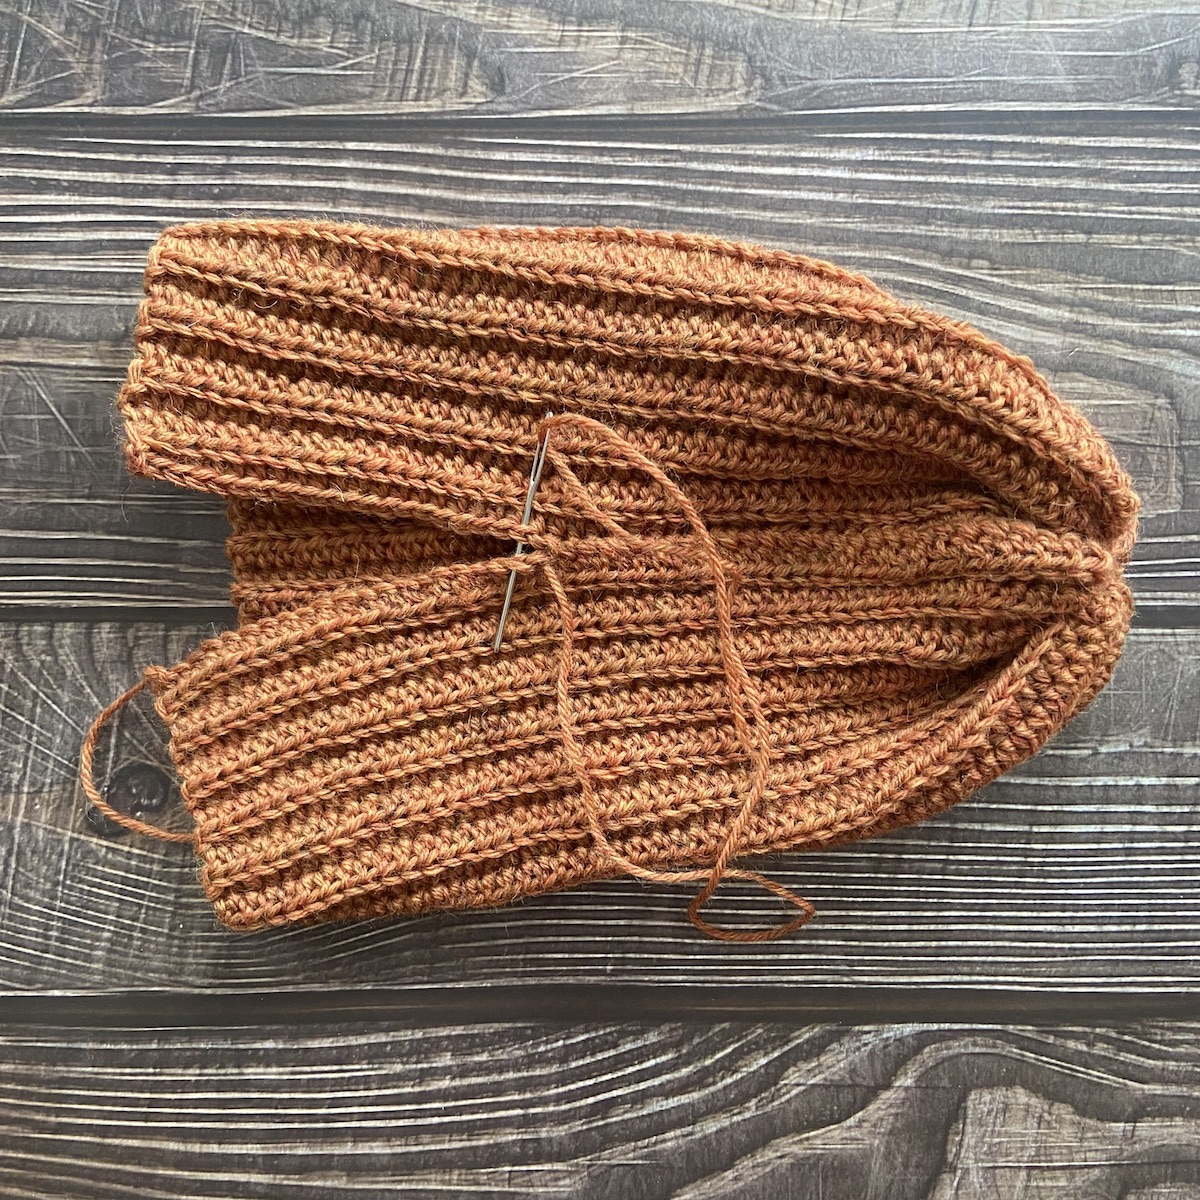
Continue to use the yarn tail to whip stitch the seam in hat.
Weave in ends. Block.
Making beanies this way is so easy—once you have achieved the intended height of the hat, you just keep adding rows until you get the perfect fit! And best of all, you can use any yarn/hook combo that gives you a fabric that you like. It’s so fun to be able to create something yourself!
For a top-down method of designing your own hat, be sure to check out this Creative Crochet Corner video!

Why is there no pattern file with the abriviations list and if so how to get it FRRRRRRRREE
What HDC means.
I will try this Thanks
Like this tutorial and will try it! I like working with th G hook so yes a good try for me.
Nice looking beanie, easy to make and totally wearable,Thanks
I have been using this hat pattern several years for elementary school yarn bombs. The pattern is unisex so it is great for a boy or girl. Each hat gives 2 smiles; 1for the creator and 1 for the recipient.
Gonna try it. Looks nice and reads simple. Thanks!
Excellent tutorial. You make it easy to follow. Thanks.
It would have been helpful had you included a glossary of your crochet terms. I couldn't understand the instructions because I am not familiar with your shortcut terms.
Love it!!