Whether you're looking for a lightning-fast crochet project, or just love the look of big squishy wool, super bulky yarn is really fun to work with and can have stunning results! In the last few years, super-bulky yarns have become incredibly popular, both in the crafting world and on the runway. Let's go over how to crochet bulky yarn.
As a crocheter, it's a bit tricky to use this kind of chunky yarn for wearable projects. This is because crochet stitches are often more dense than knitted stitches are; there are more twists, turns, and knots in most crochet stitches compared to the knit stitch. This means that there are areas of a crocheted fabric where the stitch is quite dense, and often, right next to it, there is a hole. When a thinner yarn is used, this is not a problem; the fabric is naturally not as thick, and the holes between stitches are relatively small. However, as the yarn thickness increases, so does the thickness of the fabric and likewise the size of the holes between stitches.
To give a fabric more drape and stretch, we often switch to a larger hook. But this will also result in larger holes between stitches and a fabric that doesn’t spring back into shape. So, what size crochet hook should you use for bulky yarn? To minimize the holes between stitches (to create a warmer fabric) we often go down a hook size. However, this will create a denser fabric that feels too stiff to wear.
Finding the Perfect Stitch Pattern for Bulky Yarn
Luckily in the world of crochet, there are countless ways to make a stitch, so there are many exceptions to this problem! For the last few years, I've been experimenting with countless stitch patterns to find the ones that work the best with these thick yarns. The trick is to use a stitch pattern that has lots of coverage (minimal holes between stitches), but still has stretch and isn’t too thick. Below I’ve listed some of my favorite stitch patterns for super bulky wearables:
1. Trinity Stitch
I used this stitch in the Eleventh Hour Beanie (free pattern) for a squishy and very warm hat!
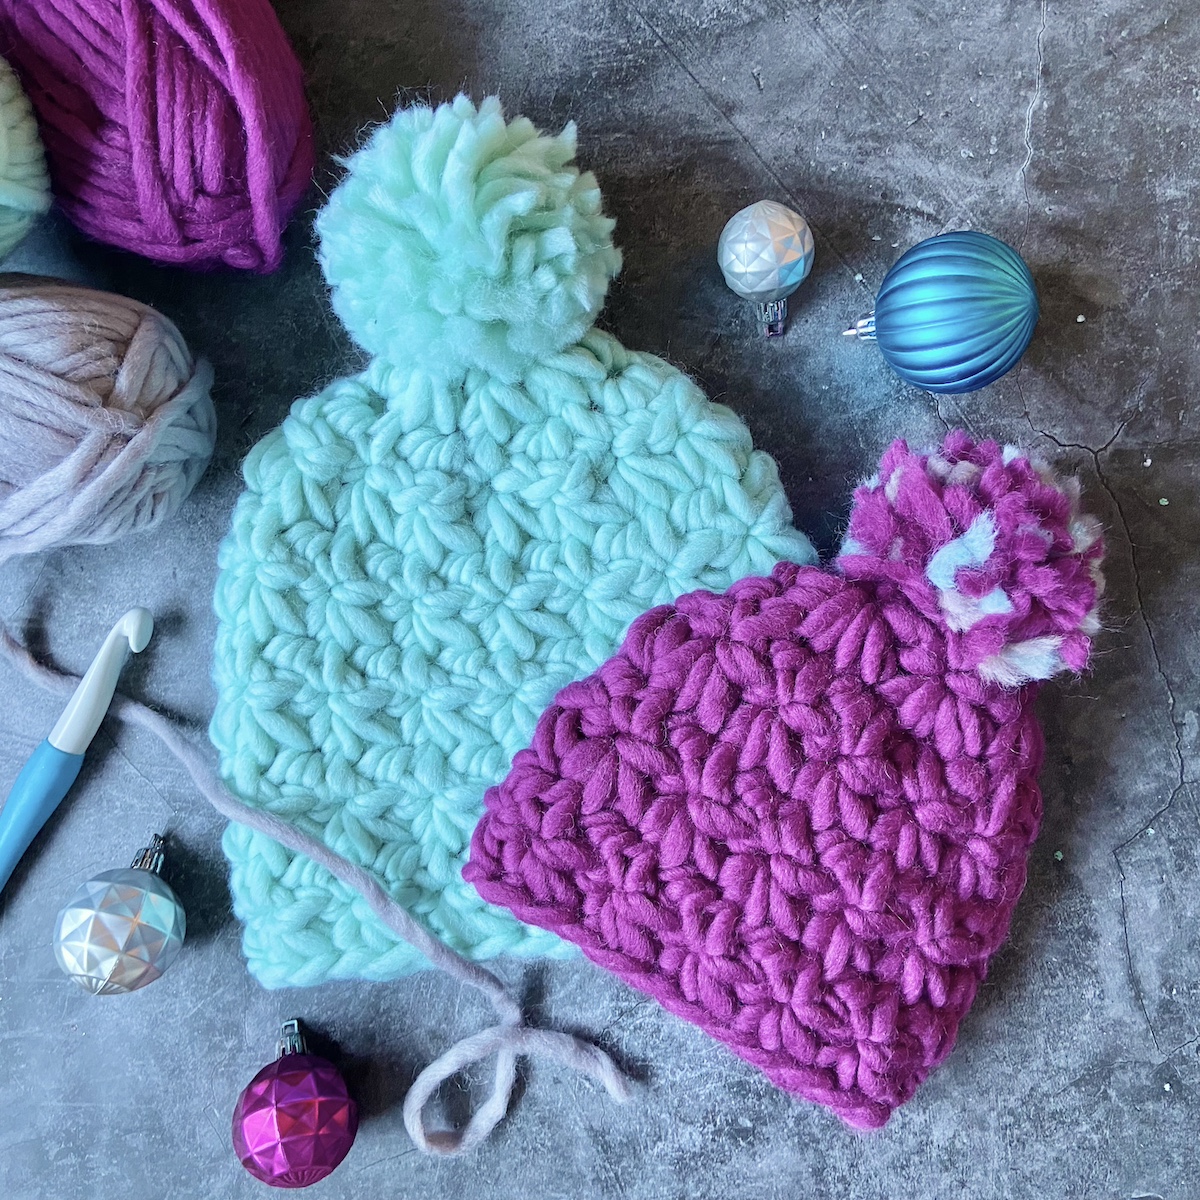
2. Star Stitch
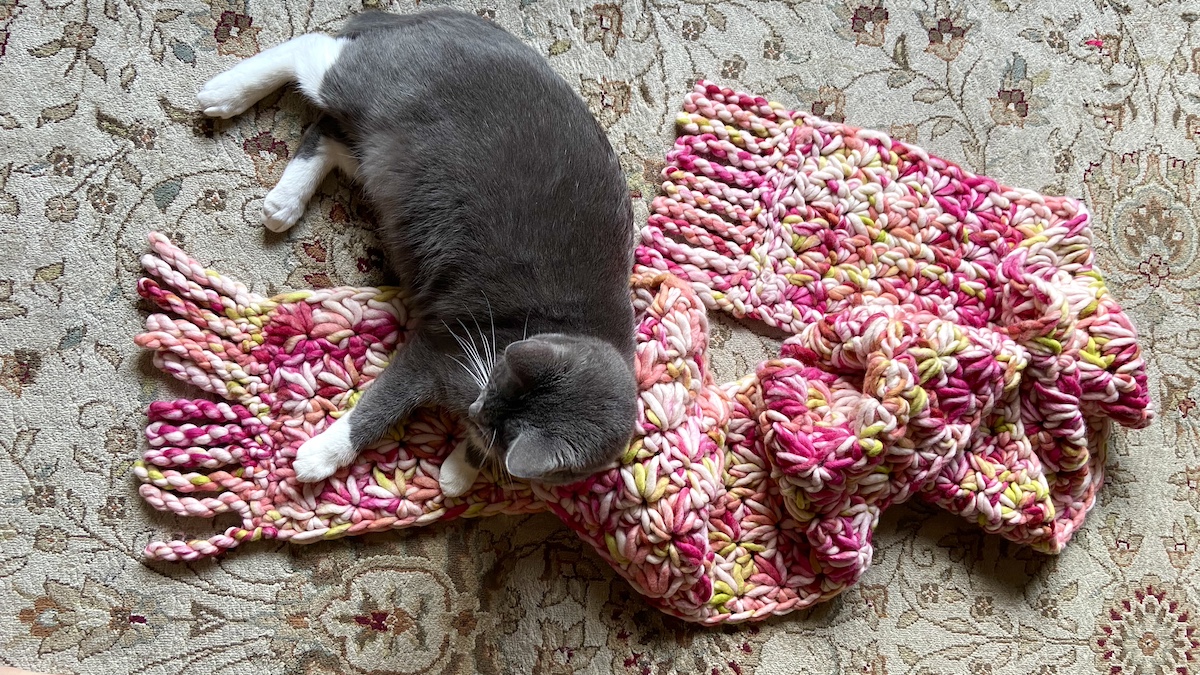
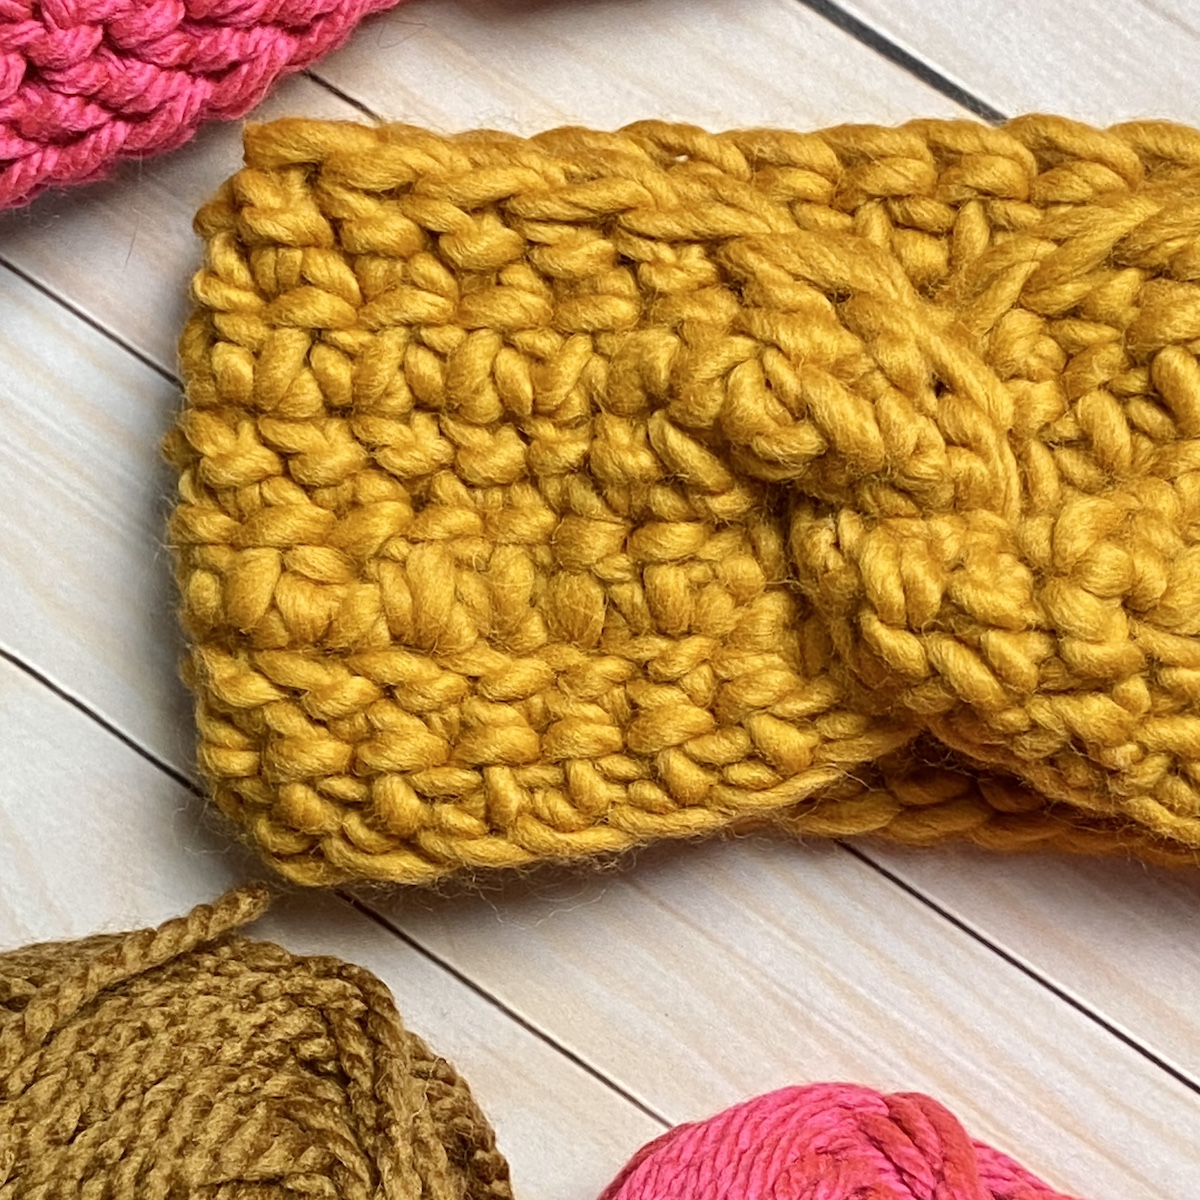
You can crochet this stitch pattern up at a surprisingly large gauge before you see holes between your stitches. I’ve used this before on a super scarf and it had tons of drape (see below), without letting the wind through. I also often use this for hats and headbands. The photo below shows an example of a headband that uses this stitch in a comparatively tighter gauge for better elasticity. (This headband is just one of the projects you can learn to make in my class: Crochet in a Snap! Working with Super Bulky Yarn.
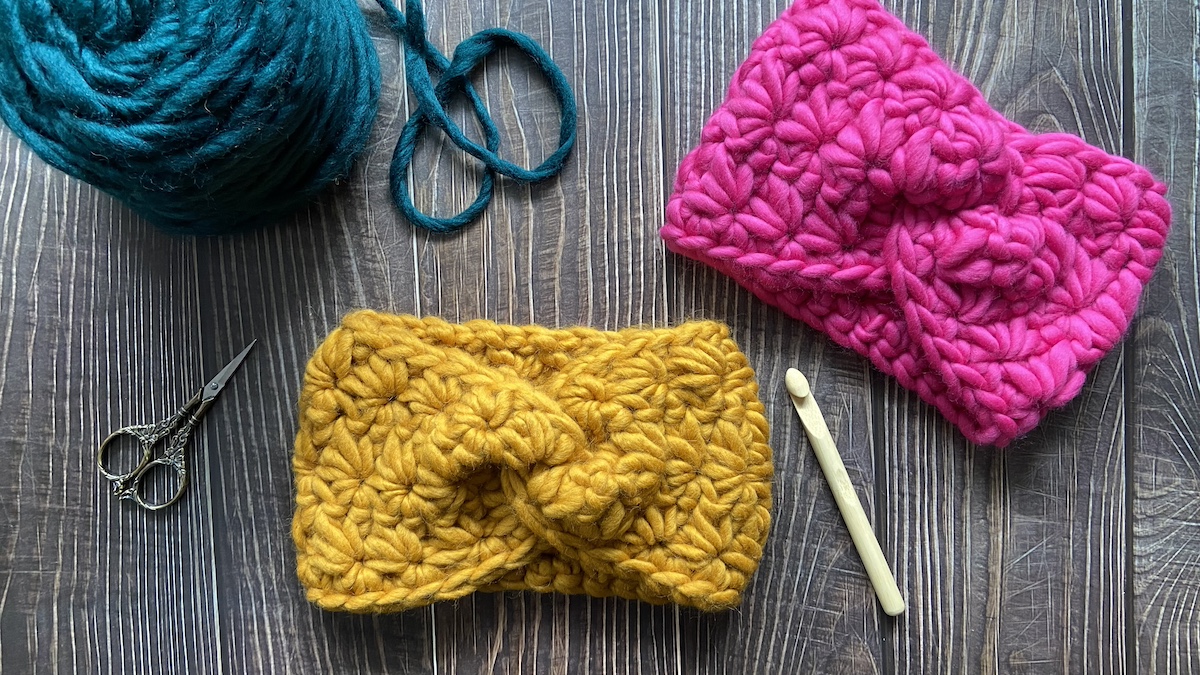
3. Knotted Double Crochet (also known as Herringbone Half-Double Crochet)
This stitch is unusually elastic and has great coverage. This also looks very different when worked in the round compared to working it in turned rows. There is a video tutorial on this stitch here on the Creative Crochet Corner website. (The pattern for this headband is included in this article.)
Choosing the Right Bulky Yarn
This is an important consideration. Not all super bulky yarns will behave the same way when crocheted up to the same gauge. If drape is a concern for your project, look for a loosely spun yarn, with fewer plies or a fiber mix that has inherently more drape to it, like alpaca blends or superwash wool, or longwools such as Merino or Wensleydale, etc. If elasticity is more of a concern (such as in a headband or hat that needs to spring back) you may want to find a yarn with more elasticity, like a non-superwash wool with more plies or higher twist.
Blocking
Another important component of working with super bulky yarns is blocking! Seriously, do not skip this step. Even if you have never bothered to block anything else you have ever crocheted before- please block your super bulky projects- it will make a difference! If you are using wool, I would recommend wet-blocking your project. If you are using acrylic, please try steam blocking your piece. There is a video on the Creative Crochet Corner website about steam blocking, where you can see the difference that it makes.
Try it out for yourself!
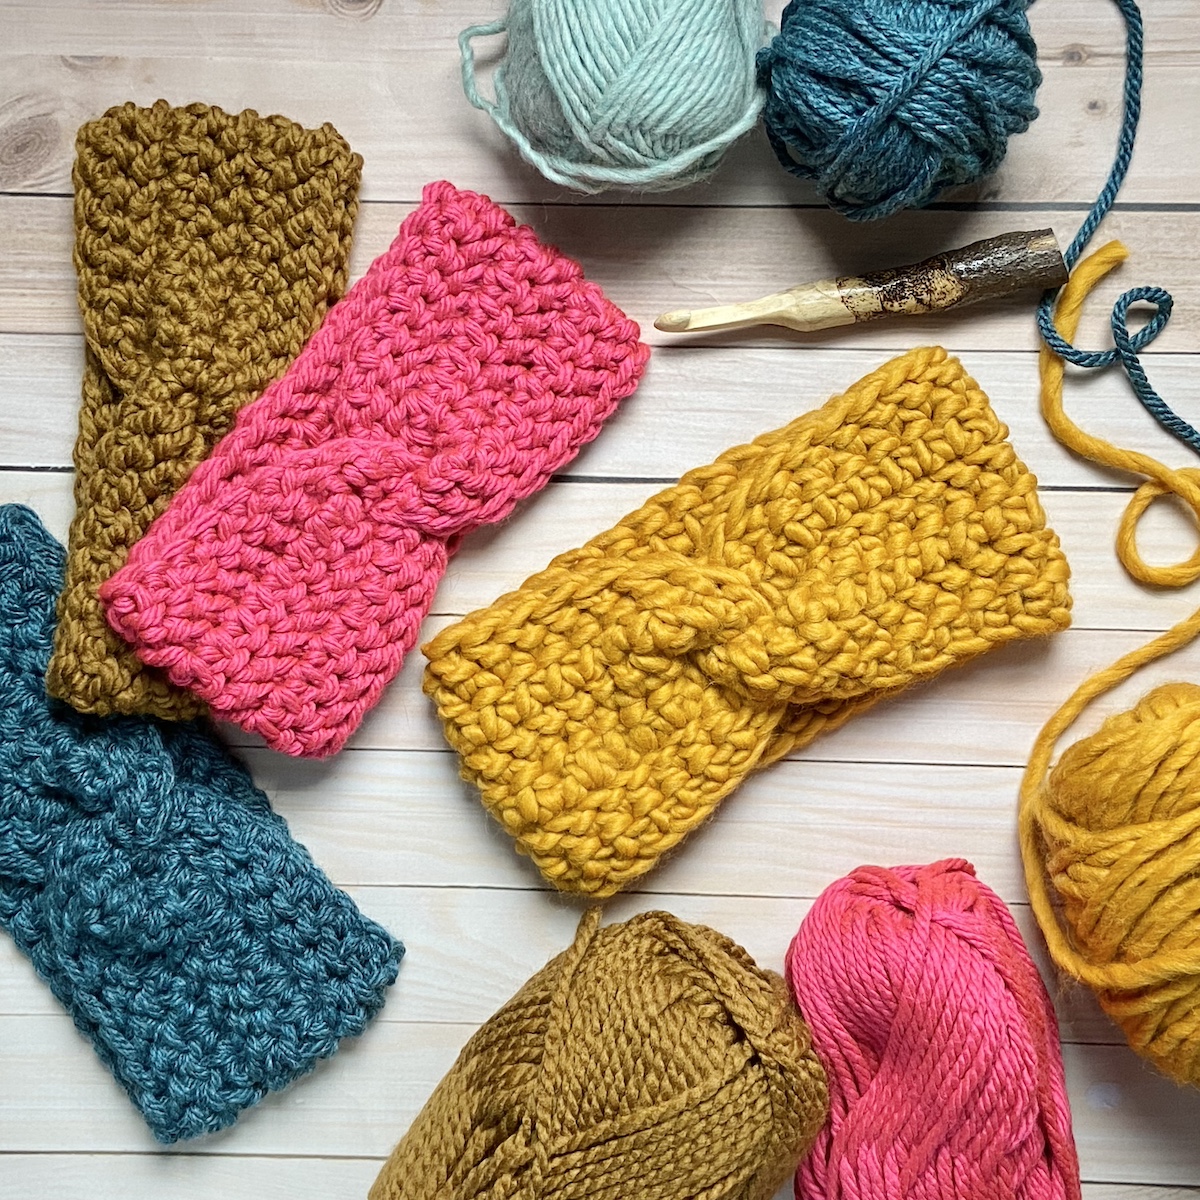
Wondering what to make with super bulky yarn? I used the Knotted Double Crochet to work up a very cute, head-hugging, wind-blocking headband, and I was so happy with the results that I wanted to share it with you! The Quick Knotted Headband is one of the easiest patterns that I have ever written up. This is exactly what people are looking for right before the holidays; something quick, super-easy, budget-friendly, practical, and cute!

You can download the free pattern here. The pattern includes complete directions along with a photo tutorial of the seaming technique. Specific yarn details (brand, color, fiber content, etc) can also be found in the download. If you are interested in learning more about working with super bulky yarns, or in making the projects pictured at the beginning of this article, check out my class: Crochet in a Snap! Working with Super Bulky Yarn.
Read on for the basic instructions on how to create the Quick Knotted Headband.
Headband Directions
Sizes:
Finished headband measures approximately 18.5 (20, 22.25” [47 (51, 56.5) cm] in circumference, and about 4.5” [11.5cm] wide.
The headband fits best when it measures about 1” [2.5cm] smaller than head measurement.
Materials:
You will need between 42-50 yds [40-46m] of Super bulky yarn and a 10.mm hook (or any size in order to get gauge), and a yarn needle.
Special Stitches:
Knotted Double Crochet (KDC): YO, insert hook into next st and pull up loop, pull same loop through first loop on hook, YO, pull loop through both loops on hook. 1 KDC made.
Note: this stitch is also known as the herringbone half-double crochet.
To see a video of this stitch click here.
Gauge:
6.5 sts and 6 rows = 4” [10cm] over KDC stitch worked in turned rows and blocked. Because the stitches are so large in this project, the best way to check the gauge is to begin working headband, and check the width after two rows. Compare to the circumference of your desired size. Adjust it if needed by starting over with a new hook size. Otherwise, if you like how the fabric feels, you can start over by adding or subtracting stitches from the foundation chain so that the headband ends up the right size.
Notes:
The headband is worked lengthwise in turned rows.
Turning chains do not count as a stitch.
Foundation chain: Ch 31 (34, 37).
Row 1 (WS): Beginning with the second ch from hook, KDC into each ch. 30 (33, 36) sts.
Rows 2-6: Ch 1 (does not count as a stitch), turn, KDC into each st.
Mark Row 6 as a RS row.
Fasten off leaving a long tail.
Finishing
Weave in beginning yarn tail, block.
Seaming the Twist
Sew the short ends together as directed in this video, or as directed in the pattern download.

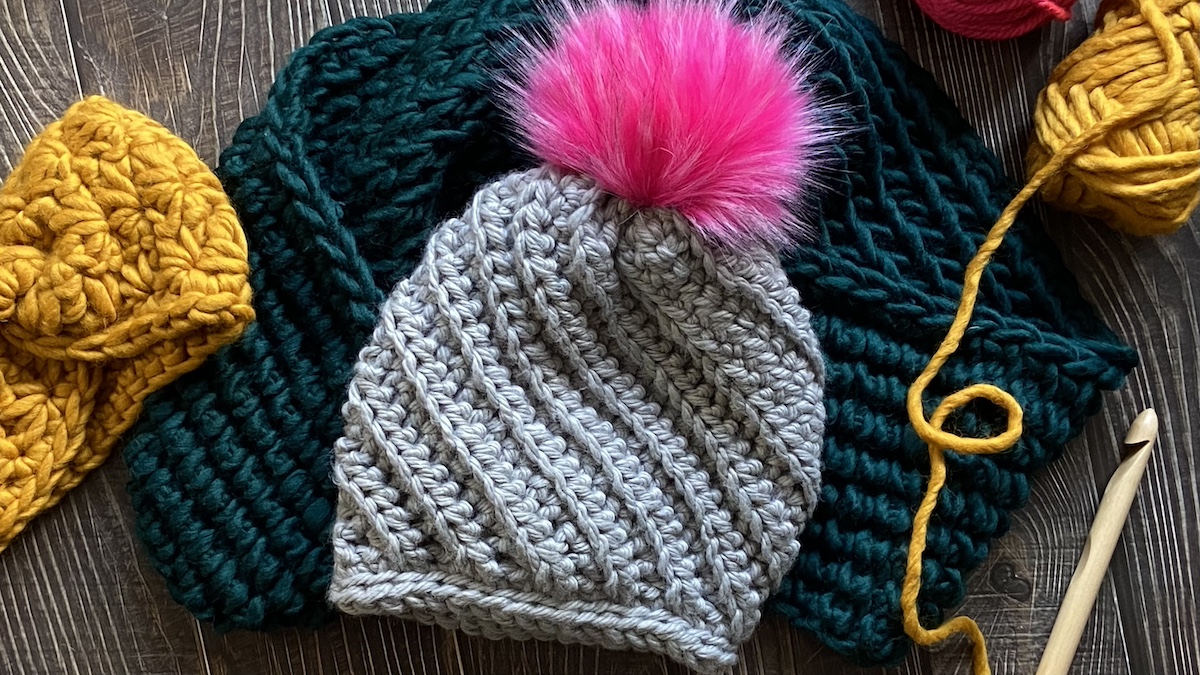
I'd like the pattern for the grap hat. That was pretty cute!
I would also be interested in the pattern for the gray hat
I second Debbie's request! I'd love a pattern for that diagonal ribbed gray hat with the pink pompom!
Thank you for the tips for the super bulky weight yarn. You have a picture of a gray hat with a pink pom-pom at the beginning of this article. Do you have a pattern available for this hat? Thank you for all your advise & patterns. I love your website.
All of the tips are very good advice, thank you they will definitely help