Bolt from the Blue Pencil Case
Brenda K.B. Anderson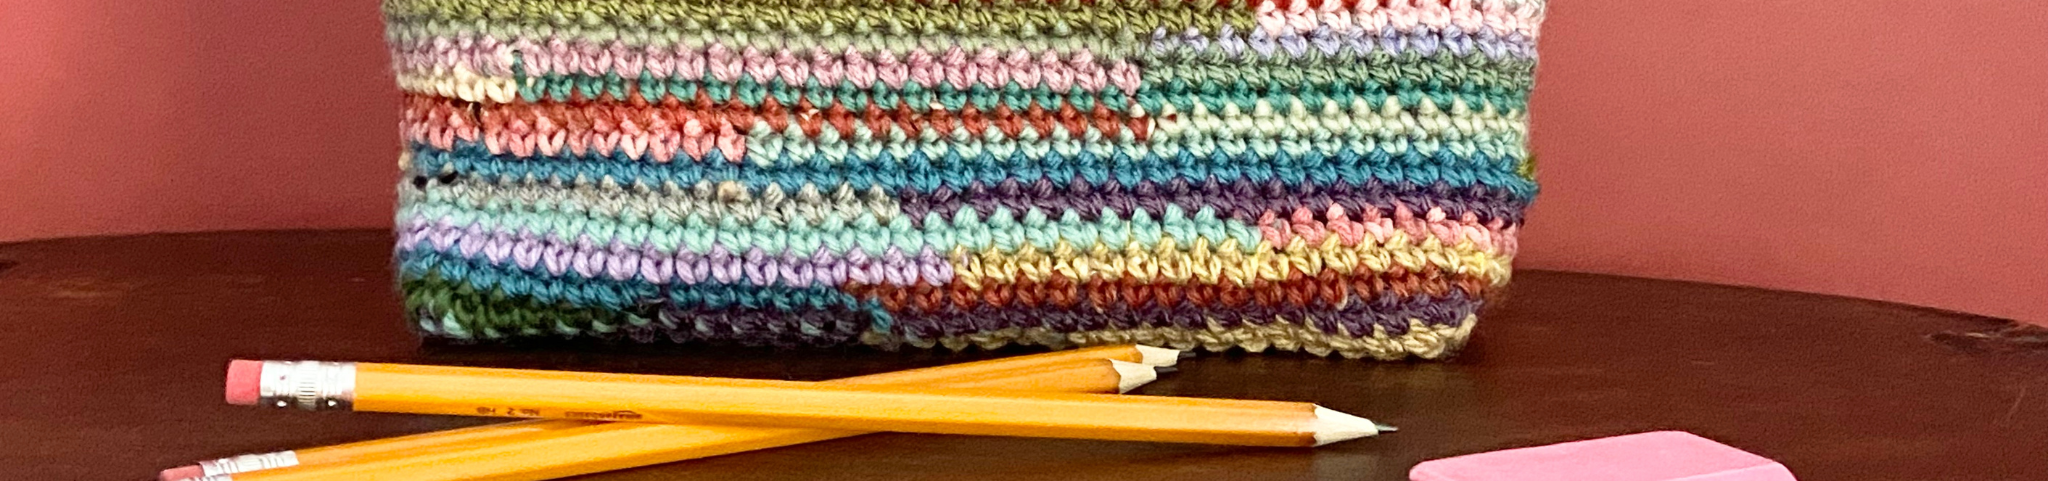
Member Access Only
Sign in to view the full video.
Do you love turning yarn scraps into beautiful, functional projects? In this session, Brenda will guide you step-by-step to crochet a one-of-a-kind pencil pouch that’s perfect for storing your hooks, pencils, or small essentials. Using her popular First Aid Zippered Pouch pattern as a foundation, Brenda adds creative twists to make this pencil bag both practical and uniquely yours. Whether you’re an experienced crocheter or just love crafty DIY projects, this tutorial is designed to be fun, customizable, and a perfect way to reduce yarn waste.
What you’ll learn:
How to efficiently use yarn scraps in crochet projects
Techniques for creating a durable, zippered pencil pouch
Easy customization tips to make your pouch truly unique
Grab your hooks and scraps, and join us live to crochet along with Brenda! Don’t miss this chance to create a useful, beautiful accessory while learning expert tips and tricks.
Log in to your member account to view the tutorial or join today.

