Little Ghostie Amigurumi
Brenda K.B. Anderson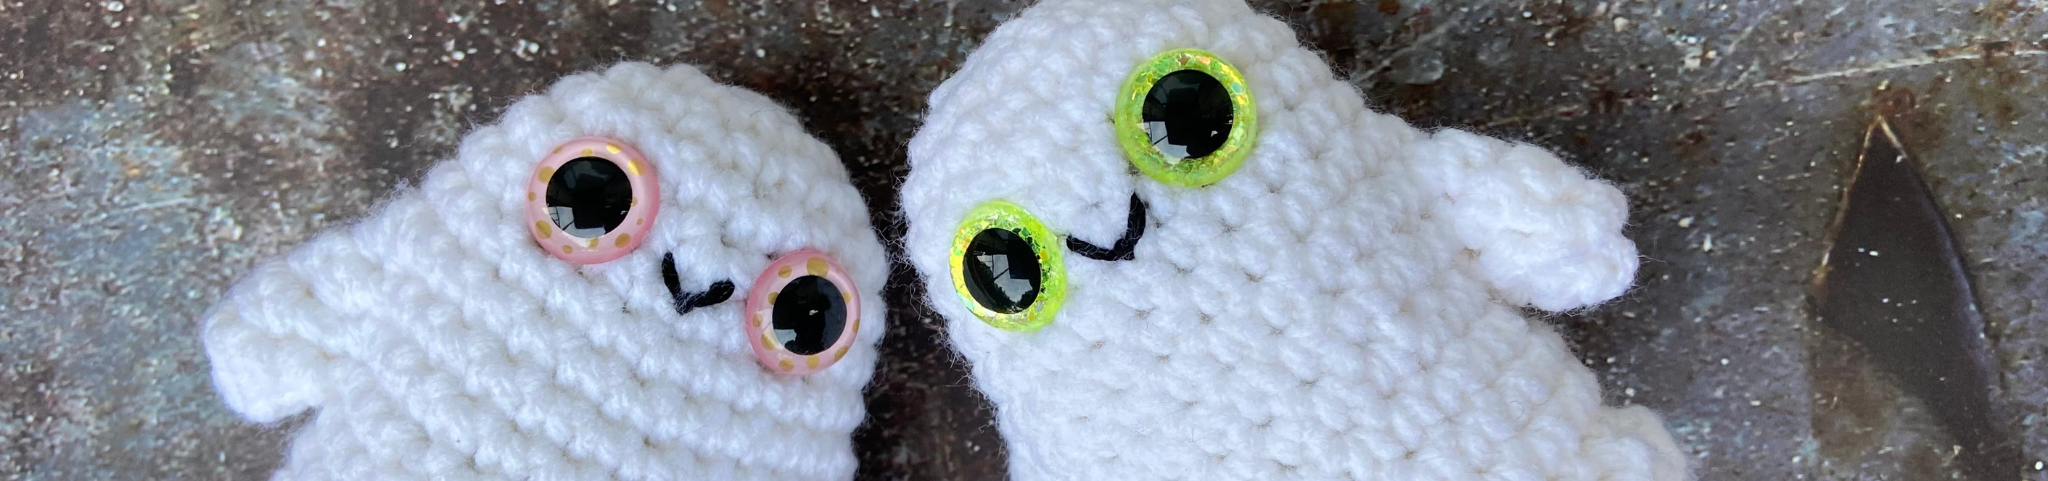
Member Access Only
Sign in to view the full video.
Learn how to create Little Ghostie, an adorable Halloween amigurumi project that’s quick, affordable, and requires very little sewing. This sweet design comes together in no time and makes a charming seasonal decoration that’s sure to bring smiles.
Log in to your member account to view the tutorial or join today.

