Rose Butte Ranch Cowl
Brenda K.B. Anderson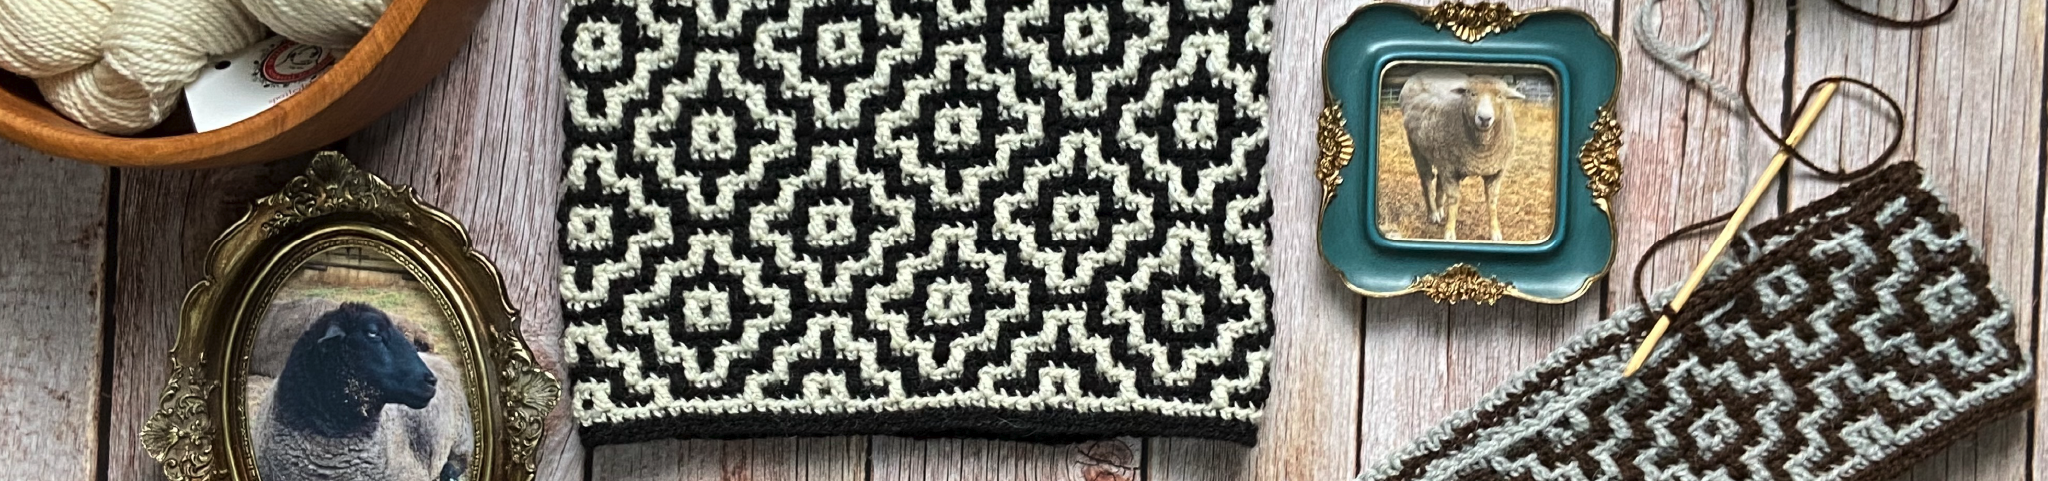
Member Access Only
Sign in to view the full video.
Learn mosaic crochet and make a beautiful cowl — FREE pattern included!
Join Brenda K.B. Anderson for a live tutorial on the Rose Butte Ranch Cowl. Mosaic crochet has quickly become one of the most popular ways to work with multiple colors for good reason; once you learn how it works, you’ll see just how easy it really is. Can you make single crochets, double crochets, and work into the back loop? Then you can do this! Brenda will walk you through the process step by step while creating this beautiful cowl. It’s much easier than it looks and you’ll be amazed.
Log in to your member account to view the tutorial or join today.

