Two Tone Soap Sack
Brenda K.B. Anderson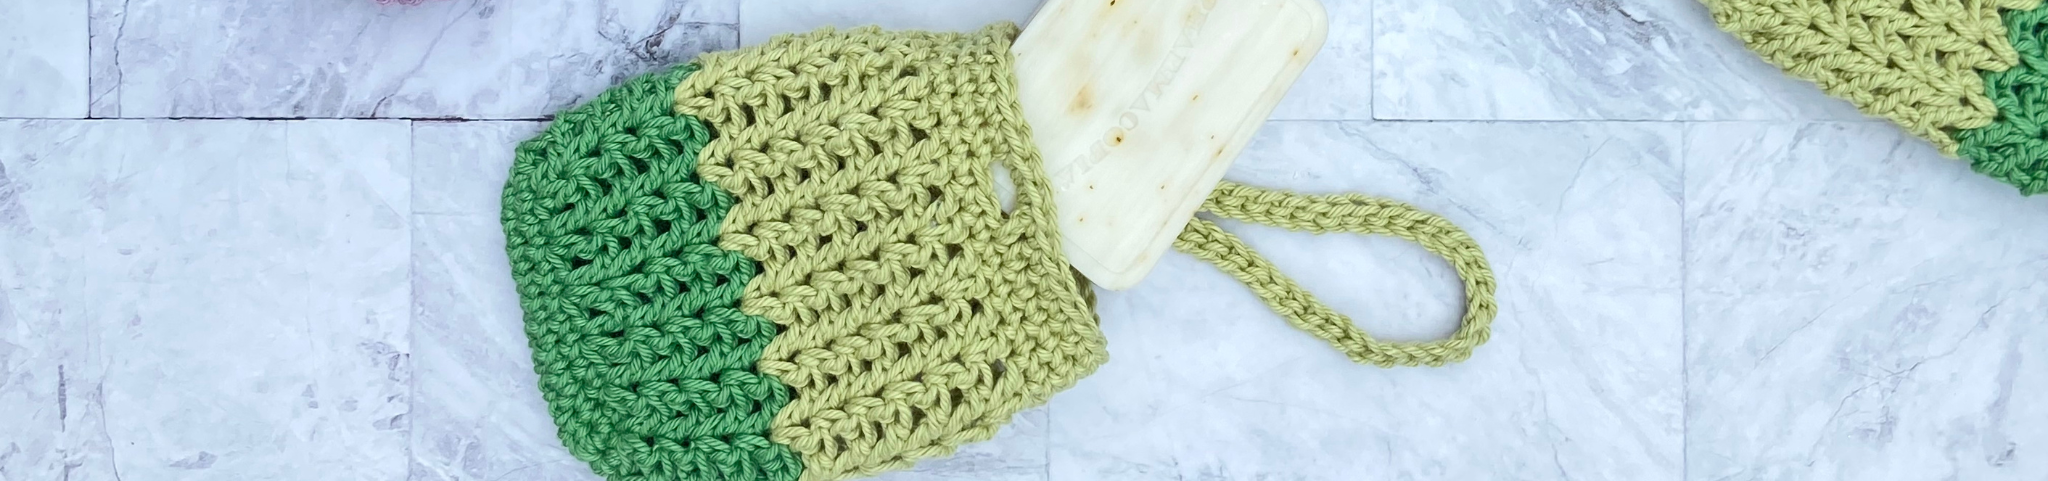
Member Access Only
Sign in to view the full video.
Learn how to create easy, attractive, and practical two-toned soap sacks with Brenda K.B. Anderson. Each soap sack doubles as a washcloth and can be hung in the shower or attached to a backpack to dry, making it perfect for on-the-go use. Donating these soap sacks, each with a bar of soap, to food pantries or homeless shelters is a simple and meaningful way to show kindness and support to those in need.
Log in to your member account to view the tutorial or join today.

