Waves of Grain Washcloth
Brenda K.B. Anderson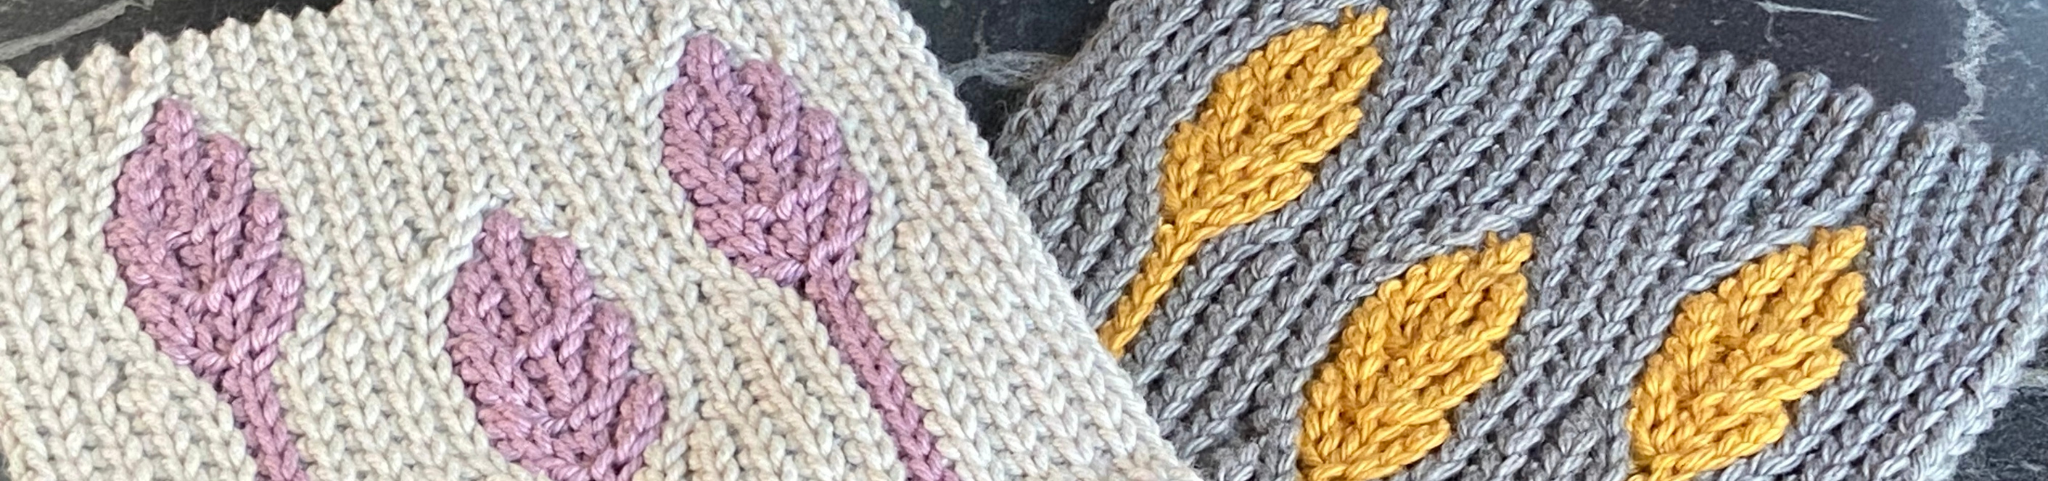
Member Access Only
Sign in to view the full video.
Learn how to use short rows to create striking colorwork while making a beautiful washcloth. This technique uses only one color at a time, keeping the process simple while producing clean, botanical motifs. It’s a creative and unusual approach, loosely related to swing knitting, and a fun, accessible way to explore new textures and designs in your projects.
Log in to your member account to view the tutorial or join today.

