I had heard of the Russian join for a while, but I never really bothered looking into what made it so special. I mean, how different could it be from the way I normally add a new piece of yarn to my project? But during one of my first LIVE Q&A sessions for Creative Crochet Corner, somebody asked about it, and I had to admit that I didn’t know how to do it. So, that night I did a little research and learned all about it. As it turns out, it’s very different from my usual technique—and well worth learning!
Let me show you how it works:
Please note that this technique works for any type of yarn as long as it is a plied yarn, meaning there are two or more distinct strands that are twisted together to create the yarn.
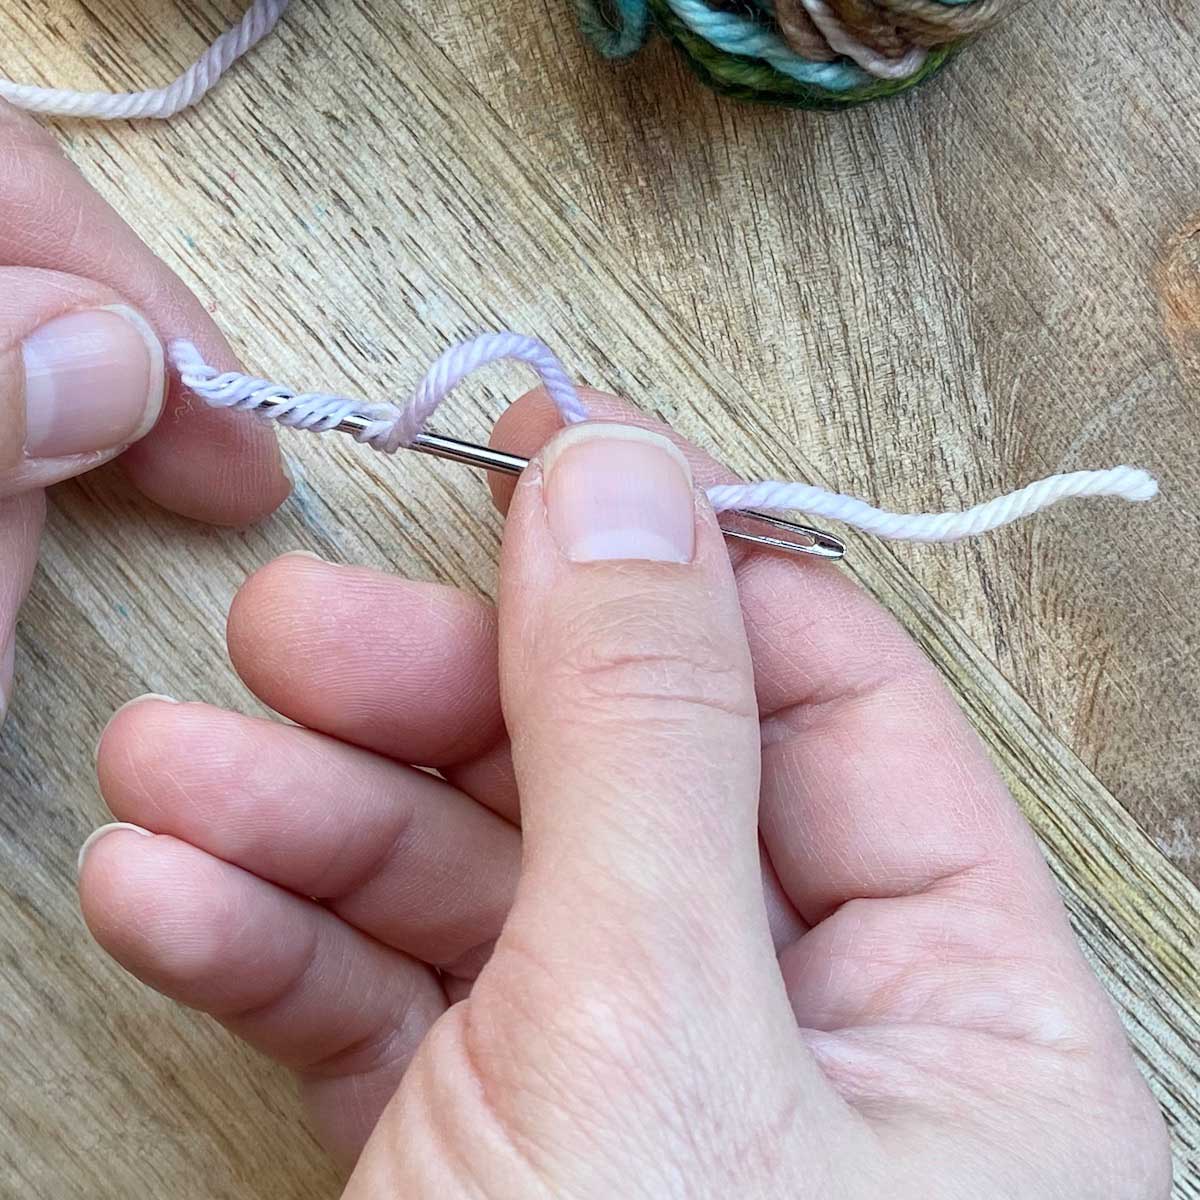
First, using a tapestry needle, thread the end of one piece of yarn through the center of the yarn strand as shown below. The tip of the needle should go through the center of the yarn strand about 3–4” away from the end of the yarn. It helps to slightly untwist the yarn to make the plies separate from each other in order to get the needle inside. The goal here is to slide the needle through the center of the yarn for about 2–3”. The longer you slide it through, the more secure your yarn will be.
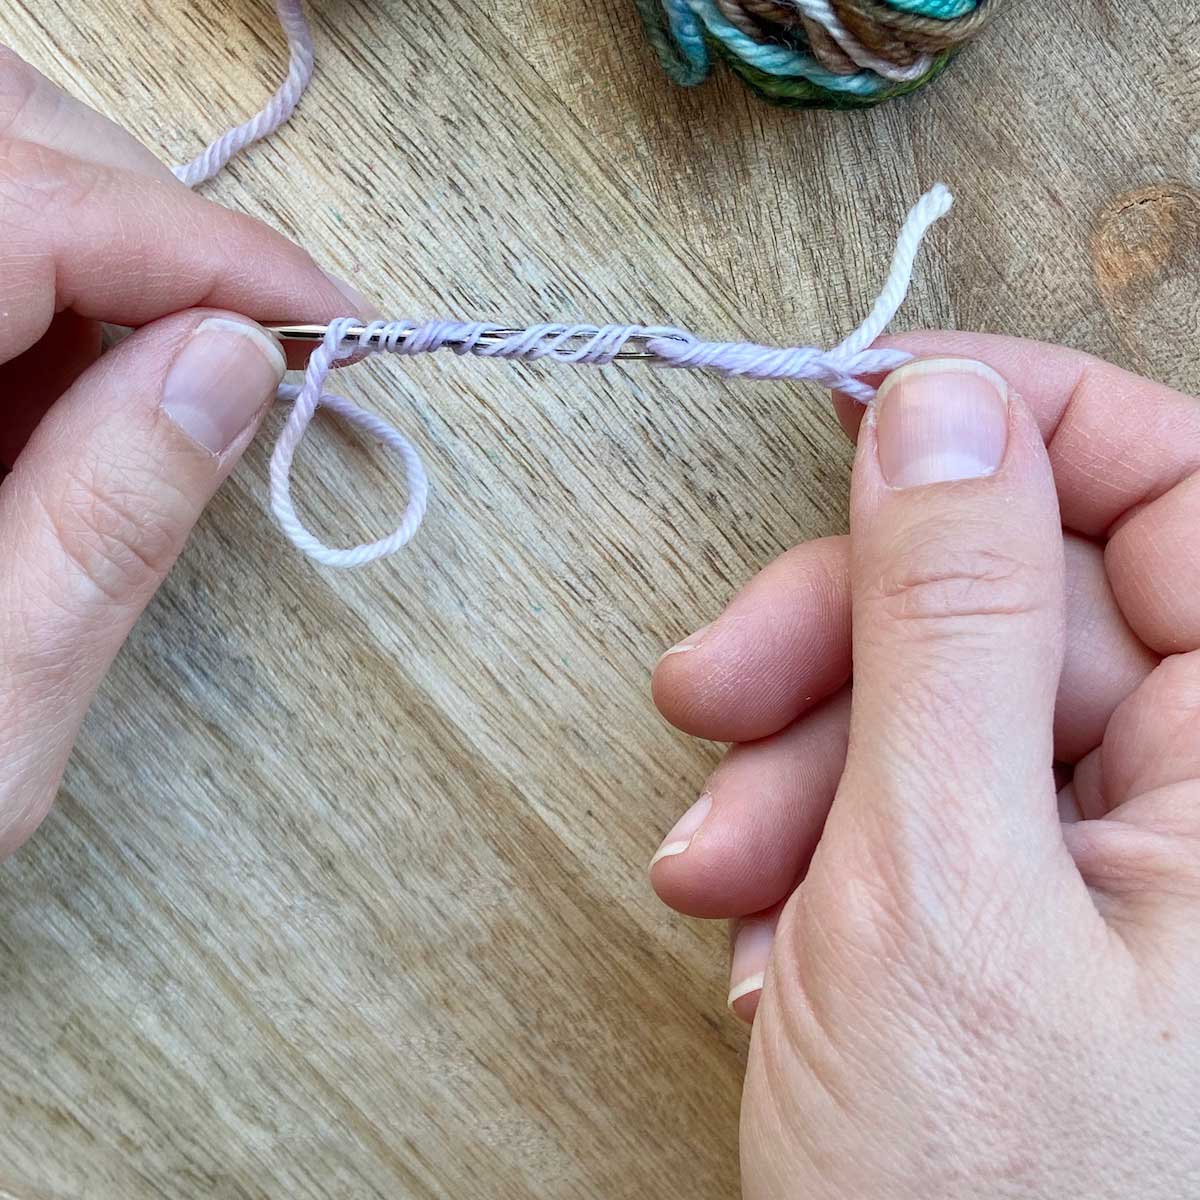
Pull the needle through the yarn, but make sure there is still a small loop left at the end of the yarn.

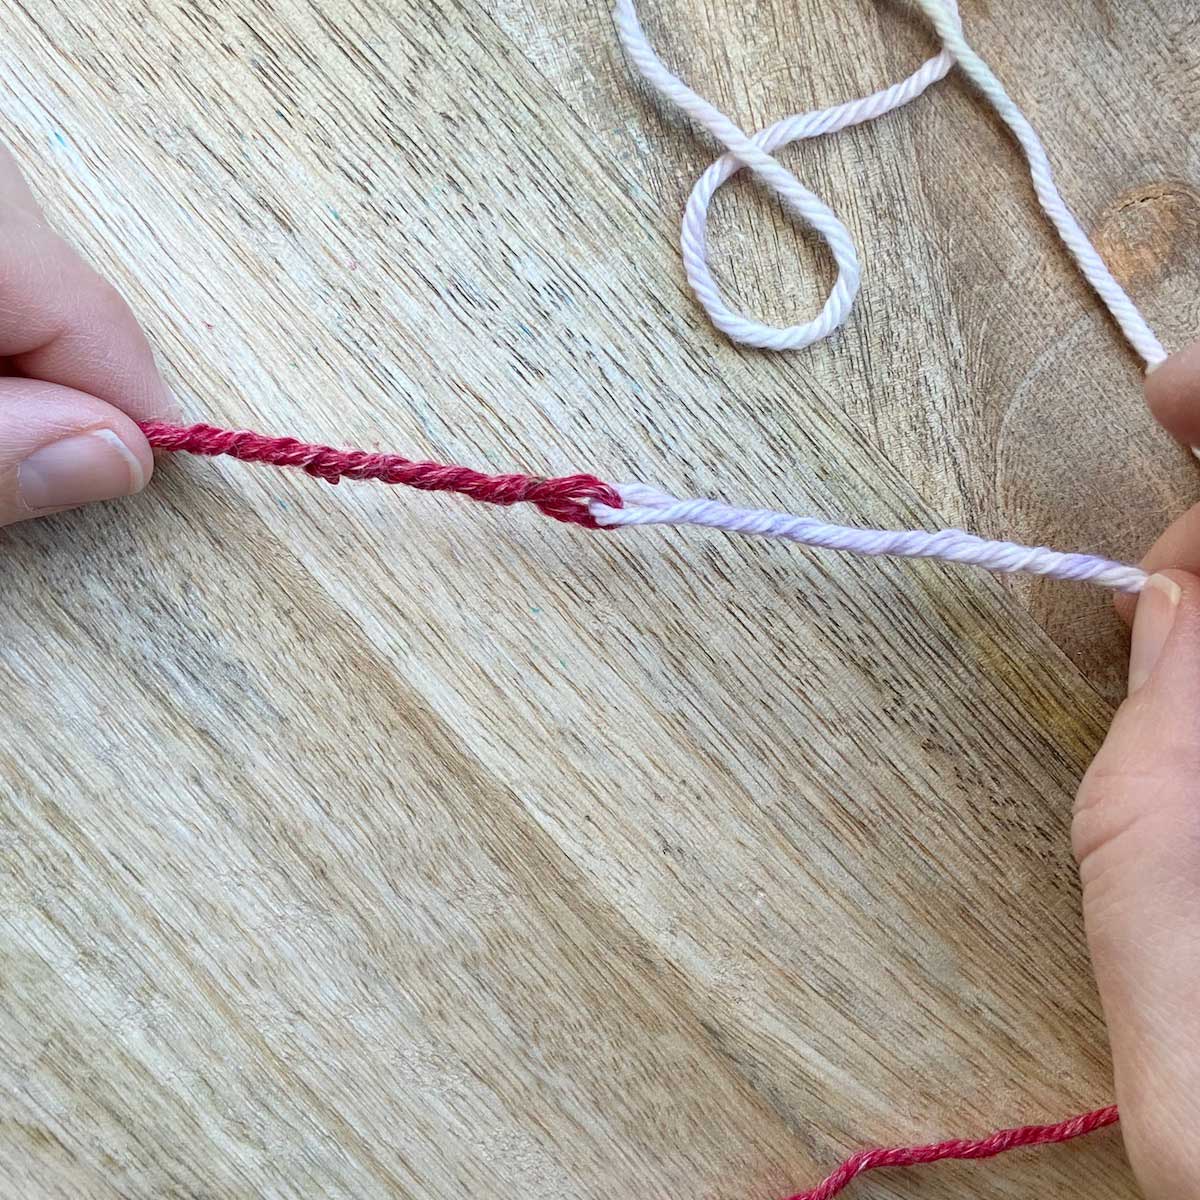
Remove your needle from the first piece of yarn and thread the needle onto the second piece of yarn. Pass the needle through the small loop at end of the first piece.
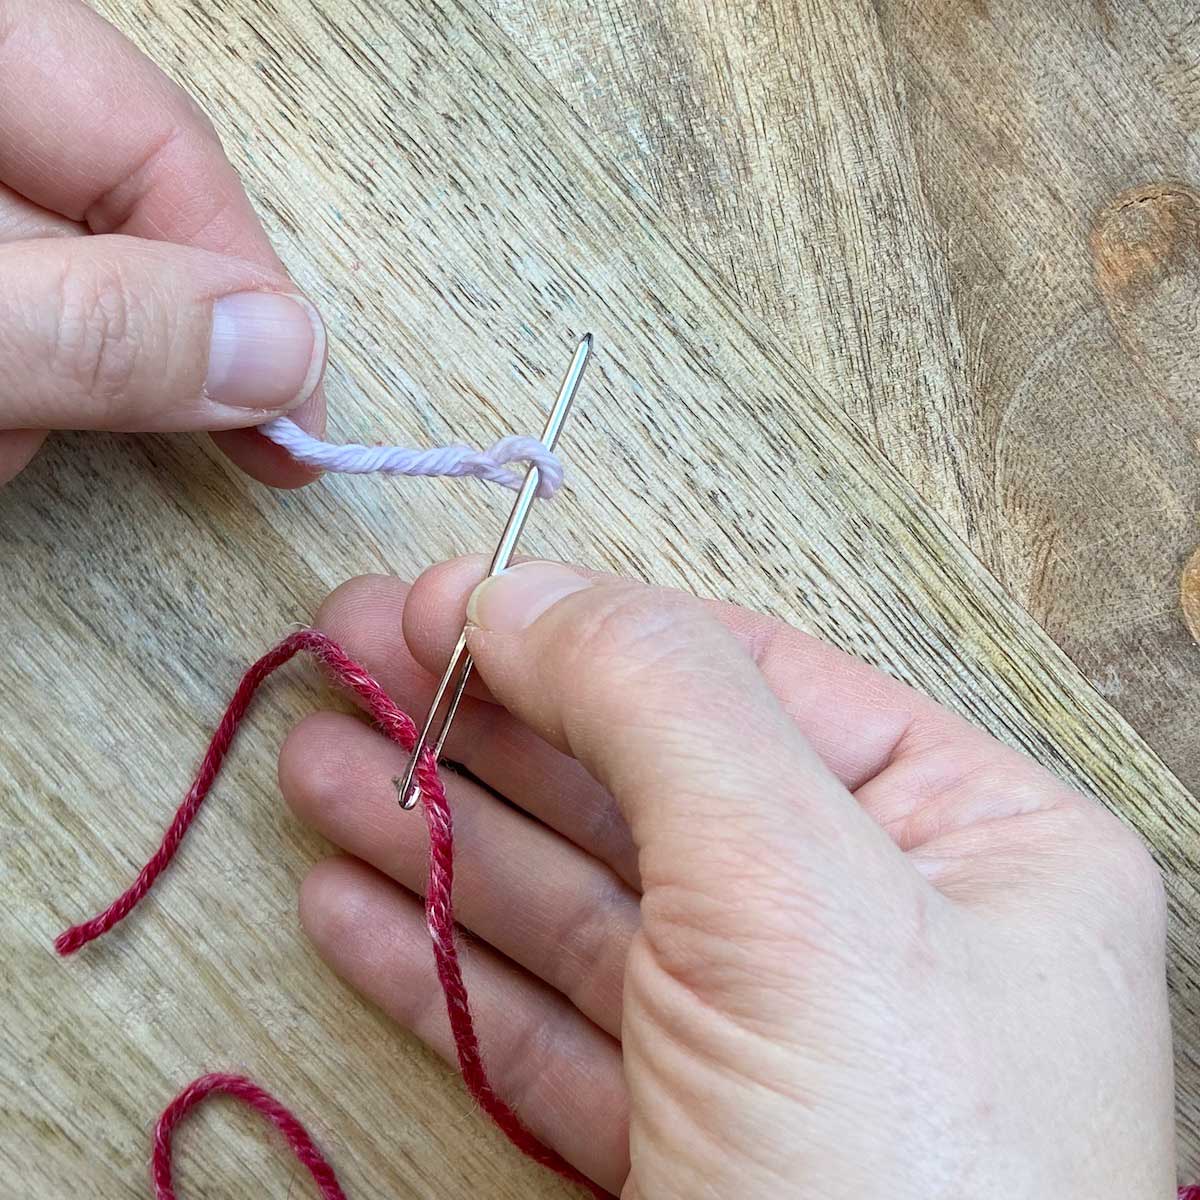
Then, repeat the steps above for this second piece of yarn. This time you do not need to leave a loop in the end of the yarn though.

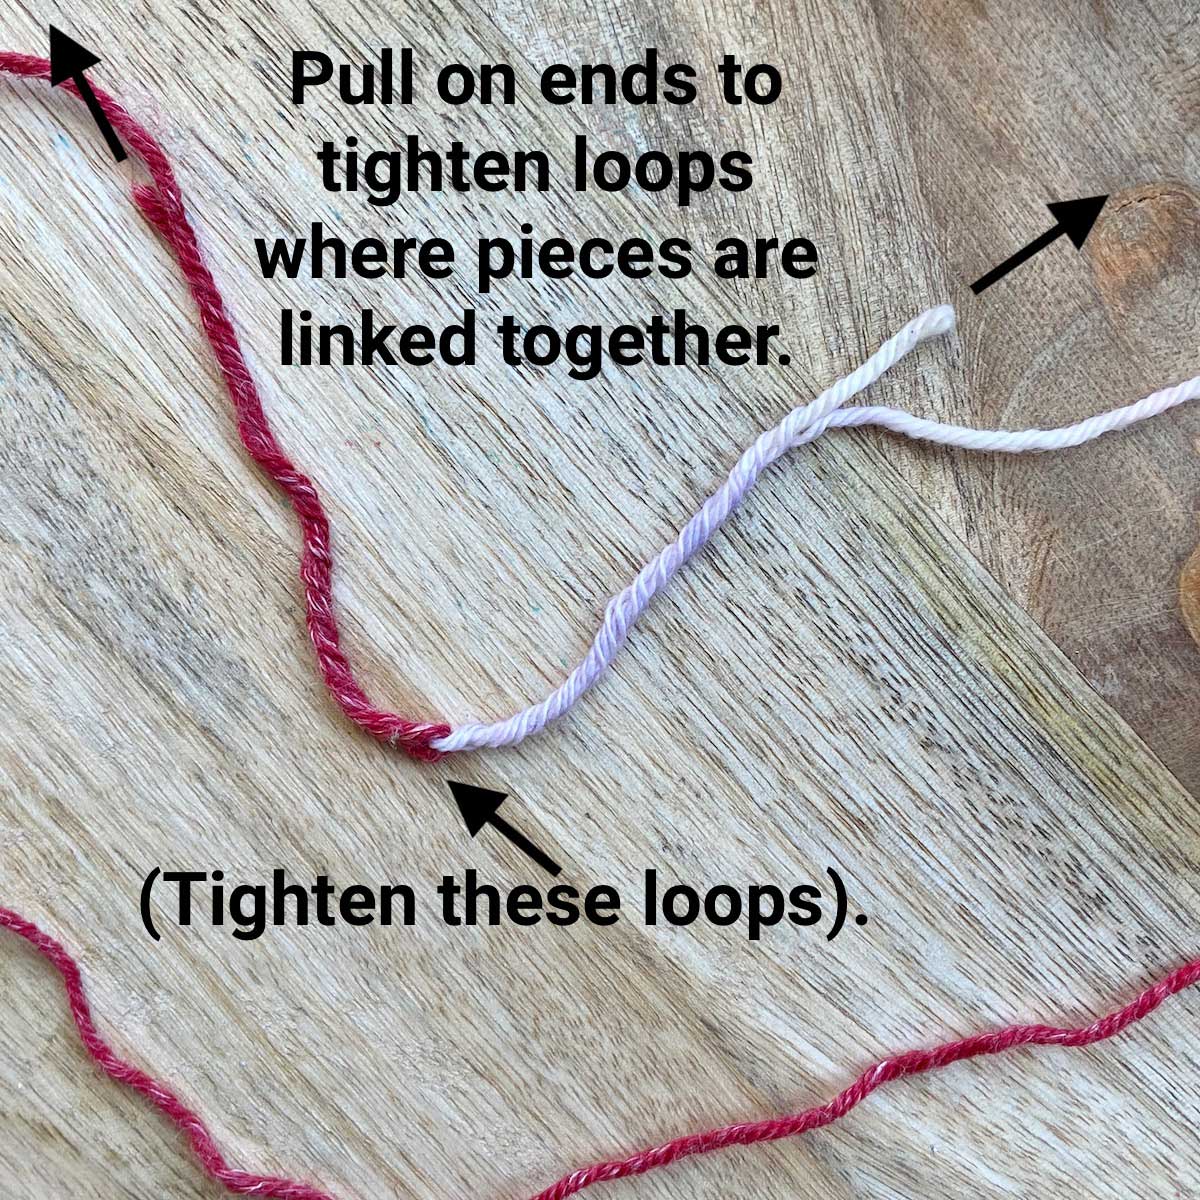
Pull on the tails of each piece of yarn to tighten up the loops where the pieces of yarn link together.
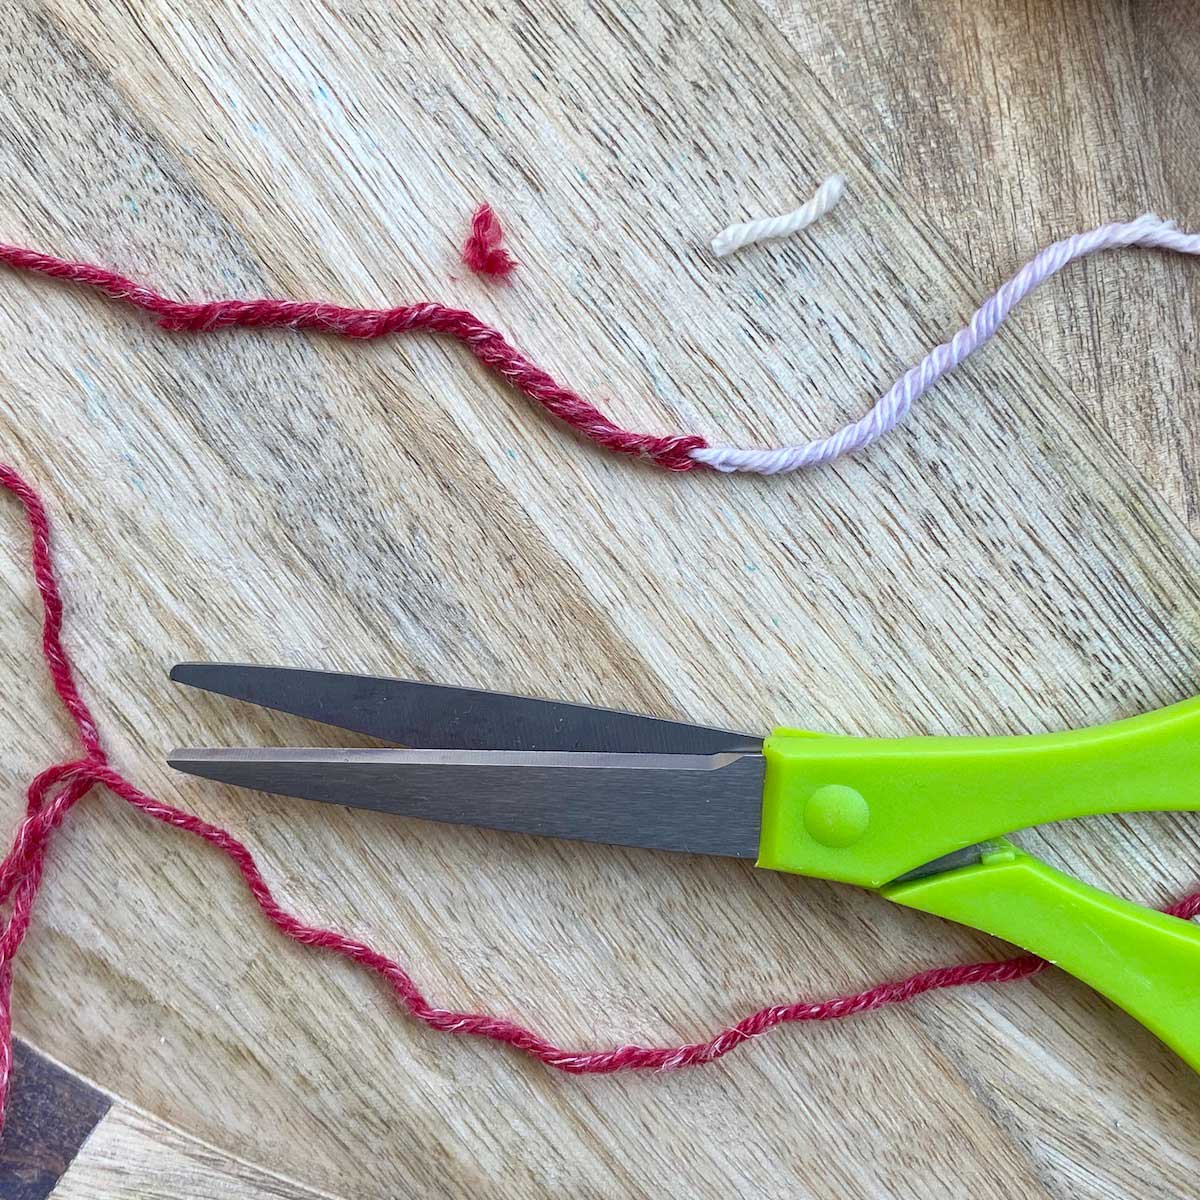
Trim off the ends, being careful not to snip the yarn strand next to it.
That’s it! The best part is that as you crochet with the joined area, it will strengthen the join even further, and the ends will be hidden—no need to weave in anything else later! Pretty cool, right?
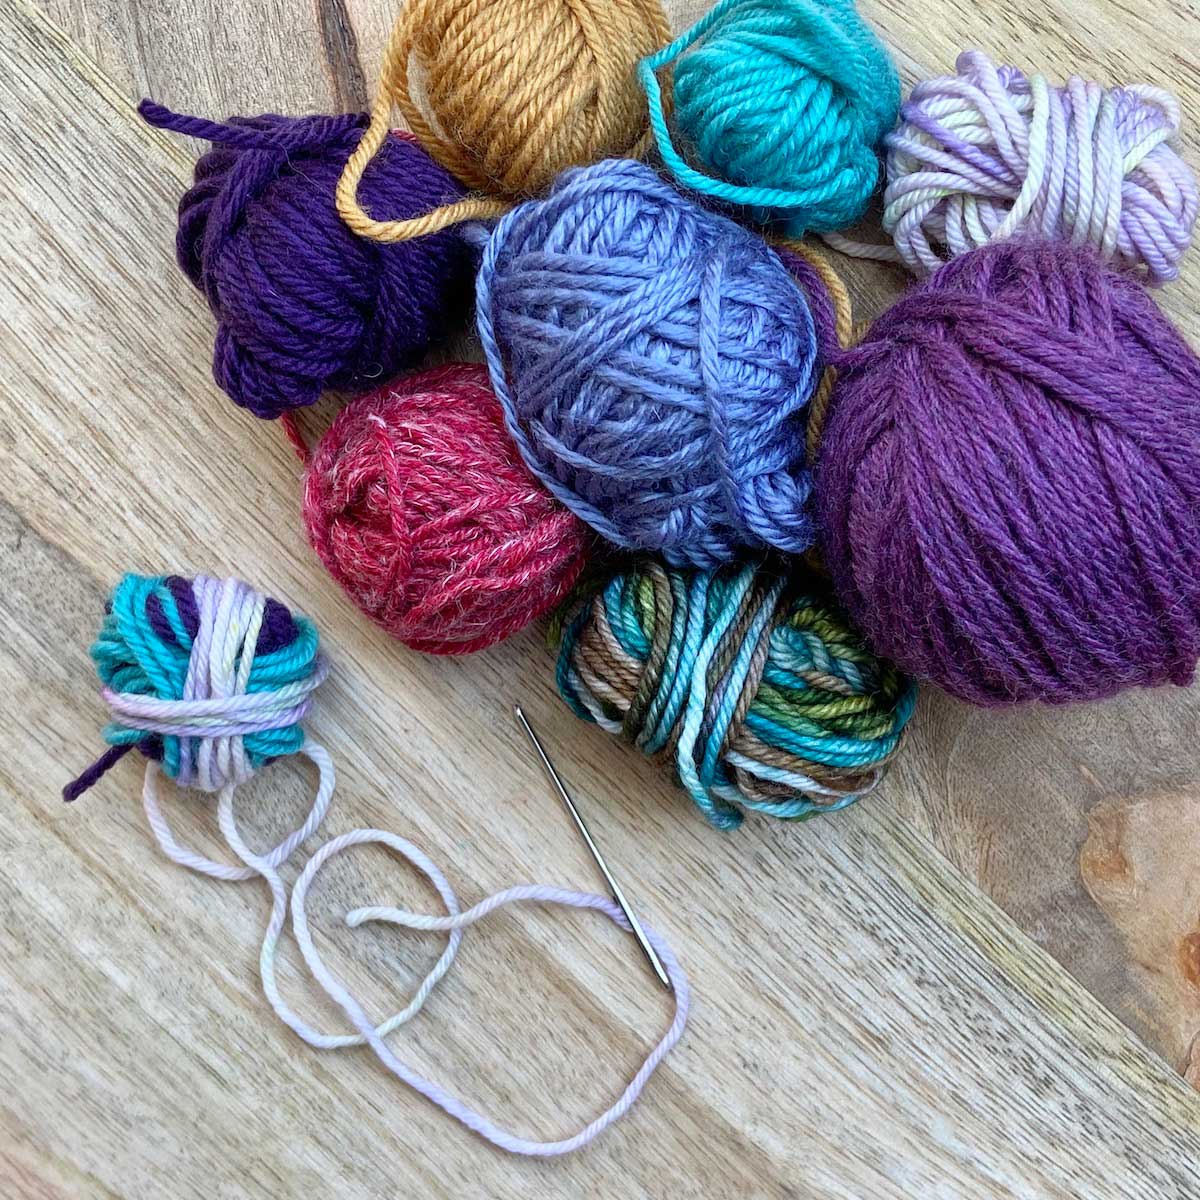
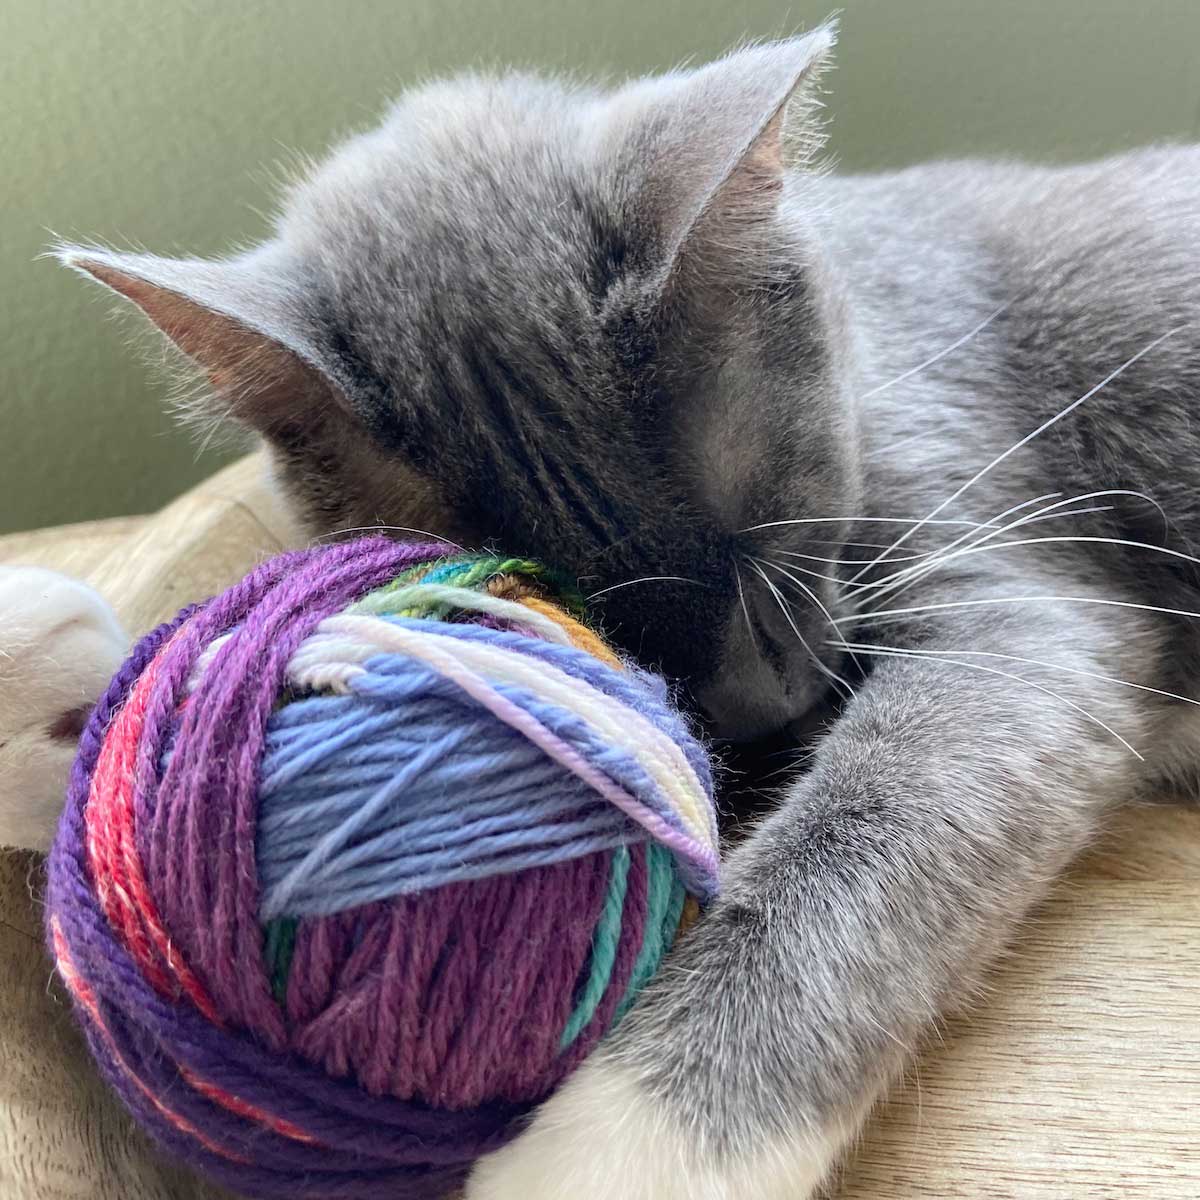
The Russian join is not only a great way to add a new ball of yarn when you run out of the first ball, but it is a fantastic way to join smaller scraps of yarn together to make a big ball of self-striping yarn. I always save my yarn leftovers because I love using them up in colorful scrappy projects, and now that I know how to join yarn together without all those pesky ends left to weave in, I’ve been making colorful, self-striping balls of yarn like the one pictured below.
When I do this, I usually divide my small balls of yarn into even smaller portions so that I can alternate through the colors a few times for more continuity. Making these balls of yarn, does take a bit of time since each join takes about one minute, but it is well worth it! You end up with a gorgeous and truly unique ball of yarn with ties to all of the lovely projects that you have worked on. Not only does it cost you nothing, but you’re also giving new life to something that would otherwise end up in a landfill!
Have you tried the Russian join in your crochet projects? What’s your favorite way to join yarns? Let us know in the comments! We love hearing from our crochet community.

Thank you for such a clear tutorial! I have struggled to understand this job in the past, but it makes perfect sense now!
Nice. I saw this on a YouTube video. Could somebody do a video so we can watch closely 🙏
Very interesting! Look forward to trying this method. Sewing in ends is a pain. :)
Thank you for sharing this very useful technique! I'm sure many will enjoy using the Russian Join from now on. Happy Crocheting & God Bless to all❤️🔥
Brilliant. So.much neater and no ends to sew in.
This is a great idea. Thanks for sharing it.
Thanks! This is brilliant!
This is an excellent way to join yarn. I hate when I get a skein of yarn and a dumb join tie shows up. I simply make a Russian yarn join and my work doesn’t have those darn ends poking out like they do from the darn tie join.
Can’t wait to do this with my very large collection of yarn leftovers I’ve been holding on to. Thank you so very much.
Hi, what exactly is happening in the second photo? Is there a video or more clear explanation?