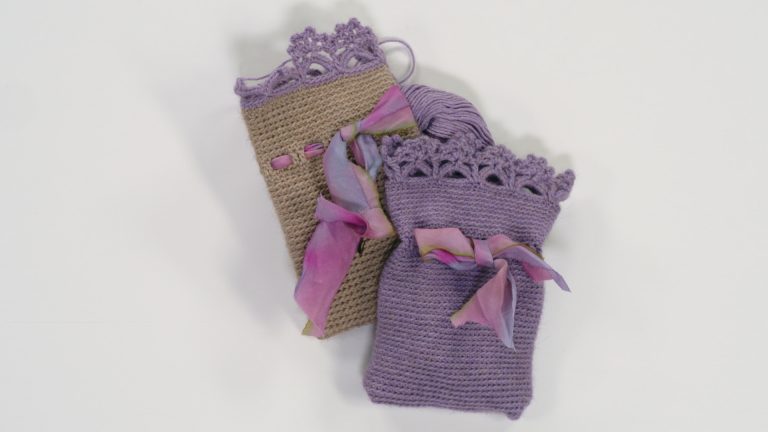
Crochet Lavender Sachet
Creative Crochet Corner EditorsIn this video lesson, Nathalie O’Shea demonstrates how to make a lovely crochet sachet. This can be filled with lavender or it can be used as a small gift bag.
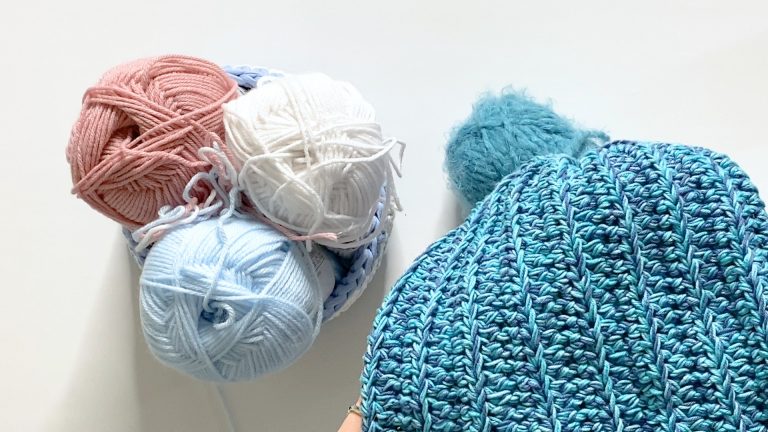
This project uses a CYCA #2 yarn (a fine gauge yarn) and a 2.5 mm hook; however, this bag can be made larger by using the same number of stitches, increasing the hook size, and using a thicker yarn. Nathalie recommends using a cotton yarn to best highlight the stitch pattern.
Nathalie begins by making a slip knot, then chaining 21 stitches. She points out that this project needs to start out with a multiple of 7 stitches because the border has a 7-stitch pattern repeat. Nathalie adds 2 chains for a turning chain because she will be working in half-double crochet.
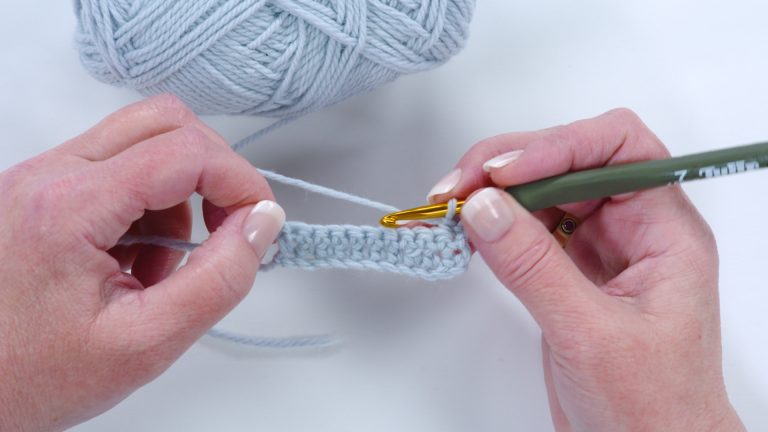
To begin the first row, she skips the first 3 chains (these count as the first half-double crochet of the row) and works a half-double crochet stitch into the 4th chain from the hook and each following chain for a total of 21 stitches.
Nathalie rotates her work in order to crochet along the opposite edge of her foundation chain. She works a half-double crochet into the same stitch that was just worked and into each of the next 20 stitches across the bottom edge of the foundation chain (for a total of 21 stitches across the bottom of the foundation chain). A slip stitch join is worked into the top of the beginning 3 chains to close the round.
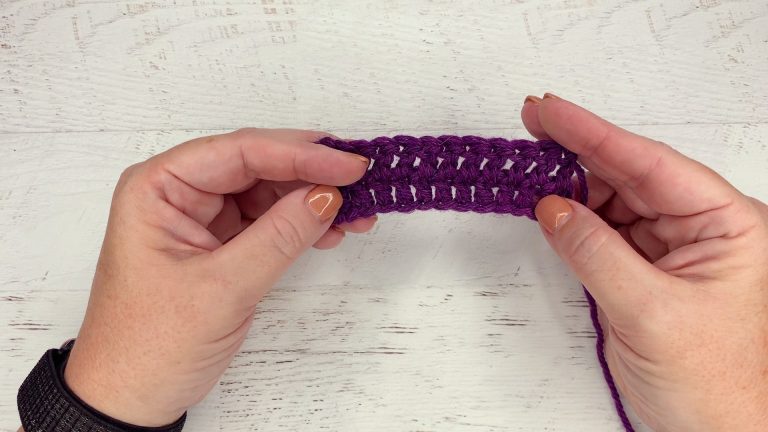
Nathalie demonstrates two more rounds of half-double crochet. She begins with the chain-2 (which counts as the first half-double crochet of the round), then works one half-double crochet into each of the next 41 stitches, then makes a slip stitch into the top of the beginning ch-2 to join. She suggests using a stitch marker to keep track of the beginning of each round.
After completing Round 3, Nathalie begins to work in continuous rounds of single crochet through the back loop, no longer making a beginning chain and no longer joining at the end of rounds. Nathalie shows us how to work under just the back loop instead of working under both loops like we usually do. She reminds us that blocking will help even out our stitches.
Nathalie instructs us to continue in the single crochet through the back loop for as long as we wish before making the eyelet round.
One round of single crochet through both loops (as normal) will set up our project for the round where the eyelets are made. At the end of the single crochet round, a slip stitch is made into the first single crochet of the round to join.
Nathalie works the following sequence on the eyelet round
Ch 2 (this counts as the first HDC of the round), *HDC into the next stitch, ch 1, skip 1 stitch, HDC into the following stitch, repeat from * around until 1 stitch remains, chain 1, skip next stitch, slip stitch into the top of the beginning ch-2 of round to join.
Nathalie works one more round of single crochet. She begins with a single crochet in the top of the ch-2, then she works under both loops (like normal) in each half-double crochet stitch and directly into the chain-spaces for a nice finished look.
Nathalie instructs us again to work in the single crochet through the back loop for a number of rounds until the sachet has reached its desired height. She notes that when the ribbon cinches the top of the sachet, it will lose some height, so make sure to take that into account when deciding how tall to make it.
To make the border, Nathalie works 6 single crochet stitches, turns her work (WS facing), chains 7 stitches, then works one single crochet into the 6th single crochet. She turns her work again (RS facing), and works 6 single crochet stitches into the ch-6 loop, makes 5 chains, then 6 more single crochet stitches into the same ch-6 loop. She repeats this sequence around the top edge of sachet, ending with a single crochet in the last stitch of round.
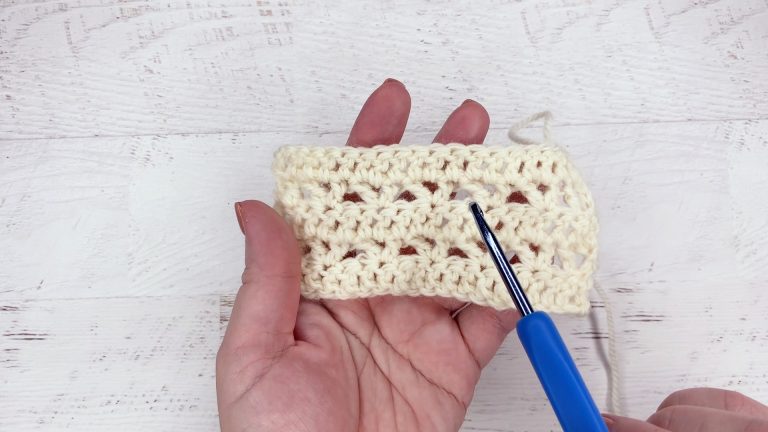
To work the final round, Nathalie chains 4; she skips the next 7 single crochet stitches, and works the following sequence 5 times into the next chain-5 picot: 1 double crochet, ch 3, slip stitch into the 1st chain of ch-3. Nathalie adds one treble stitch to the single crochet stitch between each set of arcs to complete the repeat. She repeats this pattern around the top edge of sachet.
Nathalie first uses a large-eye needle, and later a removable stitch marker, to weave the ribbon in and out through the eyelet holes, beginning at the front of the sachet. She leaves us with one final tip: to place the lavender in a smaller mesh bag inside of this sachet to keep it contained.
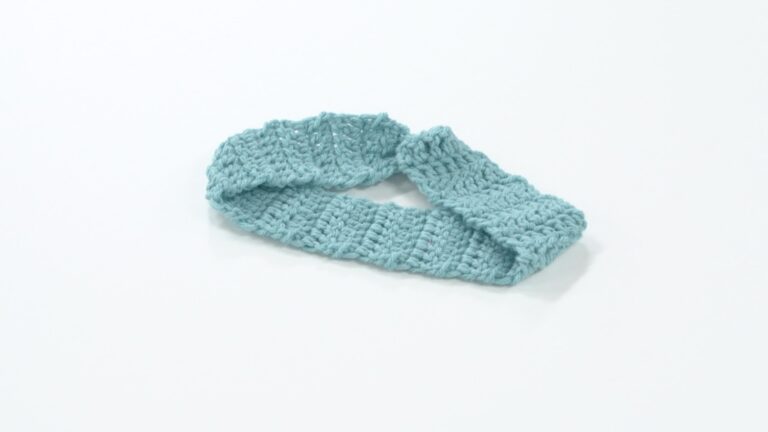
This little pouch has just enough variety to keep things interesting throughout the entire construction process. Stitch up this adorable project with Nathalie and make a few to give as gifts—or keep them for yourself!
Explore videos by Creative Crochet Corner Editors
You may be interested in


Premium Membership
Unlock exclusive member content from our industry experts.
- 24/7 Access to Premium Crochet Videos, Projects, and Tips
- Step-by-Step Instructional Demos, Patterns, and Tutorials
- Access to Ask the Expert Program
Unlock exclusive member content from our industry experts.
- 24/7 Access to Premium Crochet Videos, Projects, and Tips
- Step-by-Step Instructional Demos, Patterns, and Tutorials
- 2 Full-Length Classes to Keep in Your Account for Life
- Access to Ask the Expert Program
Gold Membership
$333 Value
Get everything included in Premium plus exclusive Gold Membership benefits.
- 24/7 Access to Premium Crochet Videos, Projects, and Tips
- Step-by-Step Instructional Demos, Patterns, and Tutorials
- 5 Full-Length Classes to Keep in Your Account for Life
- 10 Downloadable Crochet Patterns
- Discounts on Purchase-to-Own Content in the Creative Crochet Corner Shop
- Access to Ask the Expert Program
- Access to GOLD LIVE Streaming Events