
It’s no secret—I LOVE making amigurumi! It’s one of my favorite crochet projects to design. I never get tired of making cute things with yarn, and I especially love those extra added features that give them such big personalities!
Often, crocheted toys have lots of pieces that need to be stitched together, which takes time, practice, and patience to get things looking the way we imagine they should. This can be frustrating for someone who wants to try this kind of project for the first time! Sometimes even those of us who have had lots of practice just want to make something cute without a bunch of fuss.
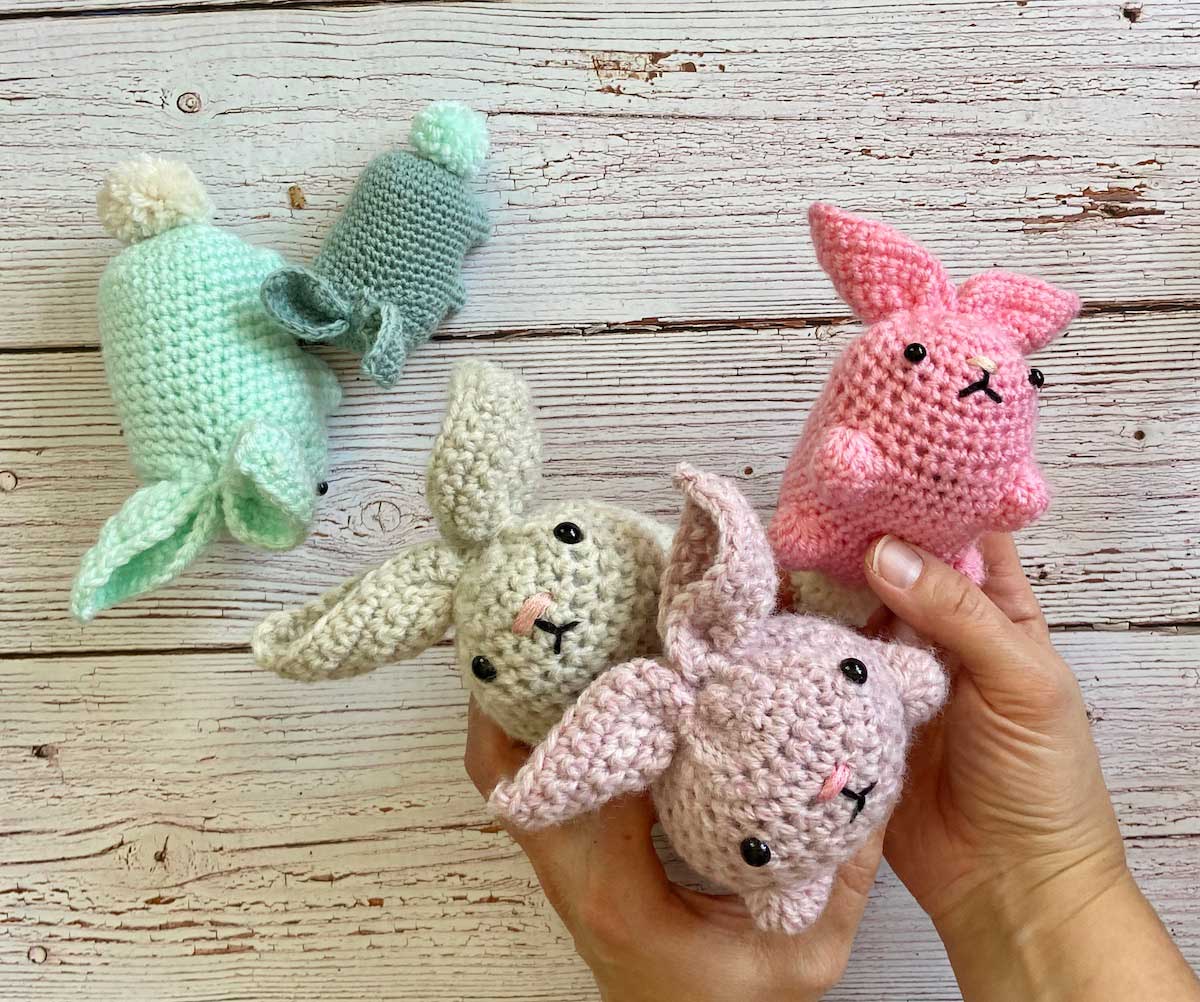
With that in mind, I designed this super easy amigurumi bunny that is made in just one piece. Don’t worry, it still includes enough details to keep things fun!
Hello, Honey-Bunny!
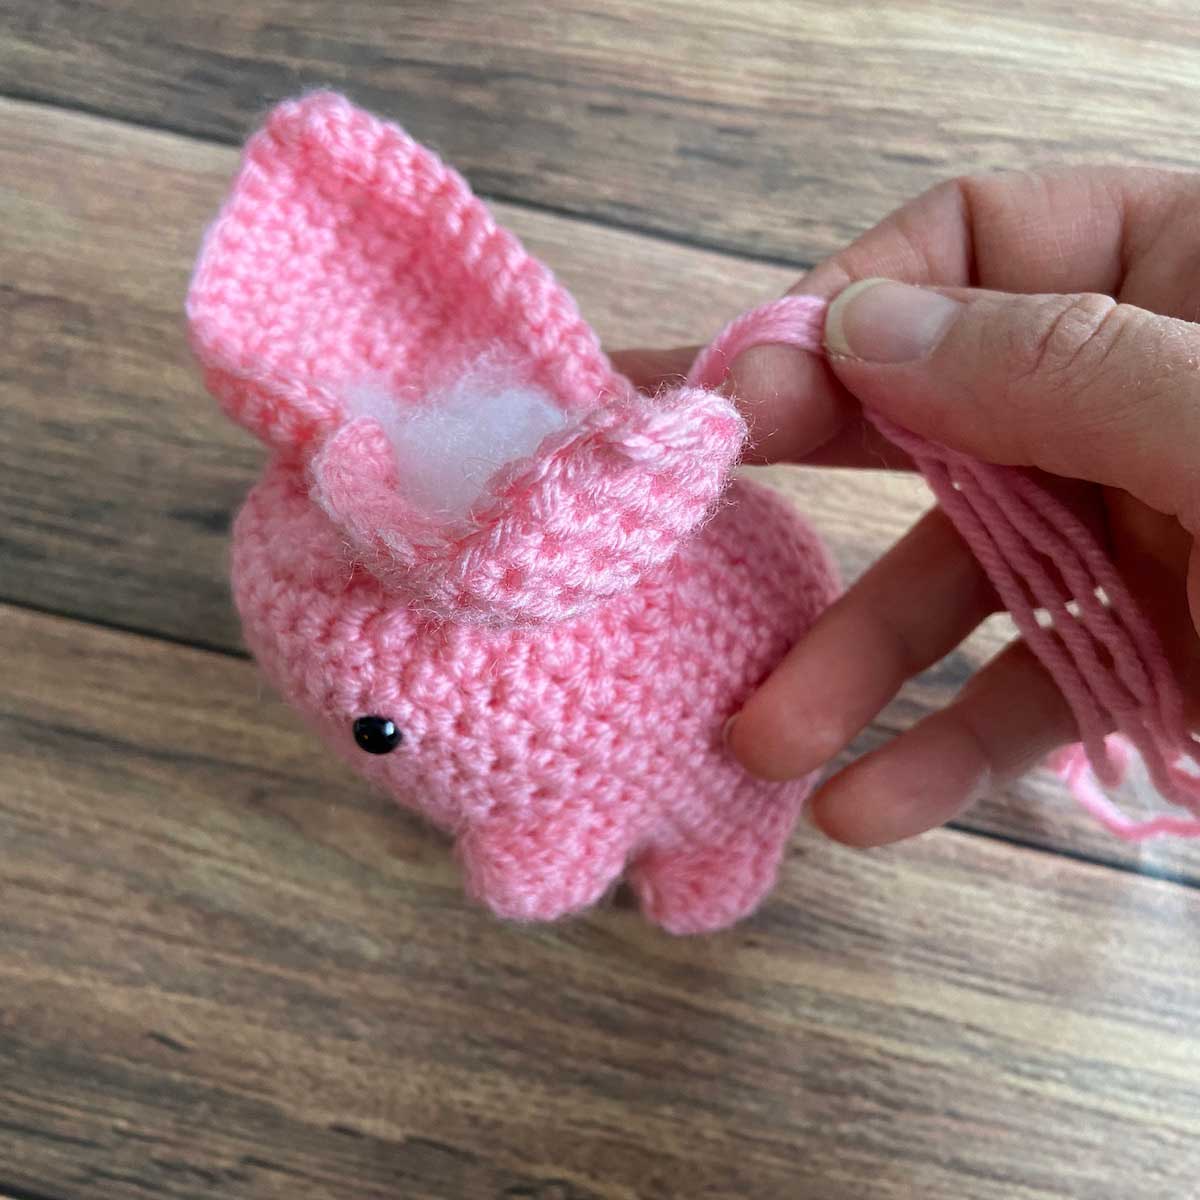
This little cutie begins with an adjustable loop and is worked in single crochet in the round (in typical amigurumi style) while making the body. The legs are created while the body is being worked, in a stitch similar to a bobble, but worked in stages over three consecutive rounds.
After the body is completed, a simple rectangle of fabric is worked, back and forth in turned rows. With the help of a little gathering-thread-magic, this rectangular piece will become the head and ears.
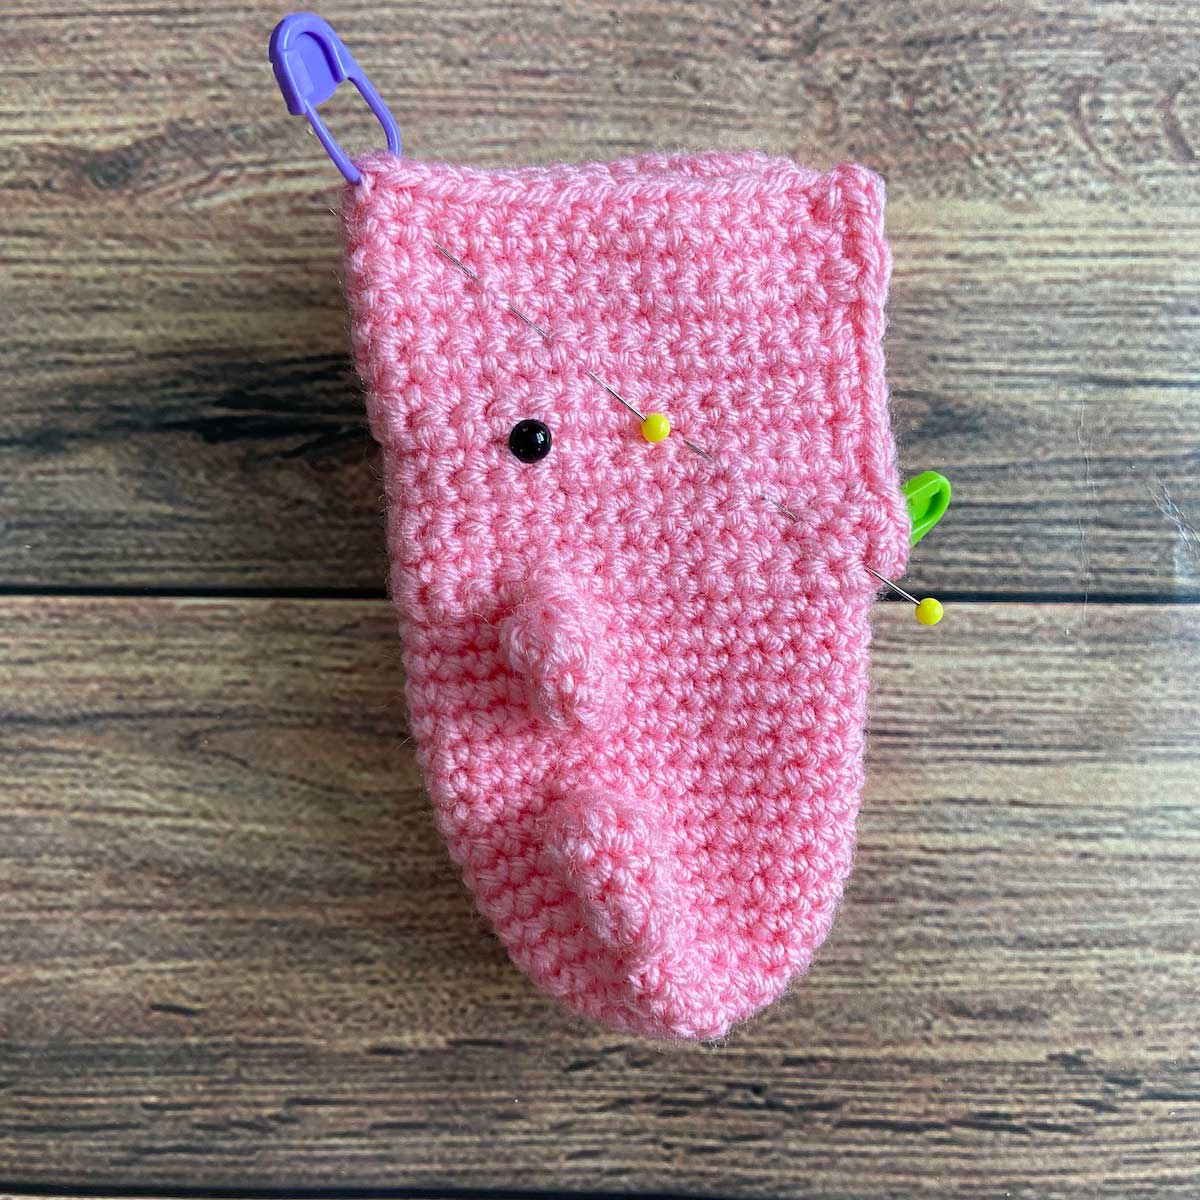
Because this bunny is made all in one piece, it is much less likely to come apart if handled a bit rough by a little one. However, if you’re considering making this for a baby, do not use safety eyes! Despite what the name suggests, safety eyes are NOT safe for children under three years old. Instead, embroider the eyes with large French knots that are anchored well into the crocheted fabric. Also, make sure to crochet your bunny large enough so that it is not a choking hazard.
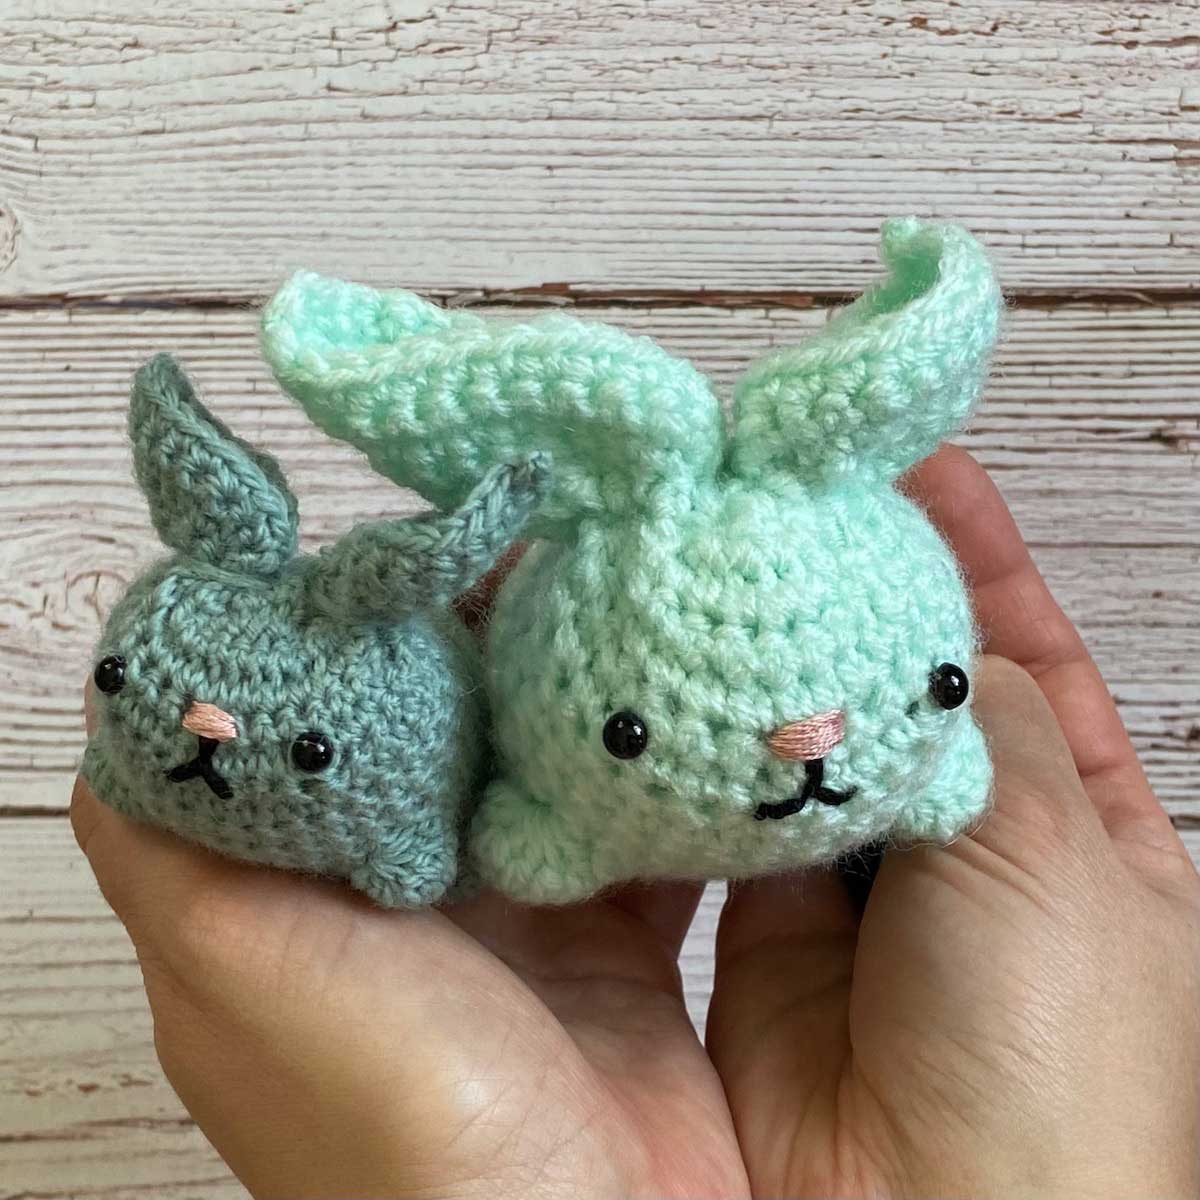
Whether you’ve been thinking about trying your hand at amigurumi for the first time or you’re looking for a quick project to make with your stash yarn, this little bunny is the perfect spring project for you!

Creating amigurumi can be a fun and fulfilling project for crochet enthusiasts, but it can also be time-consuming and require a lot of skill.
Love your patterns ! Easy to make !
I love the pattern to make these bunny’s
Heelllp...how do I make the little paws?? I'm lost!
Hi I am trying to figure out the paws ....where should the dctog go? should it fill the little "cup " shaped 6dc?
Hello...I can't figure out how to start... how do you do 6 sc in the loop?
Hello! I’m getting stuck. I’m at the part where I put 7 sc on the edge. I have done this to the right side and then I don’t understand how I get those 7 sc to the left side too. I wish there was a video, some of this was quite hard for me to read through but I was able to get most of it except this part.
I'm now at row 14 but it is a circlle. Is there a link to the video or is there someone who can explain this to me. TIA
I love all the crochet pattern
Please explain Round 10 where it says work 2 uncounted sc to shift. Am I sc2tog?