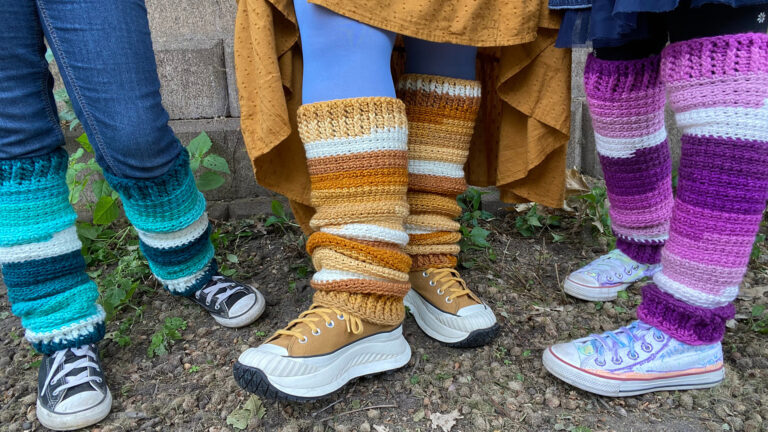
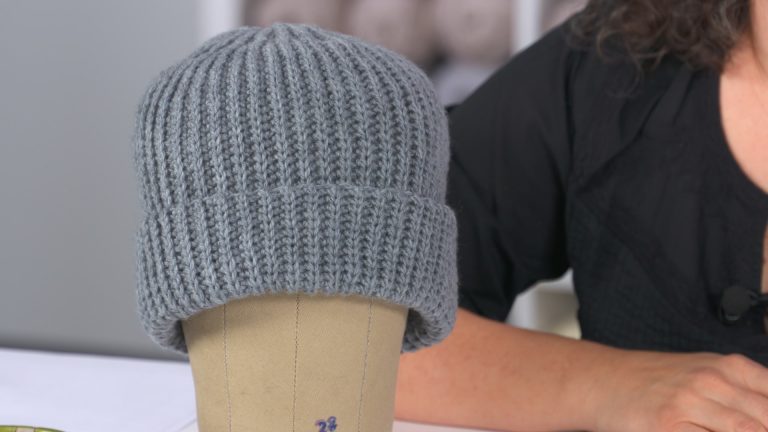
Back Loop Slip Stitch Ribbing
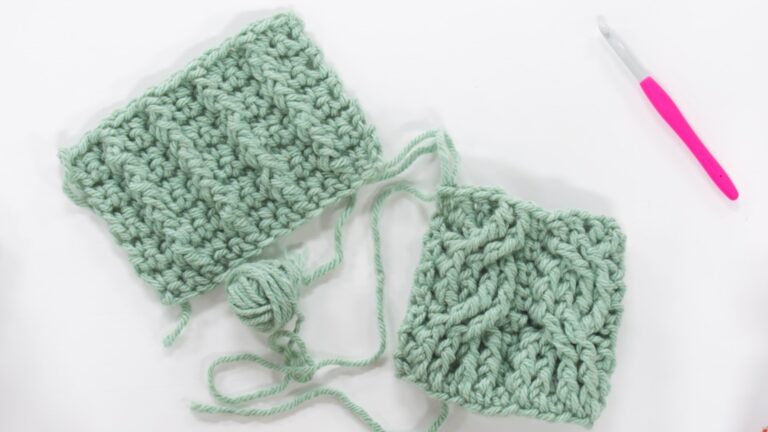
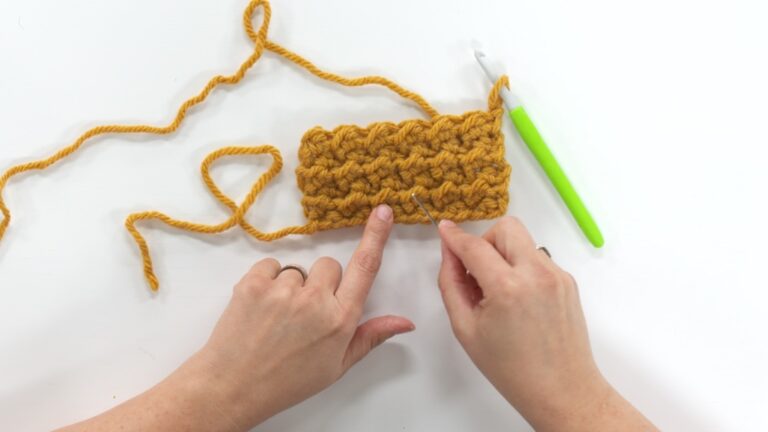
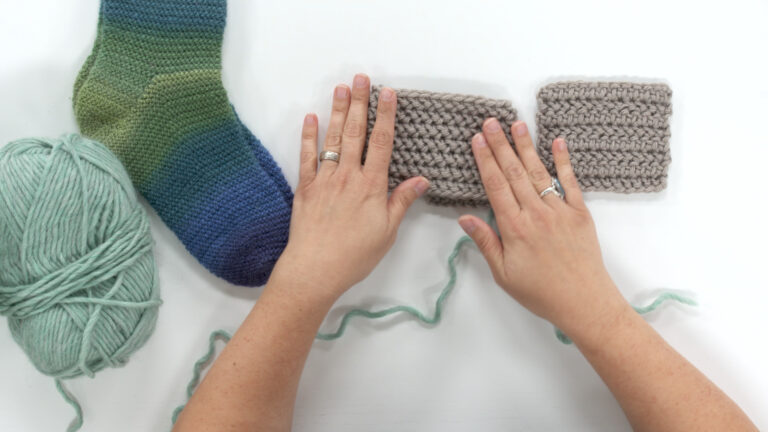
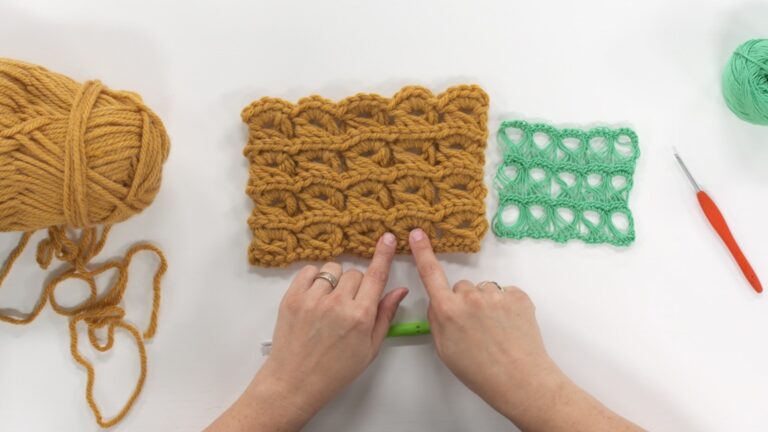
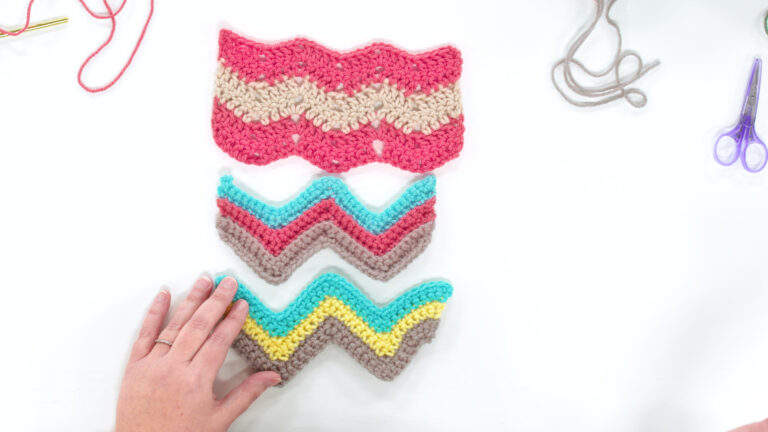
Brenda K.B. AndersonLearn a unique crochet stitch pattern, perfect for crochet sock patterns, hat patterns, and more! The back loop slip stitch creates a stretch and elasticity not often achieved in crocheted fabrics. In this video, crochet expert Brenda K.B. Anderson demonstrates how to work the back loop slip stitch.
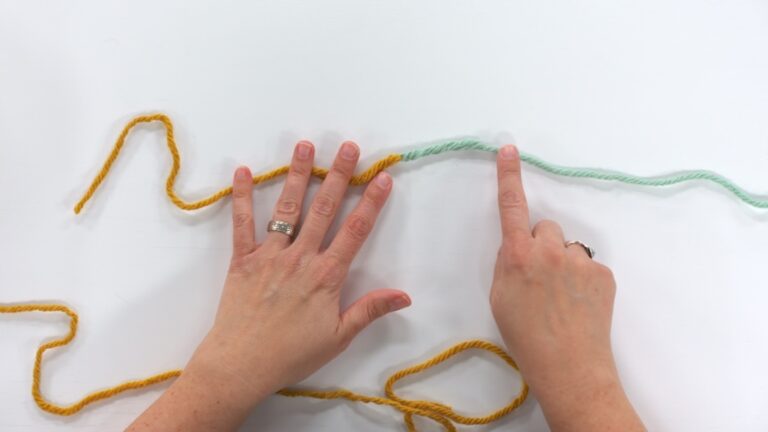
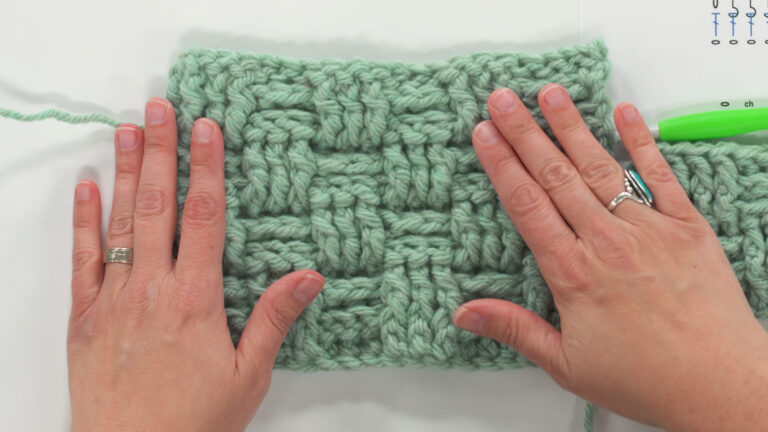
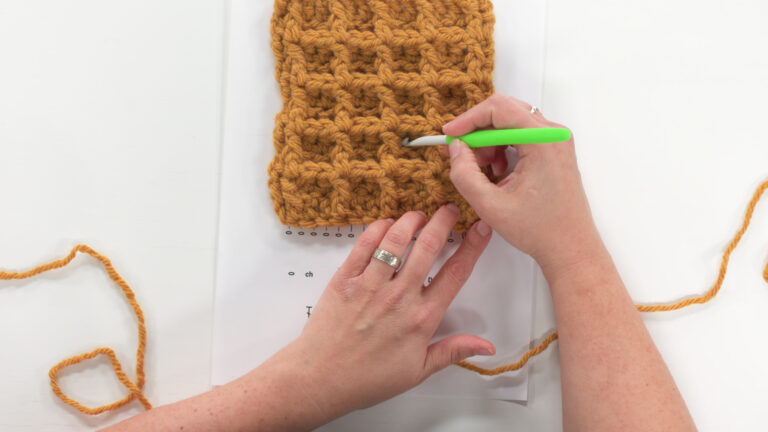
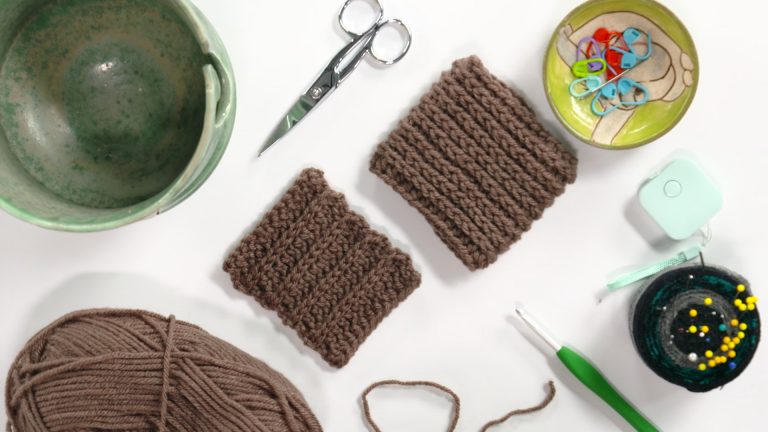
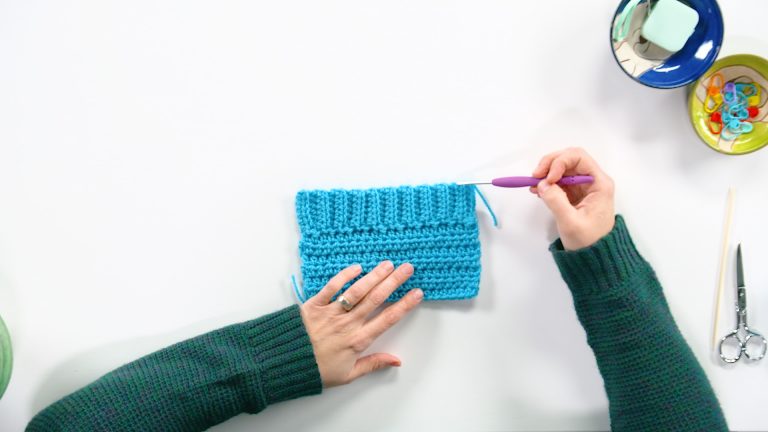
Working in a worsted weight yarn, so that it’s easy to see, Brenda chains a total of 17 stitches (16 chains for the foundation chain, plus one chain for the turning chain). She skips the first chain, then works a slip stitch into the back bump of each chain across. She prefers to work into the back bump of the foundation chain as this makes a nice, neat edge along the fabric that mirrors what the other edge of the fabric will look like.
Once the first row is complete, she works in pattern as follows:
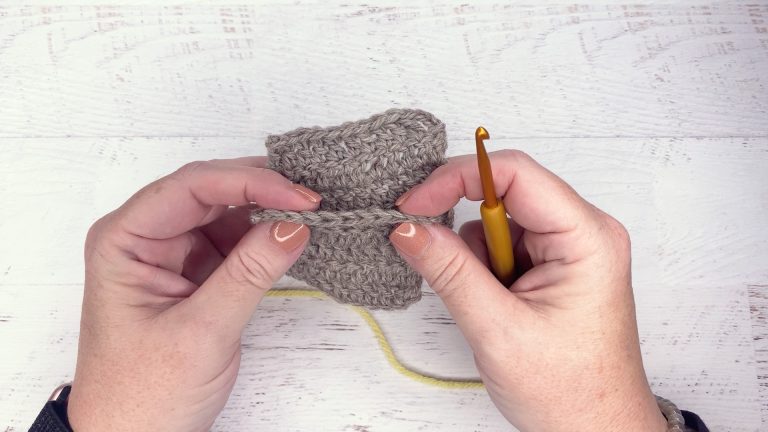
Chain 1, slip stitch through the back loop into each stitch across, turn.
You may often see the pattern for this stitch written as follows:
Ch any number of stitches
Row 1: Sl st in second ch from hook and in each ch across, turn.
Row 2: Ch 1, sl st blo in each stitch across, turn.
Repeat Row 2 for pattern.
ch: chain
sl st: slip stitch
blo: back loop only
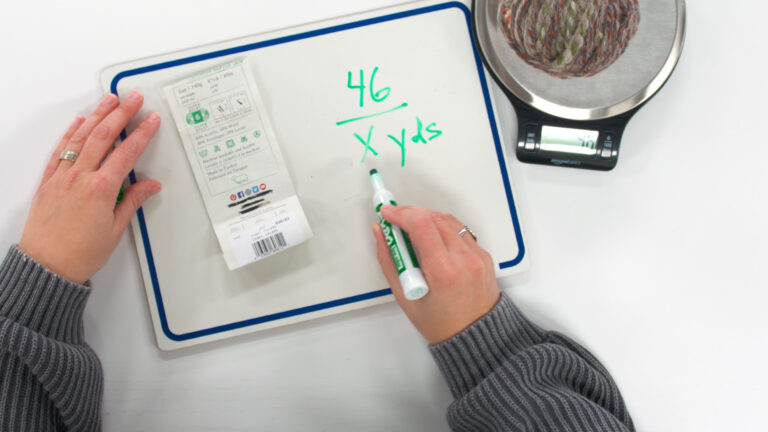
This row is repeated to the desired length. The back loop is the loop furthest from you on each row. Brenda explains that she works the chain stitch a little bit tighter than she normally would, since slip stitches are so short. She also shares her tips for keeping the tension of the slip stitches even (and not too tight) while working. Brenda then counts her rows, noting that she looks at the location of the starting yarn tail and the crochet hook to easily count the rows. In the swatch that she created in the video she has worked a total of ten rows of back loop slip stitch ribbing.
Explore videos by Brenda K.B. Anderson


You may be interested in
Premium Membership
Unlock exclusive member content from our industry experts.
- 24/7 Access to Premium Crochet Videos, Projects, and Tips
- Step-by-Step Instructional Demos, Patterns, and Tutorials
- Access to Ask the Expert Program
Unlock exclusive member content from our industry experts.
- 24/7 Access to Premium Crochet Videos, Projects, and Tips
- Step-by-Step Instructional Demos, Patterns, and Tutorials
- 2 Full-Length Classes to Keep in Your Account for Life
- Access to Ask the Expert Program
Gold Membership
$333 Value
Get everything included in Premium plus exclusive Gold Membership benefits.
- 24/7 Access to Premium Crochet Videos, Projects, and Tips
- Step-by-Step Instructional Demos, Patterns, and Tutorials
- 5 Full-Length Classes to Keep in Your Account for Life
- 10 Downloadable Crochet Patterns
- Discounts on Purchase-to-Own Content in the Creative Crochet Corner Shop
- Access to Ask the Expert Program
- Access to GOLD LIVE Streaming Events